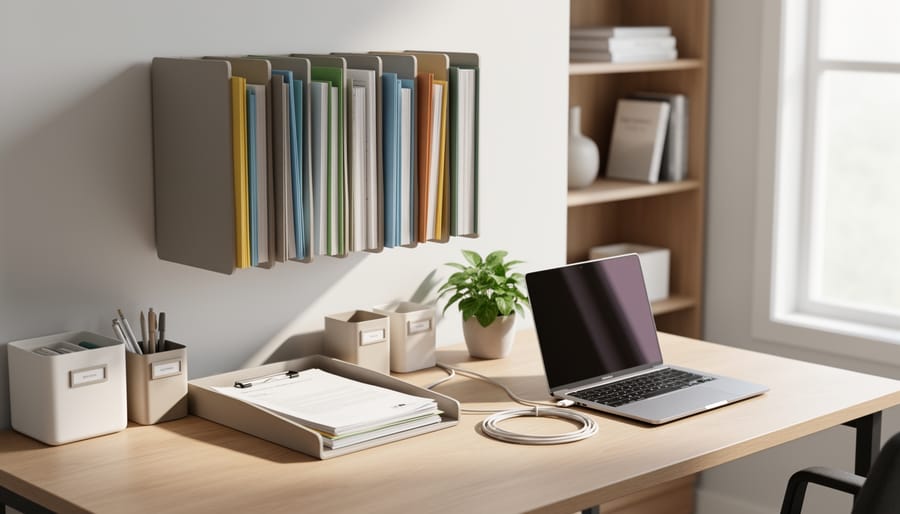
Your home office can be functional, clutter-free, and productive with just a few smart organizing systems that work the way you actually work. Most remote workers struggle not because they lack storage, but because their organizational setup doesn’t match their daily workflow. The good news? Transforming a chaotic workspace into an efficient hub takes far less time and money than you’d expect.
The key is treating your office like a garden: everything needs its season, its proper placement, and regular tending. Just as you wouldn’t scatter tools randomly across your potting shed, your desk and surrounding area deserve intentional zones for paper flow, supplies, tech accessories, and reference materials. When each item has a clear home, you spend less time hunting and more time creating.
We’ve gathered eight practical organization ideas that address the real pain points of working from home, from managing cable chaos to creating sustainable filing systems that you’ll actually maintain. These aren’t Pinterest-perfect solutions that collapse after a week. They’re field-tested strategies that accommodate the natural ebb and flow of a busy workday, much like a well-planned garden bed that thrives with minimal intervention once properly established.
Whether you’re working from a dedicated room or a corner of your kitchen, these ideas scale to fit your space and budget. Some solutions cost less than fifteen dollars, others require nothing more than repurposing what you already own. What matters most is building systems that reduce friction, because the easier something is to put away, the more likely it’ll end up where it belongs at day’s end.
How We Selected These Organization Ideas
We built this list by asking one simple question: will this actually work in a real home office? Each idea here meets four essential criteria. First, it fits a range of budgets, you don’t need a complete overhaul to see results. Second, these strategies require minimal setup and no special skills, so you can implement them this weekend. Third, they adapt to different office sizes, from a corner desk to a dedicated room. Fourth, they’re proven solutions that professional organizers recommend and everyday remote workers use successfully.
We focused on budget-friendly organizing that delivers immediate visual and functional improvement. You won’t find expensive custom solutions or concepts that only work in theory. Instead, each recommendation comes from organizing experts who’ve tested these approaches in multiple home offices, accounting for various work styles and space constraints. The goal was to identify strategies that reduce clutter quickly without requiring you to change how you work or invest significant time learning a complex system.
1. Tiered Desktop Organizers for Vertical Storage
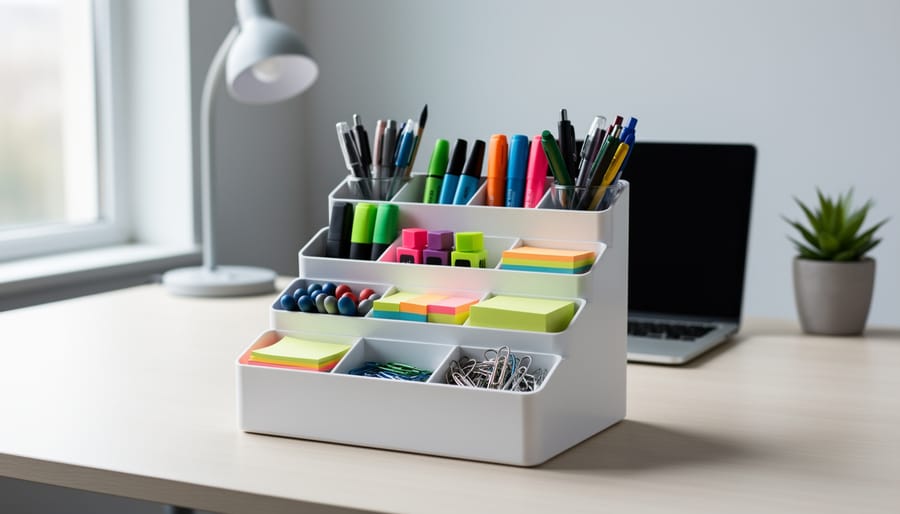
Tiered desktop organizers transform a cluttered desk surface into an efficient workspace by building storage upward instead of outward. These multi-level units typically feature two or three platforms that sit above your desk, creating distinct zones for different supplies while keeping everything within arm’s reach. The design works because it takes advantage of the empty vertical space most people ignore, freeing up the actual desk surface for active projects.
The top tier works best for items you need occasionally, sticky notes, a small stapler, business cards. Keep the middle level for daily essentials like your phone, pens, and a notepad you grab constantly throughout the day. The lowest tier or built-in file slots handle papers that need immediate attention or reference documents you consult regularly. This intentional placement creates muscle memory; you’ll reach for the right spot without thinking.
Mini drawers add another layer of function by hiding smaller items that otherwise scatter across your desk, paper clips, binder clips, USB drives, chargers. One drawer can hold all those miscellaneous tech accessories that usually end up in a tangled pile. File slots keep important papers vertical and visible, so that contract or project brief doesn’t disappear under a stack of mail.
Retailers like Wayfair offer desktop organizers with tiered storage shelves, mini drawers, and built-in file slots in various materials and sizes. A quality organizer typically costs $30 to $60, though sales can drop prices significantly. Choose one sized to your desk, measure first to avoid overwhelming a smaller workspace or under-utilizing a larger one.
2. Rolling Carts for Flexible Supply Storage
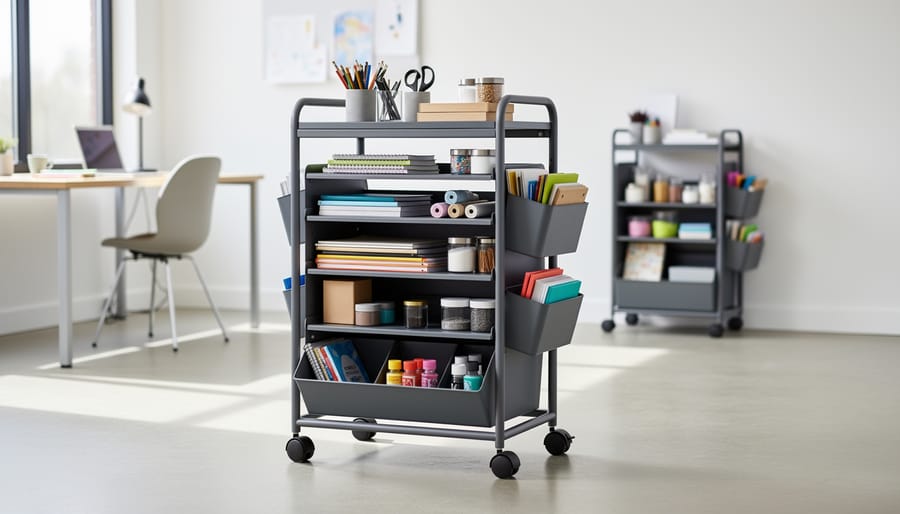
Rolling carts bring the convenience of organized storage that adapts to your workflow throughout the day. Unlike fixed shelving that claims permanent floor space, these mobile units slide beside your desk when you need supplies close at hand, then tuck into a corner or closet when your office reverts to a family room or guest space.
Three-tier carts work beautifully for active projects. Keep reference books on the bottom shelf, current files in the middle, and frequently-used supplies on top, pens, notepads, charging cables, within arm’s reach. When a project wraps up, wheel the cart away and reclaim your workspace. Two-tier versions fit under most desks, hidden yet accessible, ideal if you’re working with limited square footage.
For multipurpose rooms, rolling carts solve the “where do I put everything when guests arrive?” dilemma. Load your daily essentials onto the cart each morning, work through your day, then roll everything into a bedroom closet before dinner. The room transitions in seconds rather than requiring a fifteen-minute tidying session.
Consider mesh-sided carts if you frequently hunt for items, seeing what’s stored on each level saves time. Solid sides work better for visual calm when the cart stays visible. Retailers like The Container Store stock various configurations, and you’ll find options under twenty dollars that perform reliably for years. The key is choosing a cart size that actually fits your available storage spot when not in use, ensuring it won’t become just another piece of furniture cluttering the floor.
3. Wall-Mounted File Systems That Free Up Floor Space
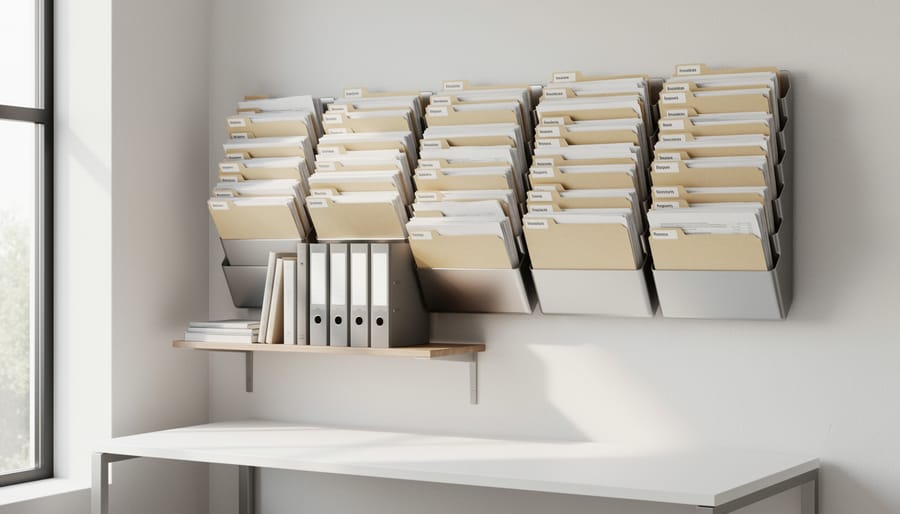
Wall-mounted file systems turn your unused vertical space into valuable storage, keeping papers organized without sacrificing precious square footage. These systems work especially well in compact home offices where every inch of desk and floor space counts.
Magazine-style wall files are ideal for active documents you reference frequently, current project folders, bills to pay, forms to file. Mount them near your desk at eye level so you can grab what you need without leaving your chair. Avoid storing completed projects or inactive files here; those belong in deeper storage.
Wire grid systems offer more flexibility. They let you add pockets, baskets, and clips as your needs change. Position these above your desk or on an adjacent wall, and use the lower sections for daily documents while reserving higher spots for reference materials you access less often.
For legal-size paperwork or larger quantities, cascading wall organizers with multiple tiers work beautifully. They hold more volume than magazine files while maintaining the visual order of a filing system. Keep heavier folders in lower slots to prevent the unit from pulling away from the wall.
Install any wall-mounted system into studs whenever possible, especially if you plan to store thick file sets. If you’re mounting between studs, use heavy-duty anchors rated for at least triple the weight you expect.
The real advantage? You’ll reclaim that filing cabinet footprint for a small bookshelf, a plant, or simply breathing room that makes your office feel larger and less cluttered.
4. Drawer Dividers and Desk Organizers
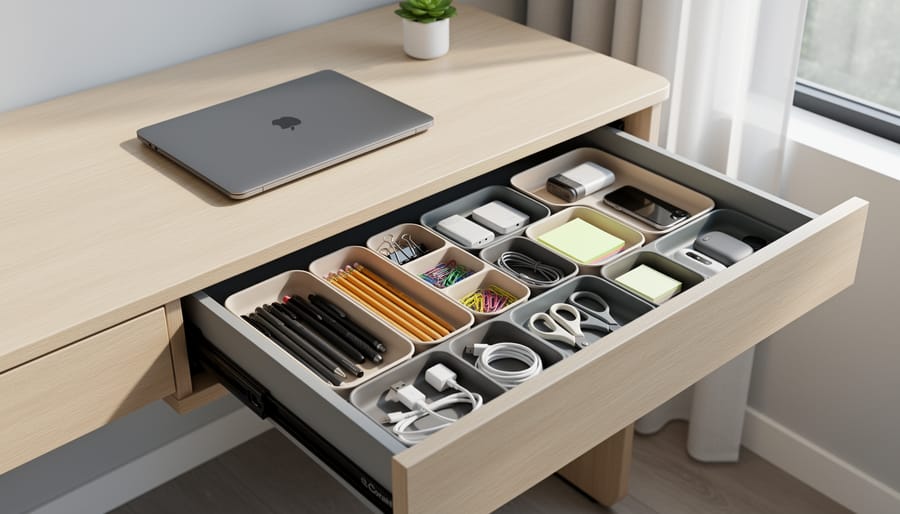
The inside of your desk drawer doesn’t need to be a chaotic pile where pens, paper clips, and sticky notes disappear into a black hole. Drawer dividers transform that jumbled mess into a functional system where every item has a designated spot. These simple inserts segment your drawer into compartments, one for writing tools, another for charging cables, a third for sticky notes, so you can grab what you need without rummaging.
Desk organizers work the same magic for your desktop surface. Small trays, caddies, and compartmentalized holders corral loose items that otherwise migrate across your workspace. A basic organizer keeps your most-used supplies, scissors, tape, highlighters, upright and visible instead of scattered under papers or shoved to the back corner.
What makes this solution especially appealing is the affordability. Quality organizers are accessible even on tight budgets, with effective options available for under $15. You don’t need a complex system or expensive custom solutions. A few well-placed dividers and a desktop caddy create immediate order.
Start by emptying one drawer completely, discarding duplicates and dried-out markers. Choose dividers that fit your drawer dimensions and assign each compartment a category. Do the same for your desktop: group similar items together in a single organizer rather than letting them spread across multiple surfaces. This small investment of time and money eliminates the daily frustration of hunting for basic supplies and keeps your workspace looking intentional rather than cluttered.
5. Cable Management Systems
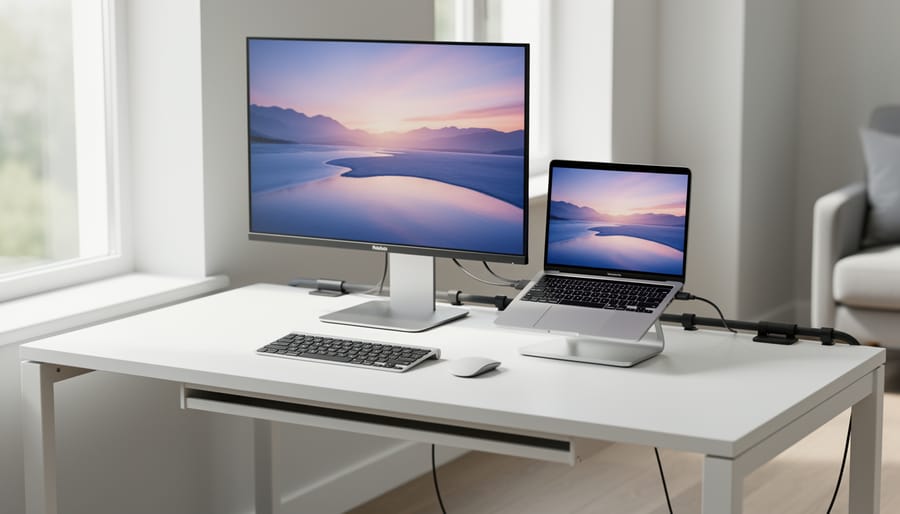
Tangled cables behind your desk aren’t just an eyesore. They collect dust, create visual chaos, and turn any adjustment into a frustrating archaeological dig. The good news? Managing them requires minimal investment and delivers instant results.
Start with cable clips that attach to your desk edge or wall, keeping charging cables and frequently unplugged cords within easy reach without snaking across your workspace. These small adhesive clips cost a few dollars and prevent the daily hunt for your phone charger. For cables that stay plugged in permanently, like your monitor and laptop power cords, cable sleeves bundle them into a single channel that runs neatly down your desk leg or along the wall.
Under-desk cable boxes hide power strips and excess cord length completely. Drop the power strip inside, thread only the cables you need through side openings, and suddenly that nest of wires disappears. Position the box toward the back corner of your desk where it won’t interfere with leg room.
The transformation happens immediately. A clean desk edge and hidden cables make your entire office feel more professional and less chaotic. You’ll spend less time untangling cords and more time actually working. Start by tackling the cables you see first, usually those on top of or hanging off your desk, then work your way to the hidden tangles underneath. Even fifteen minutes of simple clipping and bundling makes a noticeable difference.
6. Ergonomic Furniture with Built-In Storage
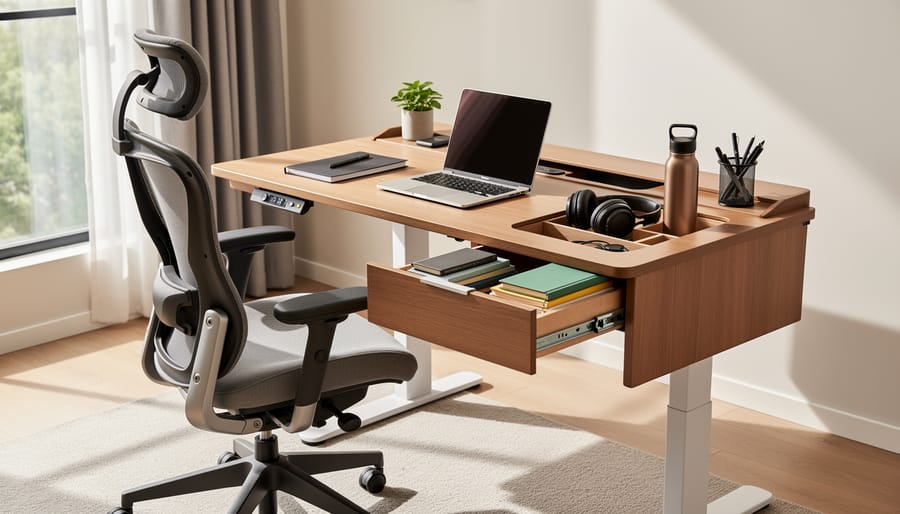
Choosing furniture that works double duty transforms your home office from merely functional to genuinely efficient. A desk with built-in drawers or shelving eliminates the need for separate storage units, freeing up floor space while keeping supplies within arm’s reach. When everything has a designated spot inside your furniture, you naturally declutter faster and maintain order with less effort.
Look for desks with file drawers that accommodate hanging folders, or hutch-style setups where upper shelves hold reference materials and decorative items while lower compartments store daily essentials. Corner desks with wrap-around shelving make the most of awkward spaces, and credenzas behind your chair provide closed storage that hides clutter from video calls.
The real advantage goes beyond organization. Ergonomic furniture designed around your body’s needs, proper desk height, supportive seating, monitor positioning, directly impacts your physical comfort during long work sessions. When that same furniture incorporates thoughtful storage, you’re investing in both your productivity and your health. A single quality piece eliminates the need for multiple add-ons cluttering your workspace.
Retailers like The Container Store carry ergonomic furniture options with integrated storage, making it easier to find pieces that suit your space and budget. Start by identifying your most-used items, then choose furniture that stores them where you’ll actually use them.
7. Label Systems for Quick Retrieval
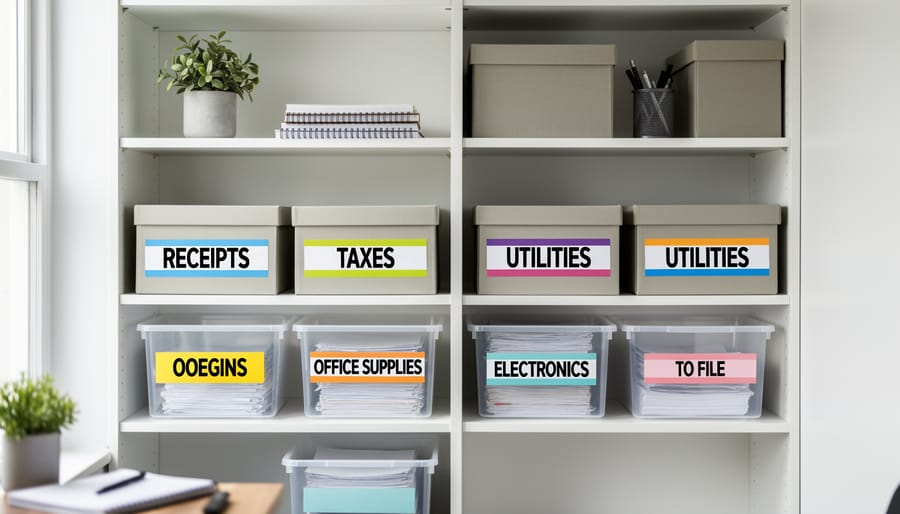
A labeling system is probably the most underrated organization tool in any home office. When files, bins, and shelves have clear labels, you stop wasting mental energy trying to remember where things are, you just look and find them.
You don’t need a fancy label maker to start. Masking tape and a permanent marker work perfectly well for bins and boxes. For a cleaner look, printable labels on standard letter paper, cut and taped in place, cost almost nothing and give you readable text. If you do want something more polished, basic handheld label makers or printable adhesive sheets are inexpensive and let you create consistent labels across your entire office.
The key is being specific enough to be helpful. Instead of labeling a drawer “Office Supplies,” try “Pens & Markers” or “Stamps & Envelopes.” Label file folders with project names or categories that match how you actually think about your work. When clients ask for something, you’ll know exactly which bin or folder to reach for.
Start by labeling the areas where you lose the most time searching, usually files, supply bins, and shelf categories. Update labels as your needs change rather than sticking with a system that no longer fits your workflow.
The five minutes you spend labeling today saves you hours of searching over the coming months. It’s a small step that delivers immediate clarity and keeps your organization system working for you instead of against you.
8. Daily Reset Station with Inbox/Outbox Trays
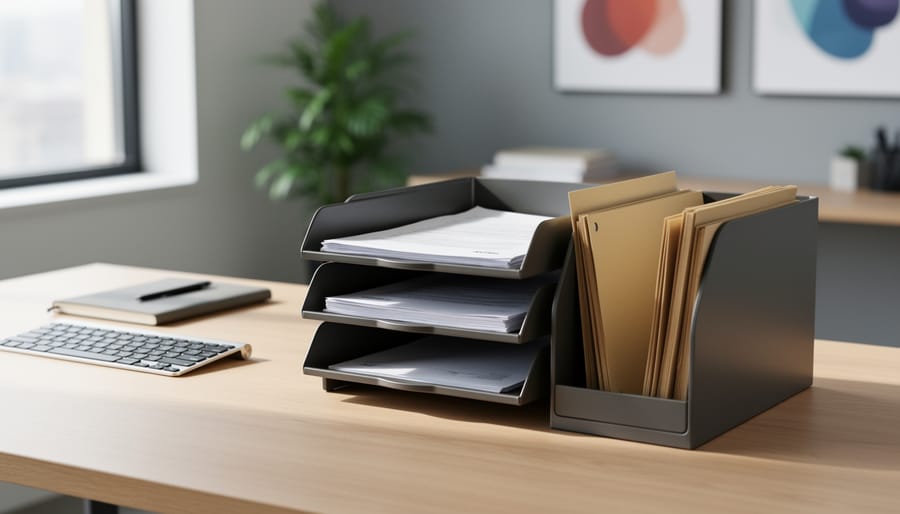
A dedicated reset station transforms how you handle the daily influx of papers, mail, and miscellaneous items. Instead of creating piles across your desk, place a simple inbox/outbox tray system in a consistent spot, ideally near your office entrance or on a corner of your workspace. The inbox catches everything that enters your office throughout the day: documents to review, bills to pay, items to file. The outbox holds completed work ready to leave: letters to mail, papers to file elsewhere, items to return to other rooms.
This two-tray system works because it creates a holding pattern for items in transition. Nothing sits directly on your desk surface becoming visual clutter, yet everything has an immediate home. Most importantly, it supports a quick end-of-day maintenance routine that takes three to five minutes: process what’s in the inbox, distribute what’s in the outbox, and start tomorrow with clear surfaces.
Choose trays that stack vertically to save space, or use side-by-side horizontal trays if you prefer visibility. Label them clearly so family members know where to place things for you. This single habit prevents the accumulation problem that derails most home office organization efforts, keeping your workspace functional without constant intensive cleanup sessions.
Expert Insight: Making Organization Stick
We asked Maria Chen, a professional organizer with fifteen years of experience helping remote workers maintain clutter-free spaces, what separates the offices that stay tidy from those that slide back into chaos. Her answer surprised us: it’s not about having the perfect products.
“The people who succeed long-term build a five-minute closing routine,” Maria explains. “Before you shut down for the day, spend just five minutes returning items to their homes. File those three papers sitting on your desk. Put pens back in the cup. Toss the coffee mug in the dishwasher.” She compares it to gardening maintenance, where consistent small actions prevent overwhelming work later. These real-world tips work because they fit into your existing routine rather than demanding major behaviour shifts.
Maria’s second strategy is equally simple: keep one visible inbox tray and actually use it. “Everything in transition goes there, nowhere else. When it’s full, you know it’s time to process. Visual cues work better than willpower.”
Key Details to Know
Here’s what you need to know before you start organizing your home office:
- Start with one category at a time, tackle desktop clutter before moving to file systems or cables, so you don’t feel overwhelmed by the entire space at once.
- Measure your desk surface and wall space before buying organizers; vertical storage only works if you have adequate clearance, and drawer dividers must match your actual drawer dimensions.
- Quality desktop organizers don’t require a large investment, effective solutions are available at accessible price points, often under $20, making it easy to try multiple approaches.
- Choose open storage (trays, tiered organizers) for items you use daily and closed storage (drawers, bins with lids) for supplies you access weekly, which balances convenience with visual calm.
- Label everything from the start, even if your system seems obvious now; six months later, unlabeled bins become junk drawers that defeat your original organization effort.
- Schedule a five-minute daily reset, returning items to their designated spots each evening, because maintenance prevents the gradual clutter creep that undoes even the best organization systems.
These foundational principles apply regardless of which specific organization ideas you implement first. They help you make smart choices about products, placement, and daily habits that keep your workspace functional over time. When you understand these details upfront, you avoid common mistakes like buying organizers that don’t fit your space or creating systems you won’t actually maintain.
You don’t need to overhaul your entire workspace overnight. The beauty of these organization ideas is that each one works on its own, so pick the strategy that addresses your biggest pain point right now. If your desk surface disappears under paper piles, start with a tiered organizer or wall-mounted file system. If you’re constantly hunting for pens and sticky notes, grab some drawer dividers. Even one small change, labeling your file folders or adding a cable clip, makes a noticeable difference in how your office feels.
Building an organized home office is a gradual process, not a weekend project that requires perfection. Try one idea this week, see how it improves your workflow, then add another when you’re ready. The goal isn’t an Instagram-worthy office, it’s a workspace that supports your productivity and reduces daily frustration. Your future self will thank you for starting today, even if you begin with just a single rolling cart or a set of labels. Small steps lead to lasting change, and an organized office truly does make work more enjoyable.
Common Questions About Home Office Organization
How do I organize a small home office?
Start by maximizing vertical space with wall-mounted file systems and tiered desktop organizers, which free up precious desk and floor area. Use rolling carts that can be tucked away when not in use, and choose furniture with built-in storage to serve dual purposes without adding bulk.
What’s the most important thing to organize first?
Tackle your desktop surface first since it’s where you work most directly. Clear away everything except daily essentials, add a simple desktop organizer to contain what remains, and you’ll immediately feel more focused and in control.
How can I keep my office organized with kids at home?
Create a daily reset routine using inbox and outbox trays to give items in transition a temporary home, so papers don’t pile up during interruptions. Label everything clearly and use drawer dividers to ensure each item has a specific spot, making it easier to tidy quickly between work sessions.
Do I need to spend a lot of money on organization products?
Not at all. Simple solutions like drawer dividers, cable clips, and basic labels cost very little but make a huge difference. You can find effective desk organizers for around $15, and many organizing systems use items you might already own.
How long does it take to organize a home office?
You can see real improvement in just an afternoon by focusing on one area at a time. Most people find that implementing two or three of these ideas takes a few hours total, and the maintenance afterward requires just five minutes at the end of each workday.
These questions reflect what most people wrestle with when they’re ready to tackle their workspace but aren’t sure where to begin. The good news is that organizing your home office doesn’t require perfection or a complete overhaul in one day. Pick the question that resonates most with your current situation, try the suggested approach, and build from there. Small, consistent efforts beat occasional marathon organizing sessions every time.