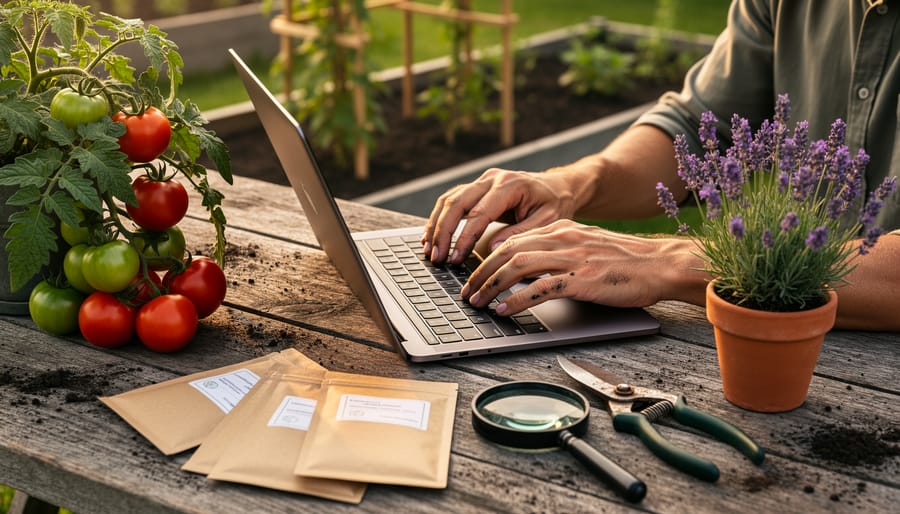
Transform your garden into a thriving oasis with these proven gardening techniques that maximize results while minimizing effort. Plant mint in buried pots to prevent aggressive spreading, use coffee grounds as a natural slug deterrent, and create self-watering planters from recycled bottles for consistent moisture delivery. Whether you’re cultivating herbs on a windowsill or managing a sprawling vegetable garden, these time-tested shortcuts eliminate common frustrations without compromising plant health. Master gardeners have long relied on these practical solutions to work smarter, not harder. From water conservation to pest management, these nine garden hacks deliver professional-level results using materials you likely already have at home. Get ready to revolutionize your gardening routine with methods that actually deliver on their promises.
Smart Water Management Tricks
Wine Bottle Irrigation System
Transform those empty wine bottles into efficient self-watering systems for your garden! This clever hack helps maintain consistent soil moisture while reducing your watering duties. Simply clean a wine bottle thoroughly and fill it with water. Create small holes in the bottle cap using a nail and hammer – 3-4 holes should do the trick. Then, dig a hole near your plant, bury the bottle neck-down at a 45-degree angle, leaving just the bottom exposed.
As the soil dries, it naturally draws water from the bottle, delivering moisture directly to the root zone. One bottle can keep a medium-sized plant hydrated for up to a week, depending on weather conditions and plant needs. This method works particularly well for deep-rooted plants like tomatoes and peppers.
Pro tip: Use dark-colored bottles to prevent algae growth, and consider placing multiple bottles around larger plants or in raised beds. For longer-lasting irrigation, try using larger bottles or connecting several together. You’ll love how this sustainable solution puts those empty bottles to good use while keeping your plants happy and hydrated.

Coffee Filter Moisture Control
Here’s a clever trick that experienced gardeners swear by: placing coffee filters at the bottom of your containers before adding soil. This simple addition serves multiple purposes and can significantly improve your container gardening success. The paper filter acts as a natural barrier, preventing soil from washing out through drainage holes while still allowing excess water to escape freely.
What makes this hack particularly effective is the filter’s ability to retain just the right amount of moisture. The paper material holds onto water temporarily, creating a subtle reservoir that helps maintain consistent soil moisture levels. This means less frequent watering for you and happier plants overall.
To implement this hack, simply place one or two standard coffee filters at the bottom of your container before adding your potting mix. For larger pots, you can overlap multiple filters to ensure complete coverage. The filters will naturally decompose over time, adding small amounts of organic matter to your soil.
This method works especially well for moisture-loving plants and can help prevent both overwatering and underwatering issues, making it perfect for busy gardeners or those still learning to master their watering schedule.
Natural Pest Control Solutions
Eggshell Barrier Method
If you’ve ever battled with slugs and snails in your garden, this natural solution might surprise you. Crushed eggshells create an effective barrier that these garden pests prefer to avoid. The sharp edges of the shells make it uncomfortable for slugs and snails to cross, protecting your precious plants from their midnight feasts.
To create your eggshell barrier, start by collecting and cleaning your used eggshells thoroughly. Once dry, crush them into small, sharp pieces – not too fine, as you want them to maintain their jagged edges. Spread a thick ring of crushed shells around vulnerable plants, making sure the barrier is about 2-3 inches wide and half an inch thick.
This eco-friendly method works best when the shells are kept dry, so you may need to replenish your barrier after heavy rain. As a bonus, the eggshells gradually break down over time, adding calcium to your soil and benefiting plants like tomatoes and peppers. Just remember to maintain the barrier throughout the growing season for the best results.
For maximum effectiveness, combine this method with other natural pest control strategies and ensure your barrier is continuous without any gaps that clever gastropods might exploit.
Companion Planting Pairs
Nature’s best garden allies often grow side by side! By strategically pairing certain plants, you can create a natural defense system against pests while promoting healthy growth. Marigolds are garden superheroes – plant them near tomatoes and peppers to ward off harmful nematodes and whiteflies. Basil isn’t just for pesto; it’s a fantastic companion for tomatoes, improving their flavor while repelling mosquitoes and flies.
Want to protect your cabbage patch? Plant aromatic herbs like thyme, sage, or rosemary nearby. These fragrant defenders confuse cabbage moths and other unwanted visitors. Nasturtiums act as sacrificial plants, drawing aphids away from your valuable crops while adding beautiful edible flowers to your garden.
One of my favorite combinations is the “Three Sisters” method – corn, beans, and squash growing together. The corn provides support for climbing beans, which fix nitrogen in the soil, while squash leaves create natural ground cover that retains moisture and prevents weeds. It’s a time-tested Native American technique that proves sometimes the old ways are the best ways.
Remember to group plants with similar water and sunlight needs for the best results.
Soil Enhancement Shortcuts
Kitchen Scrap Composting
Transform your kitchen scraps into gardening gold with this accelerated composting technique! By focusing on the right mix of materials and proper maintenance, you can create nutrient-rich compost in just 4-6 weeks instead of the usual months. Start by collecting green materials (vegetable scraps, coffee grounds, and eggshells) and brown materials (dried leaves, paper, and cardboard) in a roughly 1:3 ratio. To speed up decomposition, chop your kitchen scraps into smaller pieces – the smaller, the better!
Create layers in your compost bin, alternating between browns and greens, and maintain moisture similar to a wrung-out sponge. One game-changing trick is to add a handful of existing compost or garden soil to introduce beneficial microorganisms. This simple step can significantly accelerate the decomposition process, making it one of the most effective soil improvement methods available to home gardeners.
Remember to turn your pile every few days with a garden fork to provide oxygen and speed up the process. A well-maintained kitchen scrap compost pile should feel warm in the center – that’s how you know it’s working its magic!
Coffee Ground Benefits
Don’t toss those used coffee grounds in the trash – they’re garden gold! These aromatic leftovers from your morning brew can work wonders in your garden beds. Coffee grounds are rich in nitrogen, phosphorus, and potassium, making them an excellent natural fertilizer for your plants. They also contain magnesium and copper, which many plants need for healthy growth.
One of the best benefits of using coffee grounds is their ability to attract earthworms, nature’s master gardeners. These helpful creatures love coffee grounds and will work tirelessly to improve your soil structure as they feed on them. Simply sprinkle a thin layer of used grounds around your plants or mix them into your compost pile.
For best results, don’t pile the grounds too thickly – a light dusting is all you need. Coffee grounds work particularly well around acid-loving plants like roses, azaleas, and blueberries. You can also add them to your compost bin, where they’ll help create rich, nutrient-dense soil for future gardening projects. Just remember to balance them with “brown” materials like dried leaves to maintain proper composting conditions.
Time-Saving Planting Methods
Newspaper Weed Barrier
Looking for an eco-friendly way to keep weeds at bay? Your morning newspaper might just be the answer! This time-tested gardening hack has been used by seasoned gardeners for generations, and for good reason. Simply lay down several layers of newspaper around your plants, dampen them with water, and cover with a layer of mulch.
The newspaper acts as a natural weed barrier by blocking sunlight from reaching weed seeds, preventing them from germinating. As a bonus, the paper gradually breaks down over the growing season, adding organic matter to your soil. Unlike plastic barriers, newspaper is completely biodegradable and won’t leave harmful residues behind.
For best results, use about 6-8 sheets of newspaper thickness, avoiding glossy inserts or colored pages. Make sure to overlap the edges by at least 3 inches to prevent persistent weeds from finding gaps. The newspaper layer should be thoroughly moistened before adding mulch to keep it in place and prevent it from blowing away.
This method works particularly well in vegetable gardens and flower beds, providing season-long weed control while improving soil quality.


Milk Jug Greenhouses
Transform empty milk jugs into miniature greenhouses for seed starting and protecting tender plants – it’s an eco-friendly hack that experienced gardeners swear by. Simply clean a plastic gallon jug thoroughly, cut it horizontally around the middle (leaving a small “hinge” intact), and punch drainage holes in the bottom. Fill the base with potting soil, plant your seeds, and close the top portion. The clear plastic creates a perfect microclimate for seedlings, trapping warmth and moisture while allowing sunlight through.
These DIY greenhouses are particularly effective for winter sowing and getting an early start on spring vegetables. Remove the cap for ventilation on warmer days, and your seedlings will thrive in their recycled homes. The best part? You can place these mini greenhouses outdoors, even in cold weather, as they protect young plants from frost and harsh conditions.
Pro tip: Label each jug with permanent marker and date your plantings. When your seedlings outgrow their milk jug homes, simply transplant them to your garden and save the jugs for next season. It’s a zero-waste solution that gives your plants the perfect start in life.
These nine time-tested gardening hacks offer more than just convenience – they represent smart, sustainable solutions that can help you transform your garden space while saving both time and resources. By implementing these proven techniques, you’ll find yourself spending less time troubleshooting common garden issues and more time enjoying the fruits of your labor.
From simple water conservation methods to creative composting solutions, each hack has been verified by experienced gardeners and can be easily adapted to suit your specific garden needs. Whether you’re tending to a small herb garden or managing a larger vegetable plot, these practical approaches will help you cultivate a more productive and sustainable garden.
Remember, successful gardening is about working smarter, not harder. Start with one or two of these hacks that resonate most with your current gardening challenges, and gradually incorporate others as you become more comfortable. Your garden – and your back – will thank you for adopting these efficient, eco-friendly practices. Happy gardening!