Transform your rooftop into a sustainable water source by installing a rainwater harvesting system that delivers clean, potable water straight to your tap. Recent EPA studies show that a properly designed system can supply up to 100% of a household’s water needs in regions receiving adequate rainfall. Installing food-grade collection surfaces, implementing a first-flush diverter, and incorporating multi-stage filtration creates drinking water that meets or exceeds municipal quality standards. Beyond reducing water bills, harvested rainwater contains naturally balanced minerals and zero harsh chemicals, making it ideal for both drinking and nurturing garden plants. Whether you’re looking to reduce your environmental footprint or secure an independent water supply, modern rainwater collection systems offer a reliable, cost-effective solution that pays for itself within 3-5 years through utility savings and increased property value.
Understanding Potable Rainwater Systems

Safety First: Water Quality Standards
When it comes to drinking rainwater, safety isn’t just a recommendation – it’s essential. As more homeowners embrace sustainable water systems, understanding and following proper water quality standards becomes crucial for your family’s health.
The EPA and local health departments provide clear guidelines for potable rainwater. Your harvested rainwater must meet specific criteria: it should be clear, odorless, and free from harmful bacteria and contaminants. Regular testing is necessary to ensure pH levels stay between 6.8 and 7.2, and bacterial counts remain within safe limits.
To maintain these standards, your system needs three key components: a first-flush diverter to remove initial contaminated runoff, a multi-stage filtration system (including sediment and carbon filters), and a UV sterilizer or chemical treatment method. Many successful rainwater harvesters also incorporate real-time monitoring systems to track water quality.
Remember, while these requirements might seem stringent, they’re designed to protect your health. By following these guidelines and maintaining regular testing schedules, you can enjoy safe, clean drinking water straight from the sky.
Essential Components for Safe Collection
A safe potable rainwater harvesting system starts with a clean, food-grade collection surface, typically your roof. First-flush diverters are essential to redirect the initial rainfall that carries most contaminants away from your storage tank. Quality gutters and downspouts, preferably made of aluminum or stainless steel, should be fitted with leaf guards and debris screens.
Your storage tank is the heart of the system – choose FDA-approved polyethylene or stainless steel tanks designed specifically for drinking water. These should be opaque to prevent algae growth and equipped with secure, child-proof covers. A properly sized pump and pressure tank will ensure consistent water delivery throughout your home.
Filtration is crucial for potable systems. Install a multi-stage filtration setup including:
– Sediment filter (5-micron)
– Activated carbon filter
– UV sterilizer for bacteria elimination
– Optional mineral addition system
Don’t forget essential safety features like overflow protection, tank vents with insect screens, and backflow prevention devices. A water level indicator helps monitor your supply, while sampling ports allow for regular water quality testing – a must for any drinking water system.
Setting Up Your Collection System
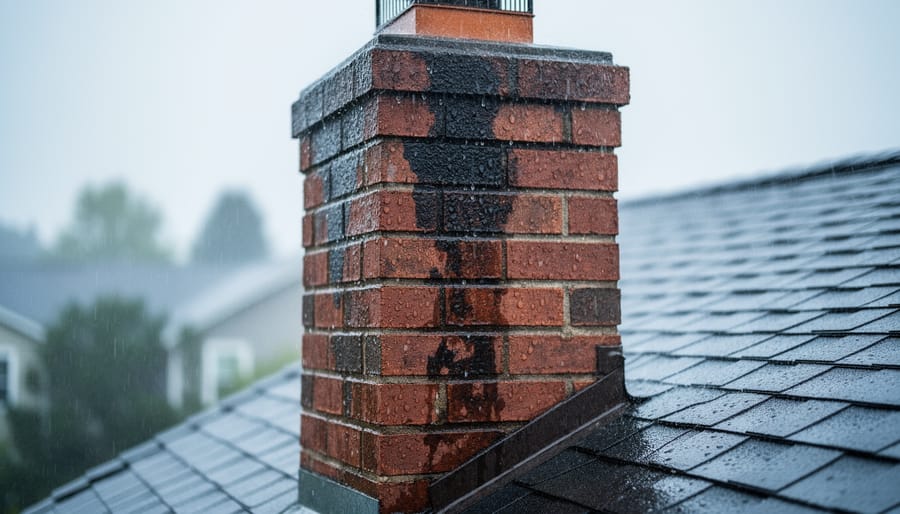
Choosing Your Roof Catchment Area
Your roof is the heart of any efficient rainwater collection system, so choosing the right surface is crucial for safe drinking water. The best materials for potable rainwater harvesting are metal roofs, particularly those made of galvanized steel, aluminum, or copper. These surfaces are smooth, durable, and less likely to harbor bacteria or release harmful chemicals into your collected water.
While asphalt shingles can work, they’re not ideal because they may shed granules and chemicals that could affect water quality. If you’re working with an existing asphalt roof, consider installing a first-flush diverter to minimize contamination from roof particles.
Before setting up your system, thoroughly clean your chosen catchment area and repair any damaged sections. Remove overhanging branches that could drop leaves or provide access to wildlife. Installing gutter guards can help keep debris out of your collection system while maintaining good water flow.
Calculate your potential collection area by measuring the horizontal projection of your roof, not the actual sloped surface. A simple formula to remember is that every square foot of roof can collect about 0.6 gallons of water per inch of rainfall. This helps you plan your storage capacity and understand your system’s potential yield throughout the year.
Installing First-Flush Diverters
First-flush diverters are essential components of any potable rainwater harvesting system, acting as your first line of defense against contaminants. Think of them as bouncers at a club, keeping out unwanted guests like debris, dust, and bird droppings that accumulate on your roof between rainfall events.
These clever devices work by capturing and diverting the initial flow of rainwater, which typically contains the highest concentration of contaminants. After a dry spell, the first few minutes of rainfall wash away these accumulated pollutants. The diverter catches this “dirty” water and prevents it from entering your main storage tank.
Installing a first-flush diverter is surprisingly straightforward. The most common design consists of a vertical pipe with a ball valve that automatically seals off once it’s full, allowing the cleaner water to flow into your storage tank. For every 1,000 square feet of roof area, you’ll want to divert about 5 gallons of first-flush water.
To maximize effectiveness, install your diverter before the water enters any filtration systems. Remember to include a small drain valve at the bottom of the diverter pipe for easy cleaning. It’s best to empty your first-flush chamber after each rainfall event to prepare it for the next shower.
While they’re not complex devices, first-flush diverters play a crucial role in ensuring your harvested rainwater stays clean and safe for drinking.
Filtration and Purification Methods
Multi-Stage Filtration Process
A properly filtered rainwater system transforms raw rainwater into safe drinking water through several crucial stages. Let’s walk through each step of this fascinating process that ensures your harvested rainwater is crystal clear and safe to drink.
The first stage begins with a leaf screen or gutter guard, which catches large debris like leaves, twigs, and insects before they enter your collection system. This simple but essential step prevents clogging and reduces maintenance needs down the line.
Next comes the first-flush diverter, a clever device that redirects the initial rainfall away from your storage tank. This initial water typically contains the most contaminants from your roof, so diverting it significantly improves your water quality.
The third stage involves sediment filtration, where the water passes through progressively finer filters. Starting with a 20-micron filter to catch visible particles, followed by a 5-micron filter for smaller sediments, this stage removes most suspended materials.
The fourth stage utilizes activated carbon filtration, which absorbs chemicals, improves taste, and eliminates odors. This is where your water starts to take on that fresh, clean taste we all love.
For drinking water systems, UV sterilization serves as the final guardian. This chemical-free process neutralizes harmful microorganisms like bacteria, viruses, and parasites, making your water safe to drink.
Remember to maintain each filtration component according to manufacturer recommendations. Regular filter changes and system checks ensure your multi-stage filtration continues to provide clean, safe drinking water throughout the year.

UV and Chemical Treatment Options
When it comes to making rainwater safe for drinking, UV and chemical treatment are two reliable methods that work together to ensure your water is clean and safe. UV treatment uses ultraviolet light to neutralize harmful bacteria and pathogens, working like a silent guardian that doesn’t affect the water’s taste or chemical composition. Installing a UV system is straightforward – it’s typically placed after your filtration system and before your storage tank.
Chemical treatment provides an additional safety net, with chlorine being the most common choice for residential systems. A small amount of chlorine (about 2-4 parts per million) keeps your water safe from biological contamination. If you’re not comfortable with chlorine, food-grade hydrogen peroxide is an excellent alternative that breaks down into water and oxygen, leaving no lasting chemical trace.
Maintaining your treatment system is crucial for safe drinking water. UV bulbs typically need replacement annually, even if they’re still working, as their effectiveness diminishes over time. Check the quartz sleeve protecting your UV bulb monthly and clean it if there’s any mineral buildup. For chemical treatment, test your water’s chemical levels weekly using simple test strips available at most hardware stores.
Remember to keep a maintenance log and set calendar reminders for regular checks. While this might sound like a lot of work, it’s actually quite manageable when broken down into routine tasks. Think of it as similar to maintaining a swimming pool, but on a smaller scale. With proper care, your treatment system will provide years of safe, clean drinking water for your household.
Storage Solutions and Maintenance
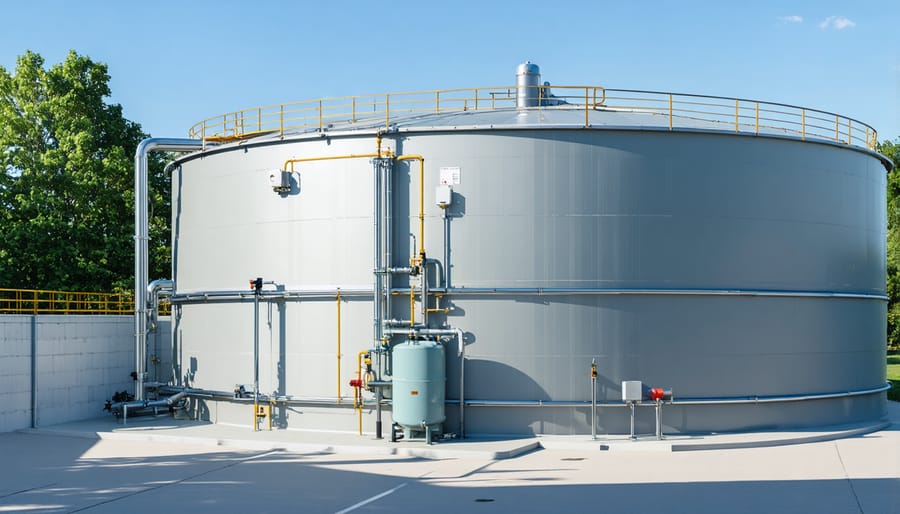
Choosing the Right Storage Tank
Selecting the right storage tank is crucial for your rainwater harvesting system’s success. The most common materials include food-grade polyethylene, stainless steel, and concrete, each offering unique benefits. Polyethylene tanks are lightweight, affordable, and easy to maintain, making them perfect for beginners. Stainless steel tanks, while pricier, provide excellent durability and a sleek appearance. Concrete tanks are ideal for larger installations and can last generations with proper care.
When sizing your tank, consider your household’s daily water needs and your area’s rainfall patterns. A good rule of thumb is to calculate your roof’s collection area and multiply it by your region’s average monthly rainfall. This will help you determine the optimal tank size to meet your needs throughout the year.
Tank placement is equally important. While above-ground tanks are easier to install and maintain, underground storage tanks offer several advantages, including temperature regulation and space conservation. Whichever you choose, ensure your tank sits on a level, stable foundation away from tree roots and utility lines.
Don’t forget to consider local building codes and regulations when selecting your tank. Some areas have specific requirements for potable water storage, including tank material certifications and minimum distances from structures.
Regular Maintenance Schedule
To keep your rainwater harvesting system producing safe, clean water, following a regular maintenance schedule is essential. Here’s a simple timeline of tasks to keep your system in top shape:
Monthly Tasks:
– Check and clean your gutters and downspouts
– Inspect the first-flush diverter and empty any collected debris
– Clean or replace pre-filters as needed
– Check pump operation and listen for unusual sounds
Quarterly Tasks:
– Clean the tank’s inlet filters
– Inspect the overflow pipe for blockages
– Test water quality using a basic testing kit
– Check all pipe connections for leaks
– Clean the roof catchment area of debris and leaves
Annual Tasks:
– Have your water professionally tested
– Inspect the tank for cracks or damage
– Clean the inside of the storage tank
– Check and maintain UV sterilization system if installed
– Verify proper function of all valves and switches
– Replace any dated filters according to manufacturer specifications
After Major Storms:
– Check for system damage
– Clean gutters and filters immediately
– Test water quality before consumption
Remember to keep a maintenance log to track when you complete each task. This helps you stay organized and can be valuable if you ever need to troubleshoot system issues. Small problems caught early through regular maintenance can prevent costly repairs down the line.
As we’ve explored throughout this guide, potable rainwater harvesting systems offer an incredible opportunity to take control of your water supply while contributing to environmental sustainability. From selecting the right collection surfaces to installing proper filtration systems, each component plays a vital role in ensuring safe, clean drinking water for your household.
Remember that while setting up a rainwater harvesting system requires careful planning and initial investment, the long-term benefits far outweigh the costs. Not only will you reduce your dependence on municipal water supplies, but you’ll also have peace of mind knowing exactly where your drinking water comes from and how it’s treated.
Whether you’re just starting with a simple barrel system or planning a comprehensive whole-house solution, the key is to begin with proper research and planning. Take time to understand local regulations, assess your water needs, and choose quality components that will serve you well for years to come.
We encourage you to start small if you’re feeling overwhelmed – perhaps begin with a basic collection system for your garden, then gradually expand as you gain confidence and experience. Connect with local rainwater harvesting communities, attend workshops, and don’t hesitate to consult professionals when needed.
By harvesting rainwater, you’re not just creating a sustainable water source – you’re becoming part of a growing movement toward water independence and environmental stewardship. Take that first step today, and join the thousands of households already enjoying the benefits of rainwater harvesting.