Water management in the garden means matching the right amount of moisture to each plant’s needs while minimizing waste through strategic timing, delivery methods, and soil preparation. For most gardeners, this translates to watering deeply but less frequently, using techniques like drip irrigation or soaker hoses, and improving soil structure to retain moisture where roots can access it.
The challenge isn’t just about conservation. Overwatering drowns roots and invites disease, while underwatering stresses plants and reduces yields. Getting it right requires understanding your soil type, knowing when plants actually need water (not just scheduling by habit), and choosing delivery systems that put moisture exactly where it belongs.
What makes water management feel complicated is that every garden operates under different conditions. Clay soils hold water but drain slowly. Sandy soils drain fast but can’t retain much moisture. A tomato’s needs differ wildly from a succulent’s, and what works in humid climates fails in arid regions. The good news? Once you understand a few core principles and match them to your specific situation, effective water management becomes second nature.
This guide walks you through the practical techniques that make the biggest difference. You’ll learn how to assess your garden’s unique water requirements, select and install the right tools for efficient delivery, and verify that your plants are getting exactly what they need. We’ve also included insights from experienced gardeners who’ve fine-tuned these methods over years of trial and refinement, so you can skip the guesswork and move straight to results that show in healthier plants and lower water bills.
Why Water Management Matters More Than Ever
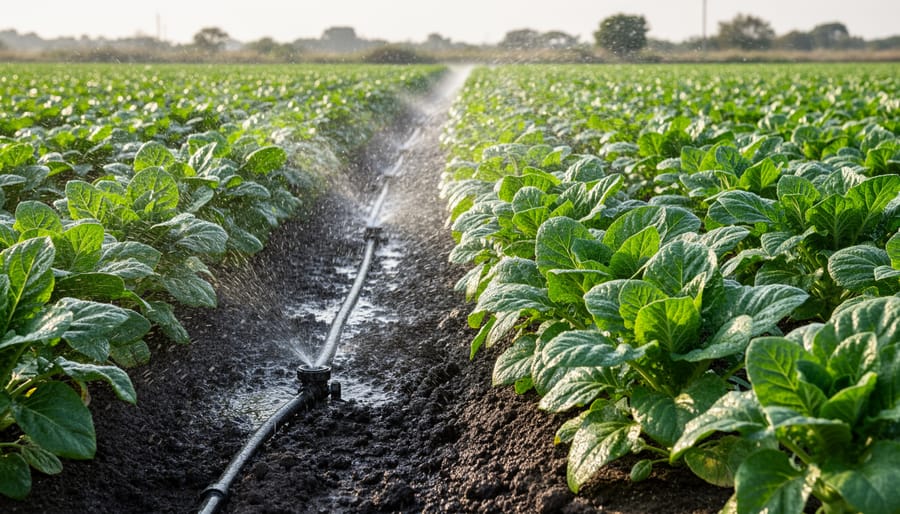
Water scarcity has moved from distant concern to backyard reality for gardeners across North America. Droughts have intensified, water restrictions have become routine in many communities, and utility costs keep climbing. Managing water wisely isn’t just environmentally responsible anymore, it’s essential for keeping your garden alive and your budget intact.
The numbers tell a compelling story. Outdoor watering accounts for nearly 30% of household water use, with much of that wasted through inefficient methods. irrigation water use impacts extend beyond your water bill; overwatering leaches nutrients from soil, encourages shallow root systems, and creates conditions where fungal diseases thrive. Plants watered correctly develop deeper roots, show better stress tolerance, and produce more abundantly.
Your wallet feels the difference too. A typical household can reduce outdoor water use by 20-50% through proper techniques, translating to hundreds of dollars in annual savings depending on your region and garden size. That’s money you can redirect toward better plants, quality tools, or just keeping more cash in your pocket.
Beyond personal benefits, thoughtful water management protects local ecosystems. Municipal water treatment requires significant energy, and excessive runoff from overwatered yards carries fertilizers and pesticides into waterways. When you water efficiently, you’re participating in watershed stewardship that matters at the community level.
Essential Tools and Materials You’ll Need
Getting your water management toolkit together doesn’t require a huge investment upfront. Start with the basics and expand as you discover what works best for your garden’s unique needs.
For anyone just beginning, you’ll want a quality watering can with a removable rose (the sprinkler head) for gentle watering of seedlings, a 50-foot garden hose with an adjustable spray nozzle, and basic mulch like shredded bark or straw to retain moisture. These three items alone will transform how efficiently your garden uses water.
As you get more serious about water management, consider these tools organized by function:
- Basic Equipment: Watering wand with shut-off valve, oscillating or impact sprinkler, garden cart for hauling mulch and compost
- Monitoring Devices: Soil moisture meter (digital or analog), rain gauge, programmable hose timer or smart irrigation controller
- Irrigation Supplies: Drip irrigation starter kit, soaker hoses, drip emitters and connectors, backflow preventer, pressure regulator
- Soil Amendments: Organic compost, water-retaining crystals or granules, various mulch types (wood chips, cocoa hulls, pebbles)
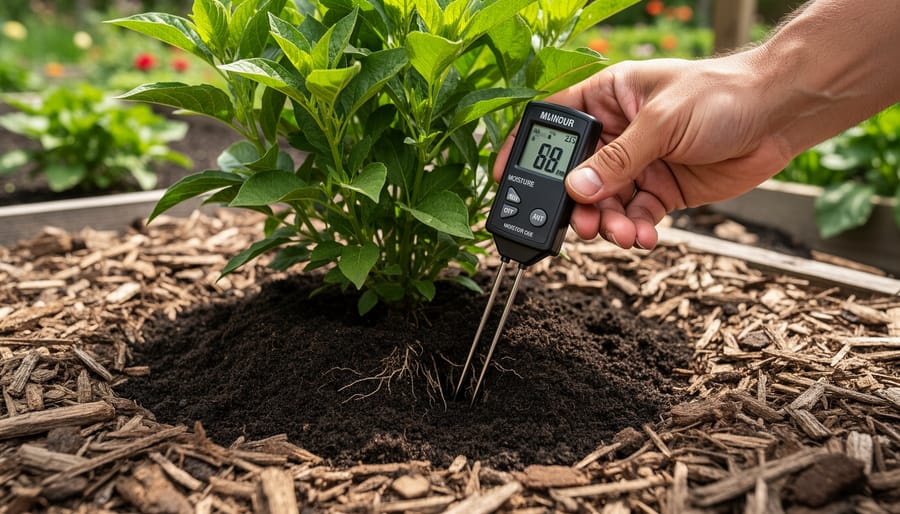
The moisture meter deserves special mention because it eliminates guesswork. Instead of poking your finger into soil and hoping for the best, a $15 meter tells you exactly what’s happening at root level. Similarly, a programmable timer (starting around $25) pays for itself quickly by preventing the “I forgot to turn off the sprinkler” water waste we’ve all experienced.
For experienced gardeners ready to optimize, a smart irrigation controller connects to local weather data and adjusts watering automatically. These range from $100 to $300 but can reduce water usage by 30-50% compared to manual scheduling.
Don’t feel pressured to buy everything at once. Many successful gardeners build their toolkit gradually, adding one or two items each season as they identify what their garden actually needs rather than what looks impressive on a shelf.
Important Safety and Precautions Before You Begin
Before you start implementing any water management system, let’s talk about a few safety considerations that’ll help you avoid common hazards and legal headaches.
If you’re planning to install timers, pumps, or electric irrigation controllers, electrical safety is your top priority. Always plug outdoor equipment into GFCI-protected outlets, which automatically shut off power if water creates a short circuit. Check that your extension cords are rated for outdoor use and keep all connections elevated off the ground where they won’t sit in puddles.
When setting up hoses and sprinklers, inspect them regularly for cracks, kinks, or worn connectors that can burst under pressure and cause injury. Coil hoses properly after use to prevent tripping hazards, especially if you have kids or pets running around the garden.
Here’s something many gardeners learn the hard way: overwatering causes root rot and fungal diseases that can kill plants faster than drought ever would. More isn’t always better when it comes to watering, so resist the urge to give your garden daily soakings unless you’ve confirmed that’s what your soil and plants actually need.
Standing water in saucers, buckets, or poorly drained areas creates perfect mosquito nurseries. Experts emphasize reducing mosquito breeding sites around your property, so empty containers weekly and ensure your irrigation system doesn’t leave persistent puddles.
Finally, check your local water restrictions before installing any system. Many municipalities limit watering days, times, or methods during drought conditions, and violations can result in fines. A quick call to your water utility now saves trouble later.
Step-by-Step Water Management Implementation
Step 1: Assess Your Garden’s Water Needs
Start by understanding what you’re working with, your garden’s unique conditions will determine everything about how you water. Grab a notebook and spend an afternoon observing your space.
First, test your soil type with the squeeze method. Take a handful of moist soil and compress it firmly. Sandy soil crumbles apart immediately and feels gritty; clay soil forms a tight ball that holds its shape and feels slick; loam, the ideal middle ground, holds together but breaks apart with gentle pressure. Sandy soils drain quickly and need more frequent watering, while clay holds moisture longer but can become waterlogged.
Next, map your sun exposure by noting which areas receive full sun (six-plus hours), partial shade (three to six hours), or full shade throughout the day. Plants in sunny spots will dry out faster than those in shade.
Check drainage by digging a hole about twelve inches deep, filling it with water, and timing how long it takes to empty. Good drainage means the water disappears within twelve to twenty-four hours. Slower drainage signals you’ll need to water less frequently or improve the soil structure.
Finally, list your plants and their water requirements. Group them into high, moderate, and low water needs. Vegetables and annuals typically need consistent moisture, while established perennials and native plants often thrive with less frequent watering. This assessment becomes your roadmap for everything that follows.
Step 2: Choose Your Primary Watering Method
Selecting the right watering method transforms your garden management from guesswork into a predictable routine. Your choice hinges on three factors: what you’re growing, how much space you have, and what you’re willing to spend.
Hand watering with a hose or watering can gives you complete control and works beautifully for small gardens, containers, and new plantings that need individual attention. It costs almost nothing to start, and you’ll spot pest problems or wilting leaves as you make your rounds. The downside? It’s time-intensive and relies on you being home consistently.
Sprinkler systems cover large areas quickly and work well for lawns or densely planted beds where plants share similar water needs. You can automate them with timers, which frees up your schedule. However, sprinklers waste water through evaporation and overspray, and wet foliage can invite fungal diseases in humid climates.
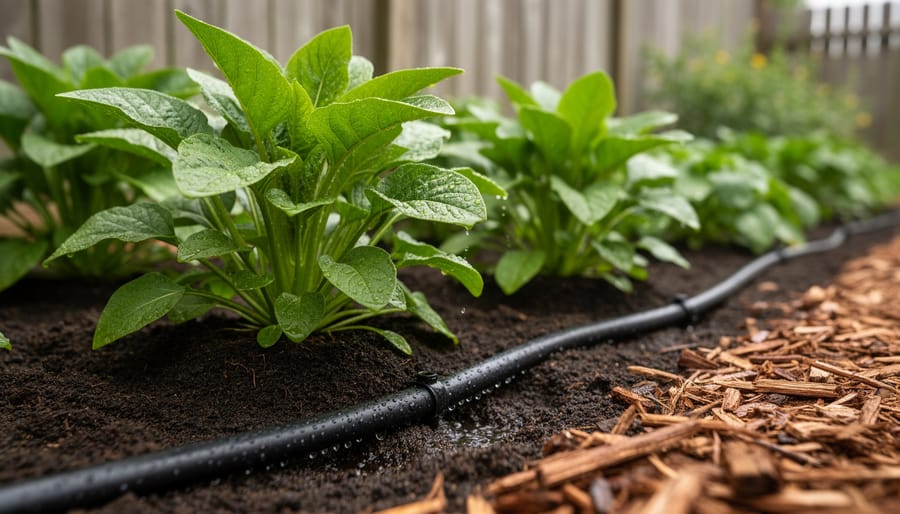
Drip irrigation delivers water directly to root zones through tubes and emitters, making it the most efficient option for vegetable gardens, hedges, and mixed borders. Initial setup costs more and takes planning, but you’ll reduce water use by up to 50% compared to sprinklers while minimizing weeds.
Soaker hoses split the difference, laying flat along rows and seeping water through porous walls. They cost less than drip systems and work perfectly for straight vegetable rows or foundation plantings, though they distribute less evenly on slopes.
Most gardeners end up combining methods: drip lines for the vegetable patch, a sprinkler for the lawn, and hand watering for containers. Start with your highest-maintenance area and expand from there.
Step 3: Install and Set Up Your System
Once you’ve chosen your watering method, it’s time to get it up and running. The installation process varies significantly depending on your system, but the goal remains the same: delivering water where your plants need it most.
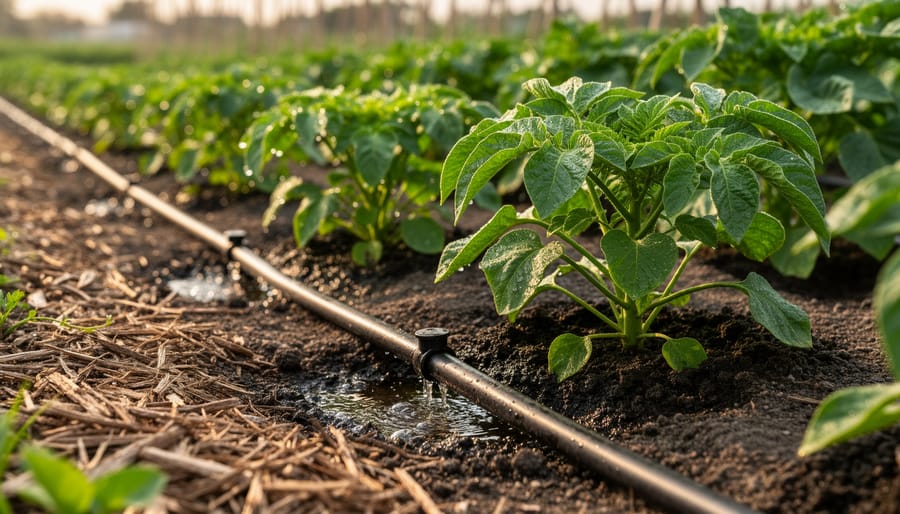
For drip irrigation, start by mapping your garden beds on paper. Mark plant locations and measure distances between them. Lay out your main supply line along the bed’s edge, then connect drip emitters or soaker lines to reach each plant’s root zone. Most systems connect directly to an outdoor faucet with a pressure regulator and filter. Use landscape staples to secure tubing in place, and cap the end of each line. Turn on the water at low pressure initially to flush debris, then check each emitter to ensure it’s dripping steadily.
With sprinkler systems, positioning is everything. Place sprinklers so their coverage patterns overlap slightly, this prevents dry spots. Set up your first sprinkler, turn it on, and place empty tuna cans around the coverage area. Run the system for 15 minutes, then measure water depth in each can. Adjust sprinkler heads or move them until all cans collect roughly equal amounts.
For soaker hoses, snake them through beds in S-curves rather than straight lines to maximize coverage. Keep runs under 100 feet for consistent pressure.
After installation, run your system during daylight so you can spot leaks, clogs, or coverage gaps. Mark problem areas with stakes and make adjustments before setting your timer.
Step 4: Create a Watering Schedule
Creating a watering schedule sounds complicated, but it breaks down into a few practical decisions you can make once and then adjust as conditions change.
Start by identifying your baseline frequency. Most established gardens need deep watering 1-2 times per week rather than daily sprinkles. New plantings and containers require more frequent attention, often every other day until roots establish. Your soil type matters enormously here: sandy soil drains quickly and may need watering every 3-4 days, while clay holds moisture and can go 7-10 days between sessions.
- Check your soil moisture 3-4 inches down with your finger or a moisture meter to establish your current drying rate
- Record how many days pass before soil reaches “barely moist” at root depth, this becomes your initial watering interval
- Calculate duration by running your system and checking penetration depth after 20 minutes, then adjusting time to reach 6-8 inches deep
- Set watering times for early morning (5-9 AM) when evaporation is minimal and plants can dry before nightfall
- Mark your calendar to reduce frequency by 30-40% in spring and fall, increase during peak summer heat
Weather overrides your schedule. After significant rainfall, skip your next session and push the schedule back. During heat waves above 90°F, you might add a second weekly watering or extend duration by 25%. Pay attention to your plants, they’ll tell you if adjustments are needed through leaf droop or color changes before serious stress occurs.
Step 5: Implement Water Conservation Strategies
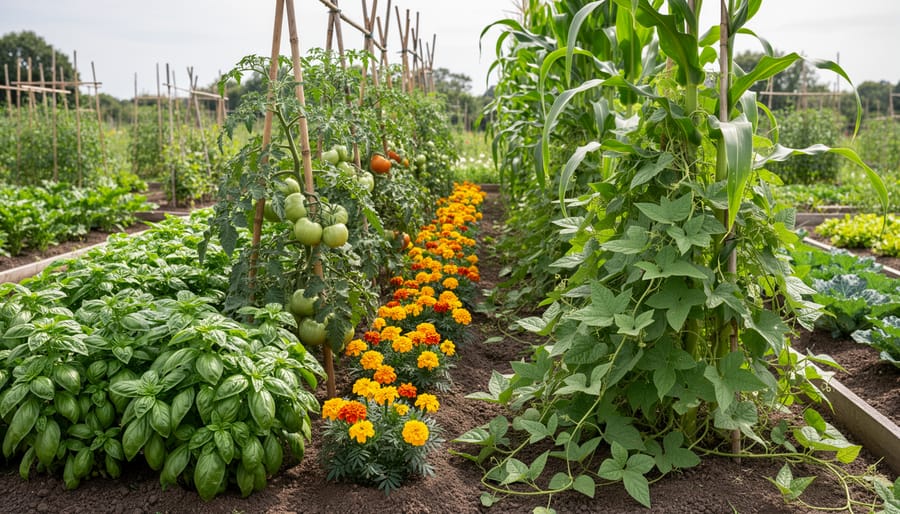
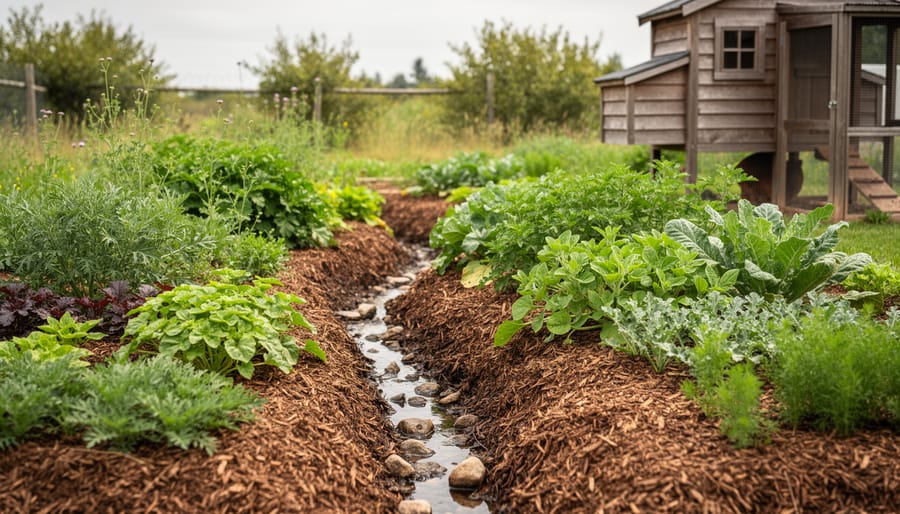
Maximize every drop with these conservation strategies. Apply 2-4 inches of organic mulch around plants to reduce evaporation by up to 70% while suppressing weeds that compete for moisture. Group plants with similar water requirements together, this hydrozoning approach prevents waste from overwatering drought-tolerant natives while ensuring thirsty vegetables get adequate moisture.
Set up rain barrels beneath downspouts to capture free water for later use. A single inch of rain on a 1,000-square-foot roof yields roughly 600 gallons. Water between 5-9am when temperatures are cooler and winds calmer, cutting evaporation losses dramatically compared to midday watering. Direct water at the soil, not foliage, so moisture reaches roots instead of evaporating off leaves. These simple shifts compound into significant water savings throughout the season.
How to Verify Your Water Management Is Working
The best indicator of effective water management lies beneath the surface. Push your finger or a moisture meter three to four inches into the soil, that’s where most feeder roots live. If the soil feels slightly damp at that depth (like a wrung-out sponge) but not soggy, you’re hitting the sweet spot. Check in several locations since moisture distribution varies, especially in sloped areas or raised bed tips can reveal.
Your plants telegraph water balance through visible cues. Healthy, properly-watered specimens show vibrant leaf color, firm stems, and steady new growth. They bounce back quickly after the heat of the day. Overwatered plants develop yellowing leaves (especially lower ones), soft stems, and sometimes a sour smell from oxygen-starved roots. Underwatered plants show wilting that doesn’t recover overnight, browning leaf edges, and stunted growth.
- Success signs: consistent growth, deep green foliage, flowers and fruit developing on schedule, minimal wilting even in afternoon heat
- Warning signs: persistent wilting, leaf drop, slow growth, fungal issues, standing water 24 hours after irrigation, or cracks in the soil surface
Track your water meter readings monthly to quantify improvements. Many gardeners see a 30-40% reduction in usage after implementing targeted techniques, and this soil secret amplifies those savings.
Adjust as seasons shift. Spring often needs less frequent watering than midsummer, while fall requirements drop as temperatures cool and plants slow. If you’ve adopted no-dig watering methods, you’ll notice the soil holds moisture longer each year as organic matter builds. Reassess every six to eight weeks, tweaking duration or frequency based on what the soil and plants tell you.
Expert Insights: Interview with Water-Wise Gardener Maria Chen
We spoke with Maria Chen, a landscape designer based in Southern California with fifteen years of experience creating water-efficient gardens in arid climates. Here’s what she shared about smart watering practices.
What’s the biggest water management mistake you see homeowners make?
“Watering on autopilot. People set timers in spring and forget to adjust them as seasons change. Your garden needs far less water in October than it did in July, but I see sprinklers running the same schedule year-round. That’s wasteful and harmful to plants.”
What’s your number one water-saving tip?
“Master the deep soak. Most people water too frequently and too shallowly, which creates weak, surface-level roots. I tell clients to water less often but longer, encourage roots to grow down where moisture stays consistent. A plant with deep roots can handle heat and dry spells without constant attention.”
How do you adapt techniques for different climates?
“The principles stay the same, but timing shifts dramatically. In humid climates, morning watering prevents fungal issues. In dry regions like mine, I sometimes water at dusk because evaporation is the bigger enemy than disease. Container gardening requires special attention too, balcony watering in full sun means checking soil twice daily in summer, something ground-level gardens never need.”
Any final advice for gardeners starting to improve their water management?
“Start with mulch. It’s the easiest change with the biggest impact. Three inches of organic mulch cuts my clients’ watering needs by thirty to forty percent immediately. You’ll see the difference in your first water bill.”
Common Water Management Questions Answered
Gardeners often face similar challenges when implementing new water management strategies. These questions come up repeatedly in our community forums, and understanding the answers helps you fix watering issues before they damage your plants.
How deep should I water my garden?
Water to a depth of six to eight inches for most ornamental plants and vegetables, which encourages roots to grow downward rather than staying shallow. You can check this by inserting a screwdriver into the soil an hour after watering, it should penetrate easily to that depth.
How do I adjust watering for clay versus sandy soil?
Clay soil holds moisture longer but drains slowly, so water less frequently but for longer periods to allow penetration. Sandy soil drains quickly and needs more frequent watering in smaller amounts to prevent runoff and keep moisture available to roots.
Should I water new plants differently than established ones?
Yes, newly planted specimens need consistent moisture to establish their root systems, often requiring daily watering for the first few weeks. Established plants with developed root networks typically need deeper, less frequent watering to stay healthy and drought-resistant.
Why do my container plants dry out so much faster?
Containers have limited soil volume and increased surface area exposed to sun and wind, causing rapid moisture evaporation. They typically need daily watering during hot weather, and adding water-retaining crystals or choosing pots with reservoirs can help.
What causes uneven watering across my garden beds?
Uneven moisture usually stems from sloped terrain, compacted soil in high-traffic areas, or sprinkler heads with inconsistent coverage patterns. Walk your garden after watering to identify dry spots, then adjust your system layout or add supplemental hand watering where needed.
These answers give you practical starting points, but remember that your specific soil, climate, and plant selection will require some experimentation. Pay attention to how your plants respond, and don’t hesitate to adjust your approach based on what you observe.
Mastering water management techniques transforms your garden from a resource-draining project into a thriving, sustainable ecosystem. The strategies you’ve learned, from assessing soil moisture and choosing the right irrigation method to implementing conservation practices like mulching and hydrozoning, work together to create healthier plants while reducing water waste and lowering your utility bills.
You don’t need to overhaul your entire watering routine overnight. Start with one technique that fits your garden’s immediate needs. Maybe that’s adding a three-inch layer of mulch to retain moisture, or simply shifting your watering time to early morning. These small adjustments compound over weeks and months, building habits that benefit both your plants and the environment.
As you gain confidence, layer in additional methods. Install a rain barrel to capture free water, upgrade to a drip system in your vegetable beds, or group plants with similar moisture needs together. Each step makes your garden more resilient and your watering more efficient.
Your garden is unique, and you’ll discover water-saving approaches that work specifically for your climate, soil, and plant selection. We’d love to hear what techniques have made the biggest difference in your landscape. Share your successes, challenges, and innovative solutions with the Bluestem community in the comments below. Your experience might be exactly what another gardener needs to hear.