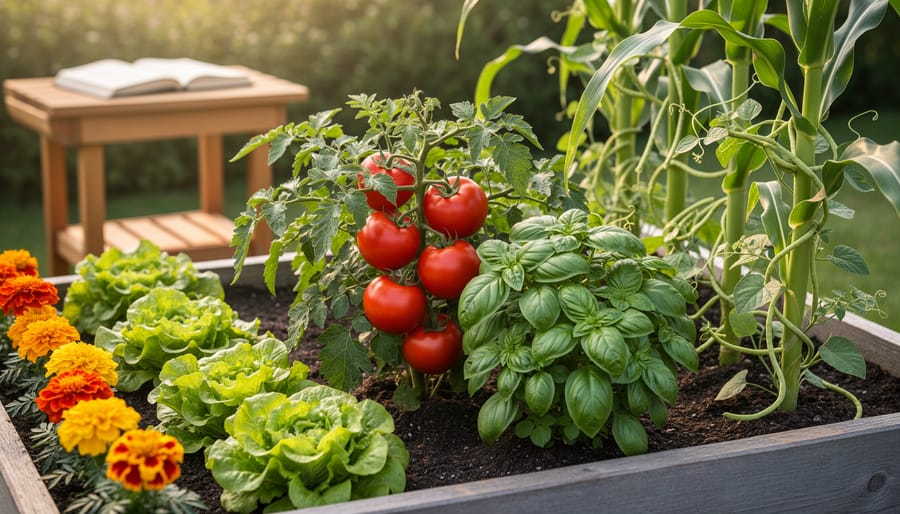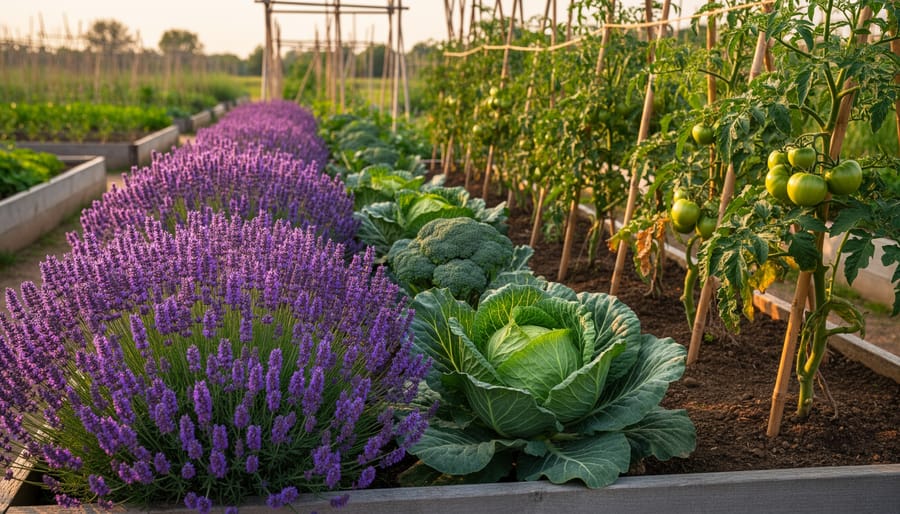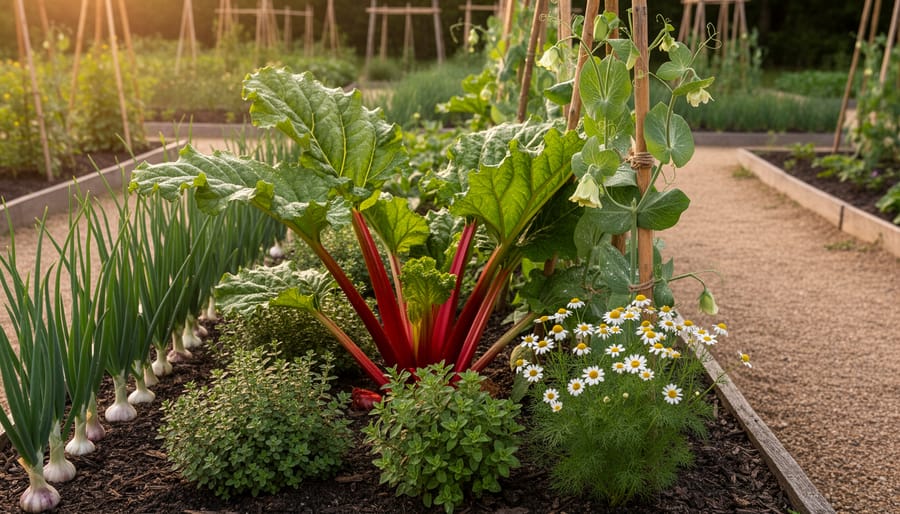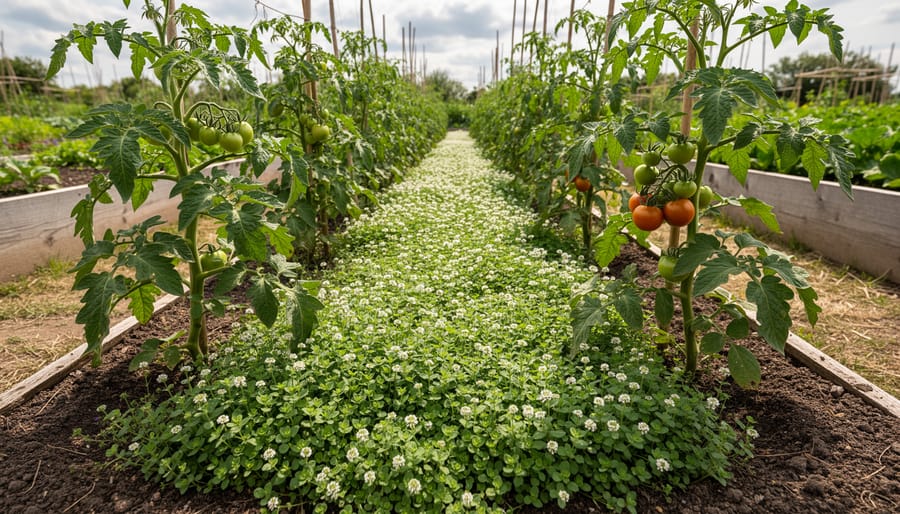
Living mulches are low-growing plants that you grow intentionally between or around your main crops to cover the soil, suppress weeds, and improve garden health. Instead of laying down straw or wood chips, you’re cultivating a living carpet of beneficial plants that does double duty: protecting your soil while contributing to a thriving ecosystem through good companion planting. Think of white clover spreading beneath your tomatoes or creeping thyme filling the gaps between vegetable rows.
The concept transforms what would be bare, vulnerable soil into productive space. These ground-hugging companions shade out weeds, retain moisture, prevent erosion, and many even fix nitrogen from the air to feed your garden. Some living mulches attract beneficial insects, while others simply create a lush, walkable surface that keeps mud off your shoes and produce.
Getting started is simpler than you might expect. The key lies in choosing species that won’t compete aggressively with your main crops and matching their growth habits to your garden layout. Cool-season vegetables pair beautifully with different living mulches than warm-season crops, and perennial beds have their own ideal companions.
Throughout this guide, you’ll learn exactly which plants work best in different situations, how to establish them without overwhelming your vegetables, and the step-by-step process for integrating living mulches into your existing garden beds. We’ve also included insights from experienced gardeners who’ve fine-tuned this technique over years of practice.
What You’ll Need to Get Started
Establishing living mulches doesn’t require specialized equipment, and you probably already own most of what you’ll need. The core supplies center on your chosen living mulch species and basic gardening tools for site preparation and ongoing care.
Your primary need is seeds or starter plants for your living mulch species. Seeds are more economical and work well for white clover, annual ryegrass, and most vetch varieties. Plan on roughly 2-4 ounces of clover seed per 1,000 square feet, though exact rates vary by species. For creeping perennials like thyme or ajuga, you’ll have better success starting with transplants spaced 6-12 inches apart.
Here’s what to gather before you begin:
- Living mulch seeds or plants suited to your climate and main crops
- Compost or aged manure to improve soil before planting
- Garden rake for leveling soil and covering broadcast seeds
- Hoe or hand cultivator for removing existing weeds
- Hand trowel for transplanting individual plants
- Watering can or hose with gentle spray attachment
- Mulch mower or string trimmer for height management
- Row markers or garden twine to define planting areas (optional)
- Soil pH test kit to verify compatibility with your living mulch choice (optional)
- Garden journal or camera for tracking establishment progress (optional)
You won’t need chemical fertilizers, living mulches fix nitrogen or recycle existing nutrients, but a light application of compost at planting gives the system a good start. If you’re working with compacted soil, consider adding a broadfork to your toolkit for initial aeration. Most importantly, ensure reliable access to water during the first 3-4 weeks while your living mulch establishes roots and begins spreading.
Choosing the Right Living Mulch for Your Garden
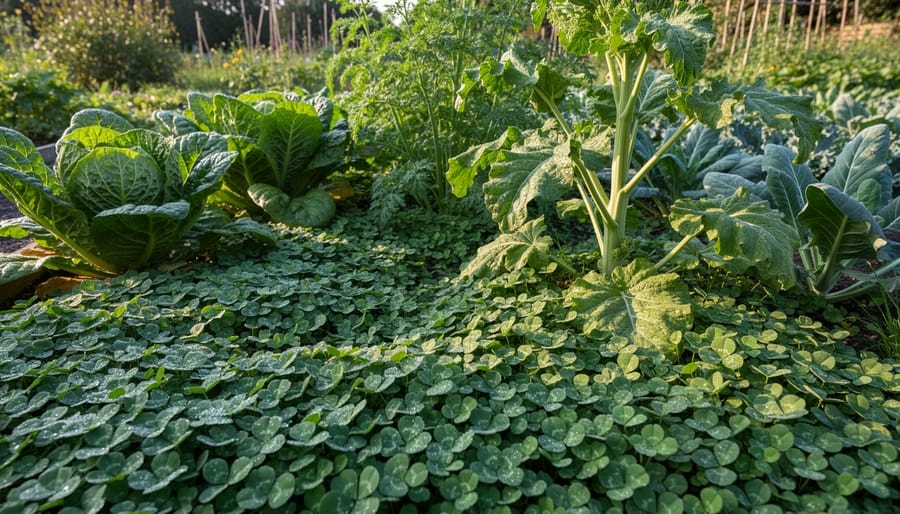
Selecting the right living mulch depends on three key factors: your climate, what you’re growing, and what you want to accomplish. A living mulch that thrives under apple trees might compete too aggressively with your tomatoes, while species that work beautifully in cool climates can fizzle in summer heat.
White clover is the workhorse of living mulches for most vegetable gardens. It fixes nitrogen, tolerates foot traffic, and stays low enough (four to six inches) that it won’t shade out crops. Plant it between rows of established vegetables or around perennials. It thrives in zones three through ten and handles partial shade, making it ideal for orchards where it grows beneath fruit trees without climbing trunks.
Creeping thyme excels in hot, dry gardens where water conservation matters. This low-growing herb (two to four inches) tolerates drought once established and releases a pleasant aroma when brushed. Use it around Mediterranean vegetables like eggplant and peppers, or let it spread between stepping stones in herb gardens. It pairs naturally with other herb pairings where you want a living carpet that requires minimal maintenance. Hardy to zone four, it struggles in humid climates with poor air circulation.
Hairy vetch works best in annual vegetable systems where you can turn it under as green manure. Plant it in fall in zones seven and warmer, or spring in colder regions. It fixes substantial nitrogen but grows taller (twelve to twenty-four inches), so timing matters, establish it before crops or after harvest. It’s perfect for building soil between crop rotations.
Annual ryegrass germinates fast and fills in quickly, making it useful when you need rapid ground cover to outcompete weeds. Use it in paths, around newly planted trees, or as a quick cover crop between growing seasons. It dies back in winter in cold climates, providing natural mulch. Since it can become competitive, keep it trimmed to three to four inches when growing near active crops.
Important Safety and Planning Considerations
Before you plant, understand that living mulches aren’t a one-size-fits-all solution. Certain species can cause more harm than good if you don’t match them carefully to your garden’s conditions and crops.
The biggest risk comes from aggressive spreaders that outcompete your main crops for water and nutrients. White clover and creeping thyme, while popular, can become invasive in rich soil. Hairy vetch grows vigorously enough to smother young transplants if you don’t manage it early. Some plants also release allelopathic compounds that inhibit nearby growth, tall fescue and annual ryegrass, for example, can slow germination of vegetables and flowers. These are classic plant pairing mistakes that frustrate gardeners who expect living mulches to help, not hinder.
Timing matters enormously. Research on living mulches and nitrogen shows that legumes can tie up nitrogen during their active growth phase, exactly when your vegetables need it most. Plant them too early in spring, and your tomatoes or peppers will struggle.
Living mulches also create dense cover that shelters slugs, snails, and voles. If you already battle these pests, adding a living mulch can worsen the problem. Monitor regularly during establishment and be ready to adjust your approach.
Skip living mulches entirely if you garden in arid climates without reliable irrigation, they’ll compete fiercely for scarce water. New gardens with depleted soil also benefit more from compost and cover crops rotated seasonally rather than permanent living mulches that demand nutrients you can’t yet spare.
Step-by-Step: Establishing Your Living Mulch
Prepare Your Garden Bed
Start by clearing your garden bed of all existing weeds, either by hand-pulling or using a hoe to disturb the top inch of soil. You want to eliminate competition before introducing your living mulch, so be thorough, even small weed roots can quickly reestablish.
Next, assess your soil quality. Living mulches establish best in soil that’s reasonably fertile and well-draining. If your bed is compacted, loosen it with a garden fork to a depth of six to eight inches. This helps both your main crops and the living mulch develop strong root systems. Add compost if your soil is poor, but avoid over-fertilizing, which can encourage excessive living mulch growth that competes with your crops.
Now plan your spacing. Your main crops need adequate room to grow without being crowded by the living mulch. For vegetables like tomatoes or peppers, leave at least six inches of clear space around each plant’s base. For row crops, create planting rows with pathways between them where the living mulch will establish. Mark these areas with stakes or string so you know exactly where each component will go once you start planting.
Plant or Seed Your Living Mulch
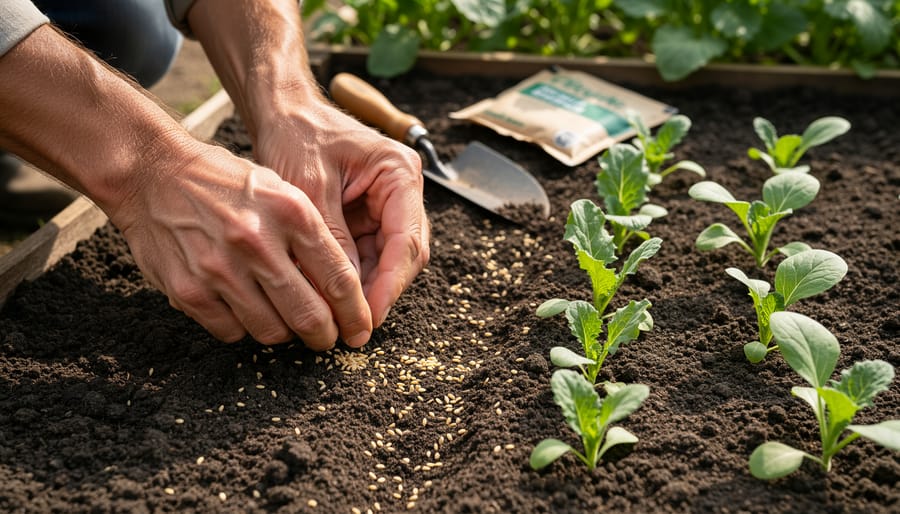
Once your bed is ready, you have two main options: direct seeding or transplanting starter plants. Direct seeding is more economical and works beautifully for clover, vetch, and ryegrass. Scatter seeds evenly across the prepared area at about half the recommended rate on the packet, you want coverage without creating a dense mat that’s hard to manage. Lightly rake the seeds into the top quarter-inch of soil, then water gently.
Transplanting works better for slower-establishing species like creeping thyme or when you need precise placement around existing crops. Space transplants six to twelve inches apart depending on the species’ spreading habit. Thyme needs wider spacing, while clover can go closer together.
Timing matters enormously. For spring vegetables, plant fast-growing living mulches like clover two weeks after transplanting your main crops, this gives vegetables a head start. With established perennials or fruit trees, you can seed anytime during their dormant season. Fall-planted living mulches establish strong roots over winter, giving you vigorous growth come spring without competing during your crops’ critical early weeks.
Establish and Manage Early Growth
Once your living mulch is in the ground, the first three to four weeks are critical. Water every two to three days if there’s no rain, keeping the top inch of soil consistently moist but not saturated. This frequent watering helps the mulch establish roots before it faces competition from your main crops.
During this phase, keep a close eye on both your crops and the living mulch. If you notice the mulch growing vigorously while your main plants seem stunted or yellowing, trim the mulch back by half. Use scissors or hand pruners to cut it down to about two inches high. This reduces competition for nutrients and light without killing the plants.
After about four weeks, once the living mulch has developed a solid root system and your main crops have a strong head start, you can ease back on watering and let the mulch spread naturally. For most species, this means allowing it to fill in bare spaces between crop rows while keeping it trimmed away from plant stems. The goal is a living carpet that covers soil without climbing onto your vegetables or flowers.
Maintain the Balance
Once your living mulch is established, regular maintenance keeps it from overwhelming your main crops. Mow or trim the plants every three to four weeks during the growing season, cutting them to about two to three inches high. Use hand shears for small areas or a string trimmer set high for larger spaces, never scalp it down to bare soil.
Watch for signs your living mulch is getting too competitive. If your main crops show yellowing leaves or stunted growth, trim the mulch back more aggressively or pull it away from the base of crop plants to create six-inch clear zones. In particularly vigorous beds, you might need to trim every two weeks instead.
Adjust your approach seasonally. Let the mulch grow taller in early spring to suppress weeds, then trim it shorter as your main crops enter their peak growth phase. After harvest, allow it to regrow fully to protect the soil over winter.
How to Tell If Your Living Mulch Is Working
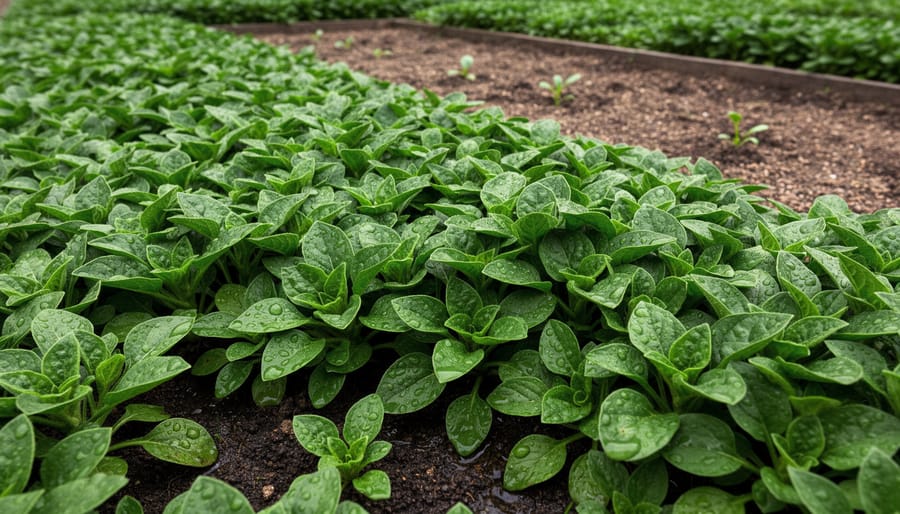
You’ll know your living mulch is thriving when weeds struggle to break through the dense, low-growing canopy. Check soil moisture by sticking your finger two inches into the ground near your main crops, if it stays consistently damp longer than bare soil areas, your living mulch is doing its job. Healthy main crops with vigorous growth, deep green foliage, and minimal stress during hot spells signal that your system has found the right balance.
Look for beneficial insects taking up residence. Ground beetles, ladybugs, and tiny parasitic wasps love the shelter and pollen that flowering living mulches provide, making them excellent natural garden defenders for your crops. Squat down and part the living mulch, healthy soil underneath should feel loose, crumbly, and rich with earthworm activity rather than compacted.
If your main crops look stunted or yellowing despite adequate water, your living mulch may be competing too aggressively for nitrogen. Trim it back by half and side-dress your crops with compost. Poor living mulch establishment, where patches remain thin or bare after six weeks, usually means either inadequate watering during germination or soil that’s too compacted. Overseed sparse areas and water daily until new growth fills in.
When your living mulch starts creeping where it shouldn’t, simply mow or hand-pull the excess. A well-functioning system needs minimal intervention, check your companion chart to confirm you’ve paired compatible species, then let the plants settle into their rhythm.
Expert Insights: A Conversation with a Regenerative Farmer
I recently spoke with Maria Chen, who has managed a 12-acre regenerative vegetable farm in Oregon’s Willamette Valley for eight years. She now plants living mulches under nearly all her fruiting crops, and her insights reveal both the unexpected challenges and rewards of this technique.
“My biggest mistake was starting too ambitiously,” Maria told me. “I undersowed white clover throughout my entire tomato field the first year. The clover established beautifully, but it competed fiercely for nitrogen during fruit set. I had to sidedress twice as much compost as usual.” She now waits until her tomatoes reach 18 inches tall before broadcasting clover seed, giving the main crop a head start.
Her favorite combination surprised me: hairy vetch under winter squash. “The vetch fixes nitrogen while the squash vines shade it out just enough to prevent takeover. Come fall, I crimp the vetch in place and it becomes next spring’s green manure. I’ve cut my fertilizer costs by 40 percent in those beds.”
When I asked about unexpected benefits, Maria’s answer was immediate: “The predatory beetles. I used to spray for cucumber beetles and squash bugs weekly. Now, with the living mulch creating habitat, ground beetles patrol constantly. My pest pressure dropped so dramatically that I can’t remember the last time I reached for even organic spray. That alone made the learning curve worthwhile.”
Common Questions About Living Mulches
Can I use living mulches in containers?
Yes, but choose compact, shallow-rooted species like creeping thyme or sweet alyssum. The container needs to be large enough to support both your main plant and the living mulch without creating root competition, typically at least 18 inches across.
Do living mulches attract pests?
Living mulches can attract beneficial insects that help control pests, but they may also provide shelter for slugs and snails in humid climates. Keep the living mulch trimmed low and monitor regularly to prevent pest buildup around your main crops.
How often do I need to trim them?
Most living mulches need trimming every 3-4 weeks during active growth, or whenever they reach about 4-6 inches tall. Vigorous growers like clover may need more frequent cutting in spring and early summer, while slower species like thyme rarely need trimming at all.
Will they compete with my vegetables for nutrients?
Living mulches do use some nutrients, but legumes like clover and vetch actually fix nitrogen and improve soil fertility. To minimize competition, keep living mulches well-trimmed during critical growth phases of your main crops and consider adding extra compost when planting heavy feeders.
When is the best time to plant living mulches?
Plant living mulches 2-4 weeks after your main crops are established so they don’t compete during the vulnerable seedling stage. In orchards or perennial beds, early spring or fall works best when temperatures are moderate and rainfall helps with establishment.
Can living mulches work in dry climates?
They can, but you’ll need consistent irrigation and drought-tolerant species like creeping thyme or native ground covers adapted to your region. In very arid areas with limited water, traditional mulch may be more practical than living options.
These questions come up constantly when gardeners first experiment with living mulches, and the answers often determine whether someone takes the leap or sticks with traditional methods. The container question is particularly common among urban gardeners who want to try the technique on a small scale before committing to larger beds. Understanding that living mulches need management, not just planting and forgetting, helps set realistic expectations and leads to better results.
Living mulches offer a simple yet powerful way to transform your garden into a thriving, self-sustaining ecosystem. By protecting soil, suppressing weeds, and steadily building organic matter, these hardworking ground covers reduce your maintenance workload while improving long-term soil health and crop yields.
The beauty of this technique lies in its flexibility. You don’t need to convert your entire garden overnight. Start with a single bed or one section of your orchard, and watch how the living mulch performs throughout the season. Notice the weed reduction, observe the moisture retention, and pay attention to how your main crops respond. These small-scale experiments give you valuable insights without overwhelming your gardening routine.
As you gain confidence, you’ll discover which species work best in your unique conditions and with your favorite crops. Each garden is different, and part of the joy comes from finding the combinations that thrive in your space.
Your experiences, both successes and challenges, can help fellow gardeners on their own journeys. Share what you learn, ask questions, and connect with others who are exploring sustainable growing practices. Together, we’re all cultivating healthier soil and more resilient gardens.