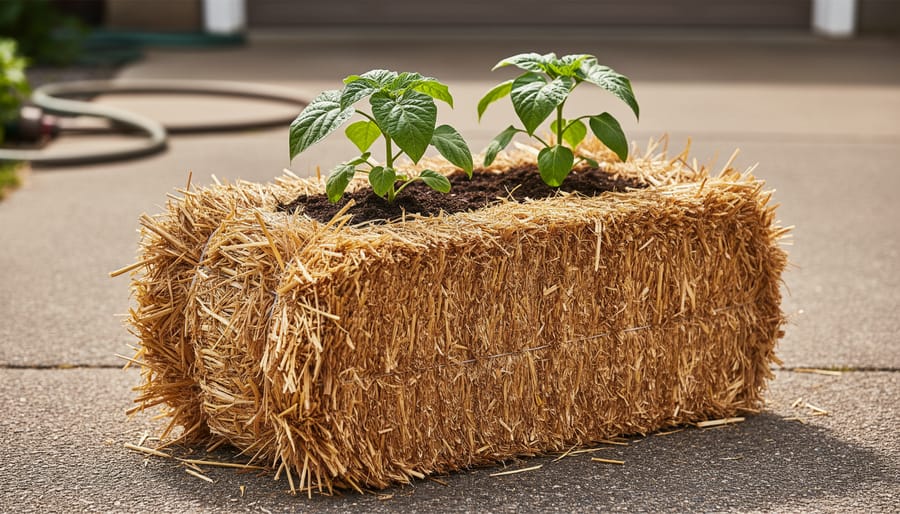
Straw bale gardening lets you grow vegetables in a bale of straw instead of in the ground. You condition the bale for a couple of weeks so it starts breaking down into a growing medium, then plant straight into it. No digging, no soil, and no need for a traditional garden bed. It’s a beginner-friendly method that works on patios, driveways, and patches of lawn where the soil is poor or simply not there.
Why does it work? A bale is a bundle of plant material that holds moisture and slowly decomposes, creating a warm, crumbly home for roots. Add water and a nitrogen source, give it time, and the straw does the rest.
You’ll need very little to start: a few bales, water, something to feed the bale, and a handful of seedlings or seeds. The skills are just as simple. If you can water a houseplant and follow a checklist, you can do this.
In this guide, we’ll walk through what to gather, how to stay safe while handling bales, the steps for preparing them, and how to tell when yours are ready to plant. We’ll go one step at a time, so you can finish with a bale full of growing plants and plenty of confidence.
What Straw Bale Gardening Is and Who It Suits
Here’s the basic idea: a straw bale can be both the container and the growing medium for your plants. Once you’ve “conditioned” it, which just means giving the bale a short preparation period so it’s ready to support roots, you plant right into it. No digging, no building a bed, and no hauling in loads of soil.
Think of it as a ready-made raised bed that happens to be made of straw. The bale holds moisture, sits up off the ground, and breaks down gradually as the season goes on, feeding your plants along the way.
So who is it a good fit for? A few situations come to mind:
– Gardeners with hard, rocky, or compacted ground who don’t want to wrestle with a shovel
– People with limited space, like a patio, balcony, or small lot, where a bale or two fits easily
– Anyone who’d like to skip heavy digging or has trouble bending and kneeling at ground level
If your yard has tired or stubborn dirt, bales can sit right on top of it and work around the problem. For ideas on improving the ground itself over time, you can also look at these poor soil fixes.
Straw bale gardening is also a friendly way to experiment. You can start with a single bale and see how you like it, without committing to a full garden bed. If it’s not for you, you’ve lost very little. If you love it, you can add more bales next year.
Tools and Materials You’ll Need Before You Start
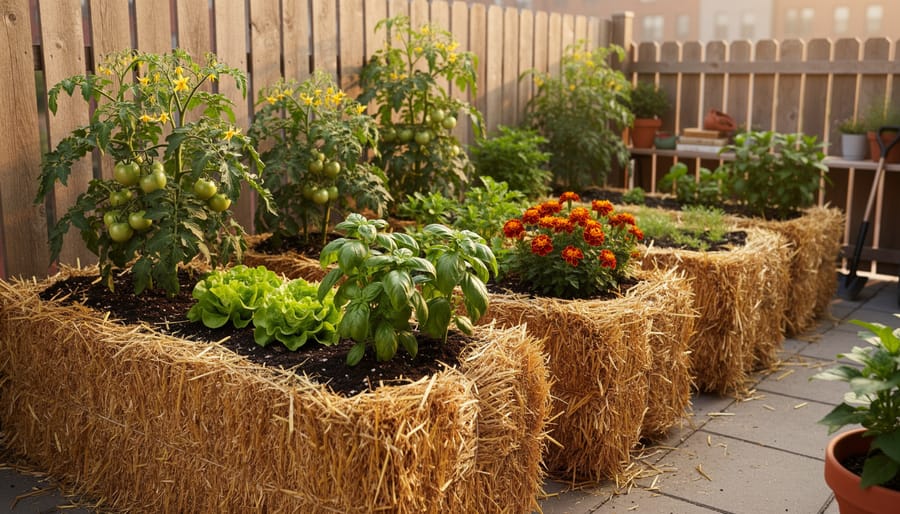
Before you pull a single bale into the yard, it helps to gather everything in one place. The list is short, and most of it is probably already in your shed.
The one thing beginners mix up is straw versus hay. Straw is the dry, hollow stalks left over after a grain crop is harvested. Hay is cut grass or legumes, dried and baled as animal feed, so it’s full of seed heads. Hay bales can sprout a lawn’s worth of weeds right in your garden, which is why straw is the way to go.
Here’s what to gather:
- Straw bales: these act as both your container and your growing medium.
- A sunny, level spot: most vegetables and herbs want plenty of direct light, and level ground keeps bales stable.
- Easy water access: a nearby hose or watering can makes daily care far less of a chore.
- A nitrogen source: this feeds the microbes that start breaking the straw down during conditioning.
- Work gloves: they protect your hands from scratchy straw and make bales easier to grip.
- A dust mask: handy when straw is dry and dusty.
- A trowel or hand fork: you’ll use it to open planting pockets later on.
- A hose or watering can: for soaking the bales evenly during preparation.
Skip the guesswork on quantities. How many bales you need depends on how much you want to grow and how much room you have, so start small. Your local garden center or farm supplier can tell you what’s available nearby, including which products work as a nitrogen source in your area. They’re usually happy to point a first-timer in the right direction.
Safety Warnings and Stop Points Before You Begin
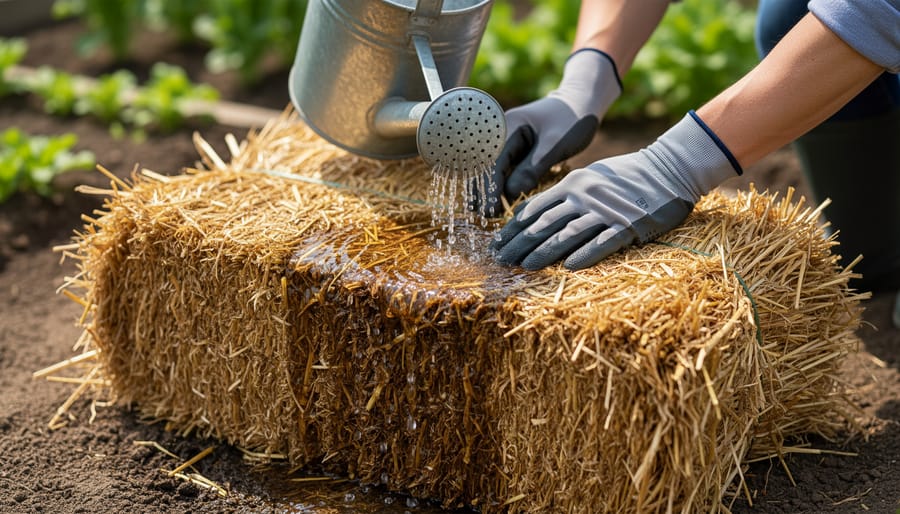
Straw bale gardening is wonderfully low-stress, and a few easy habits will keep it that way. Think of these as the quick checks you do before the fun starts.
Start with the bales themselves. They’re bulkier than they look, so lift with your legs, keep the bale close to your body, and ask a friend to help when you can. Put them down on stable, level ground, because a wet bale gets heavy and can shift if the spot is uneven or soft.
Straw can be dusty, so gloves and a simple dust mask make handling much more comfortable, particularly when you’re breaking up or moving bales. Wash your hands well afterward, just as you would after any time in the garden.
If you’re growing edibles, it’s worth a quick conversation with whoever sells you the bales. A good supplier will happily tell you about the straw’s origin and any treatments used. You can also check for local gardening guidance in your area, since recommendations can vary from place to place.
None of this is cause for worry. It’s just a few sensible habits, and once they’re routine, you’re ready to get your hands into the project.
Step-by-Step: Setting Up and Conditioning Your Straw Bale Garden
Choosing a Spot and Positioning Your Bales
Before you set a single bale down, take a few minutes to pick the right spot. Once the bales are wet and conditioning, they get heavy and awkward to move, so it pays to decide now.
Look for a place that gets plenty of sun, since most vegetables and flowers do best with a good stretch of direct light each day. Watch your yard for a morning or two to see where the light actually falls. Next, make sure the ground is level so the bales sit steady and won’t tip as they absorb water. Finally, choose a spot close to a hose or watering can, because you’ll be watering often.
Now for positioning. Set each bale so the cut sides face up, with the folded edges toward the soil. The strings should run along the sides, not across the top. This keeps them from snagging your trowel and helps the bales hold together. Line the bales up snugly, end to end, so they hold each other steady.
Conditioning the Bales Before You Plant
Think of conditioning as a warm-up period for your bale. Fresh straw is mostly dry stalks with very little available nutrition, so it needs some time to start breaking down before it can support roots. During this stretch, moisture and a nitrogen source encourage the straw’s natural decomposition to get going, which turns a stiff, dry block into something more like a growing medium. If you’re curious about the details, this guide to conditioning straw bales is a handy reference.
Why does it matter? Skip it, and your seedlings may struggle in a bale that isn’t ready for them. A little patience here sets you up for a much happier garden.
As you go, keep an eye (and a hand) on the bale:
– It should stay evenly damp, not bone dry and not soggy.
– It may feel warmer as the straw starts breaking down.
– It will slowly settle and soften, and you might notice a earthy, mellow smell.
– Small sprouts or fungi popping up are normal and nothing to worry about.
Follow the directions on whatever fertilizer you choose, and check in every day or so. Your bale will tell you how it’s coming along, so observe and trust the process.
Planting Into Your Conditioned Bale
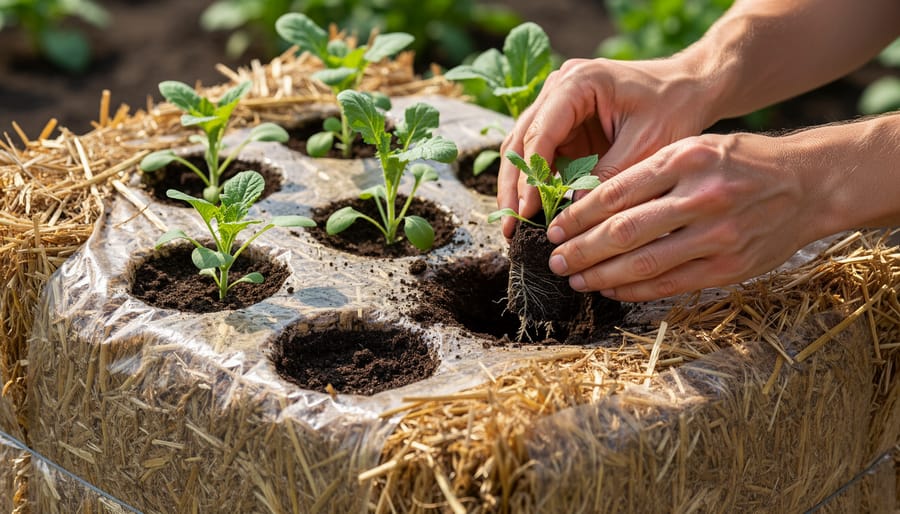
Once your bale is conditioned and feels workable, planting is the fun part. For seedlings, pull apart the straw with your fingers or a trowel to make a small pocket, just big enough for the root ball. Tuck in a handful of planting mix or potting soil around the roots so they have something fine to grab onto, then gently firm the straw back around the stem.
For seeds, spread a thin layer of planting mix across the top of the bale and sow right into it, following the directions on your seed packet.
Water right after planting, and keep the bale evenly moist while young plants settle in. A bale can dry out faster than garden soil, so check it often.
If you’re new to this, start with forgiving crops. Leafy greens, herbs, and bush-style vegetables are all friendly choices. Pick one or two you already love to eat, and build from there.
Expert Voices: Tips From Gardeners Who Have Tried It
Every gardener we talk to about straw bales seems to have a “wish I’d known” story, and that’s what this slot is built for. Think of it as a short, friendly Q&A with an experienced bale gardener, kept in their own words.
Editor’s note: This section is a placeholder. The interviewee and answers must come from a real conversation, so nothing below should be published as a quote until you’ve spoken with a gardener.
Suggested questions to ask:
– What do you wish you’d known before your first bale? Listen for stories about patience, since many beginners rush the preparation. A good follow-up is how they handled why conditioning matters in their own first season.
– Which crops did you start with, and which would you recommend to a nervous beginner?
– What was your biggest stumble, and how did you fix it?
– How do you keep your bales evenly moist? This is a natural spot to ask how they water wisely through a long, hot stretch.
– Coming from beds, did anything surprise you? If they’ve gardened in beds before, it’s a nice chance to compare notes with raised bed basics.
Wrap up by asking for one piece of encouragement for first-timers. Real gardeners tend to be generous with that, and it’s often the line readers remember.
Keeping Your Bales Healthy: Watering, Feeding, and Troubleshooting
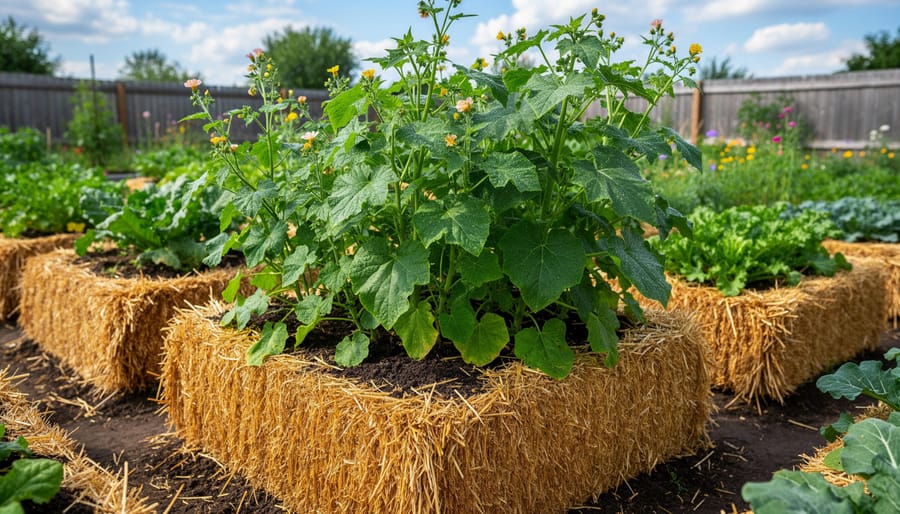
Once your bales are planted, the routine is pretty simple: keep them evenly moist and feed your plants as the season rolls on. Straw dries out faster than garden soil, so a quick daily check helps. Push a finger a couple of inches into the bale. If it feels damp, you’re good. If it feels dry, give it a slow, steady soak so the water reaches the middle instead of running off the sides.
Feeding is just as friendly. Because a bale is a different growing medium than soil, plants often appreciate a little extra nutrition as they grow. Follow the directions on whatever fertilizer you choose, and feed lightly and regularly rather than all at once. Watching your plants is the best guide. They’ll let you know what they need.
If something looks a bit off, don’t worry. Most problems have easy fixes, and here are a few common signs to try:
- Wilting leaves: check the bale’s moisture first, then water slowly and deeply.
- Yellowing lower leaves: your plants may be hungry, so try a gentle feeding.
- Slow growth: make sure the plants are getting enough sun, and consider a light feed.
- Bale drying out quickly: add a layer of mulch on top to help hold moisture in.
- Leaning or shifting bales: nudge them back into place and brace them if needed.
Every region has its own quirks, from local pests to weather patterns. If something puzzling shows up, your local extension office or garden center is a great, friendly resource for advice that fits where you live.
How to Tell Your Bale Is Ready and What to Do Next
You’ll know a bale is ready by how it feels and behaves, not by the calendar. A conditioned bale starts out cool, heats up as the straw begins to break down, then settles back down to roughly the temperature of the air around it. Slide your hand a few inches into the bale. If it feels warm or hot, give it more time. When it feels cool again, that’s a good sign the worst of the heat has passed.
Look and feel matter too. The straw should be damp throughout, slightly softer than when you brought it home, and often a bit darker inside. You might notice a mild, earthy smell, which is perfectly normal.
Once your bale passes the test, it’s time to plant. Add your seedlings or seeds, keep the bale evenly moist, and care for it through the season as you would any garden bed.
When the season winds down, don’t toss those bales. They’ll be soft and crumbly by then, which makes them wonderful to break apart and add to your compost pile, or spread as mulch around other plants.
Finally, jot down what you did and what happened: where you placed your bales, what you grew, and what surprised you. Those notes will make next year’s garden even easier.
Straw Bale Gardening FAQs
Straw bale gardening raises a few questions for almost everyone who tries it. Here are the ones beginners ask most often, with answers that should hold up wherever you garden.
Can I use hay instead of straw?
It’s best to stick with straw. Hay is cut while the plant is still green and tends to carry plenty of seeds, so it can sprout weeds in your bale, while straw is the dried stalks left after grain is harvested.
Do I need a lot of space?
Not at all. A bale takes up about as much room as a large container, so even a single bale on a sunny patch of ground, a driveway edge, or a patio can be a fun starting point.
What can I grow, and can I reuse a bale?
Many gardeners start with easy, familiar crops like leafy greens, herbs, and flowers, then experiment as they gain confidence. A bale gradually breaks down over a season, so many gardeners compost it or use it as mulch afterward rather than planting in it again.
Is it right for a small lot or patio?
It can be a great fit, especially if your ground is hard, rocky, or just limited. Just make sure the spot is level, gets good sun, and can handle the weight of a wet bale.
Details like the best varieties, timing, and where to find straw can vary quite a bit by region. Your local garden center, farm supplier, or extension office is a friendly place to get advice tailored to your climate, and fellow gardeners nearby are often happy to share what has worked for them.
Straw bale gardening is one of the friendliest ways to start growing your own food and flowers. If your soil is rocky, compacted, or simply not there, a bale gives you a ready-made bed that sits right where you want it. Tight on space? A patio, a driveway edge, or a sunny corner of a small lot can all work.
The best part is how little you have to commit to. You don’t need to dig up the lawn or build a full set of raised beds. Start with a single bale, give it the time it needs to condition, and plant a few easy crops. You’ll learn more from that one bale than from any amount of reading, and you can always add more next season.
We’d love to hear how it goes. Share your first bale, your wins, and even your muddy mishaps with the Bluestem Gardening community, because every gardener’s story helps the next beginner. And when you’re ready for your next project, browse our other how-to guides for more step-by-step ideas. Happy growing!