Transform your backyard into a thriving, low-maintenance garden without ever lifting a spade. No-dig gardening works with nature’s own processes, creating fertile, healthy soil that produces abundant harvests while dramatically reducing weeding time. Layer cardboard directly over grass or weeds, add 4-6 inches of compost on top, and plant immediately – no waiting or complex land preparation required. This method mimics forest floor development, where organic matter naturally builds up over time to create rich, living soil.
By keeping soil structure intact and undisturbed, no-dig gardens foster beneficial microorganisms, retain moisture better than traditional gardens, and naturally suppress weed growth. Even complete beginners can start today using simple materials found around home: cardboard boxes, grass clippings, fallen leaves, and kitchen scraps form the foundation of this revolutionary gardening approach that’s transforming how we grow food.
Nature has perfected this process over millions of years – we’re simply following her lead. Ready to get started? Your first no-dig bed awaits, and it’s easier than you might think.
Why No-Dig Gardening Works So Well
The Natural Soil Science
Nature has perfected soil structure over millions of years, and undisturbed soil is a complex, living ecosystem. When left alone, soil develops distinct layers and networks of beneficial organisms that work together in harmony. Earthworms create channels that improve drainage and aeration, while their castings enrich the soil with nutrients. Fungi develop extensive underground networks, forming partnerships with plant roots to enhance nutrient uptake.
The soil food web includes countless microscopic organisms, from bacteria to nematodes, each playing a vital role in maintaining soil health. These organisms break down organic matter, cycle nutrients, and create natural protection against plant diseases. The soil structure itself becomes more stable, with small particles binding together to form larger aggregates that retain both water and air.
When we dig or till the soil, we disrupt these natural processes. It’s like breaking up a thriving community – the beneficial networks are destroyed, earthworm tunnels collapse, and soil structure is compromised. By adopting no-dig methods, we’re simply letting nature do what it does best: create and maintain healthy, living soil that supports abundant plant growth.

Benefits for New Gardeners
No-dig gardening is particularly rewarding for beginners, offering several advantages that make starting your gardening journey smoother and more enjoyable. First, you’ll save significant time and energy by skipping the traditional digging and tilling process, allowing you to focus on the fun parts of gardening like planting and harvesting.
The method is also more forgiving for newcomers. Since you’re working with layers of organic material on top of existing soil, there’s less worry about soil compaction or incorrect digging depth. The improved soil structure naturally supports healthy plant growth, reducing the chances of common beginner mistakes.
Maintenance becomes much simpler too. The thick mulch layer naturally suppresses weeds, meaning less time spent on your hands and knees weeding. This same layer helps retain moisture, reducing the frequency of watering and making it easier to maintain consistent growing conditions.
For those just starting out, the gentler learning curve of no-dig gardening builds confidence quickly. You’ll see results faster, as the nutrient-rich environment promotes strong plant growth from the start, providing the encouragement needed to stay motivated in your new gardening adventure.
Setting Up Your First No-Dig Garden Bed
Choosing Your Location
Selecting the right location for your no-dig garden is crucial for success. Start by observing your yard throughout the day to find a spot that receives at least 6-8 hours of direct sunlight. Most vegetables and herbs thrive in full sun, though some leafy greens can tolerate partial shade.
Consider accessibility – you’ll want your garden bed close to a water source and easily reachable for maintenance. If possible, choose a relatively flat area to prevent soil and nutrients from washing away during rain. While a slight slope can work, you may need to implement simple terracing techniques.
Good air circulation is important, so avoid areas that are too enclosed or backed up against walls. However, some protection from strong winds can be beneficial for your plants. Test your soil drainage by digging a small hole and filling it with water – if it drains within 24 hours, you’re good to go.
Remember to check for underground utilities before settling on a location, and keep away from large tree roots that might compete with your garden for nutrients and water.
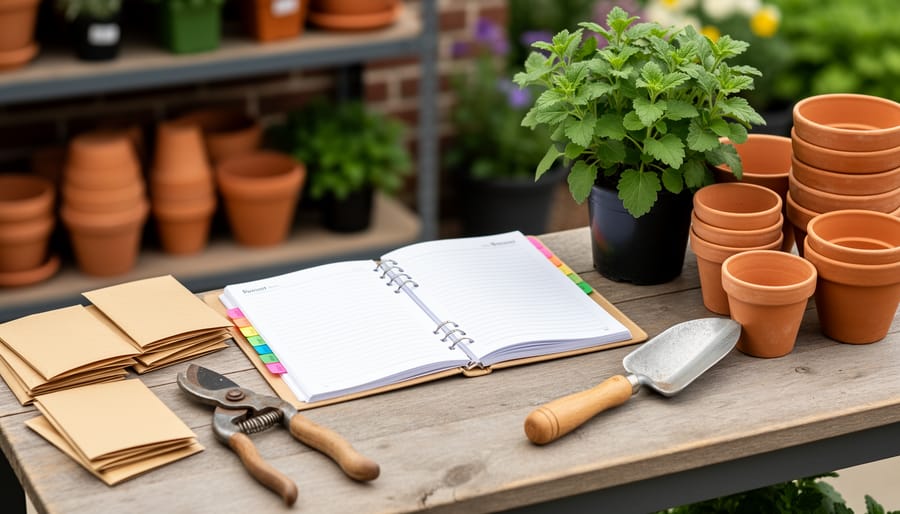
Essential Materials
To get started with no-dig gardening, you’ll need just a few basic materials, along with some essential gardening tools. Here’s what you’ll need to gather:
Cardboard: This forms the crucial bottom layer of your garden bed. Collect large pieces of plain cardboard, removing any tape, staples, or glossy printed sections. Brown moving boxes work perfectly!
Compost: You’ll need a good amount of well-rotted compost as your primary growing medium. Whether you’re composting garden waste or purchasing ready-made compost, aim for a layer about 4-6 inches deep.
Mulch Materials: Choose from:
– Straw (avoid hay, which contains seeds)
– Dried leaves
– Wood chips
– Grass clippings (in thin layers)
– Well-rotted manure
Optional but helpful materials include:
– Garden twine for marking boundaries
– A wheelbarrow for transporting materials
– A rake for spreading compost
– A watering can or hose
– Plant markers
Remember, you don’t need everything at once! Start with the basics – cardboard and compost – and add other materials as your garden develops. Many of these items can be sourced for free from local garden centers, farms, or your community.

Building Your Bed
Building your no-dig bed is surprisingly straightforward and can be completed in just a few hours. Start by selecting a level spot in your garden that receives adequate sunlight. Mark out your bed using string and stakes, keeping the width around 4 feet so you can easily reach the center from either side.
Next, mow or trim any existing grass as short as possible, but don’t worry about removing it completely. Place flattened cardboard boxes directly on top of the grass, overlapping the edges by at least 6 inches to prevent weeds from sneaking through. Make sure to remove any tape or staples from the cardboard first.
Water the cardboard thoroughly until it’s completely saturated. This helps kickstart decomposition and prevents it from blowing away when you add your layers. Now comes the fun part – adding your organic matter! Start with a 2-inch layer of compost, followed by a layer of well-rotted manure if available.
Add your next layer using a mix of organic materials such as leaf mold, grass clippings, or straw. Aim for a total height of about 6-8 inches. Water each layer as you go to ensure even moisture distribution throughout the bed.
Finally, top the bed with another 2-3 inches of good quality compost. Smooth the surface gently with a rake, but avoid compacting the materials. Your bed is now ready for planting! Don’t worry if it seems quite high – the layers will settle and decompose over time, creating a rich, fertile growing environment.
For the best results, try to build your bed a few weeks before you plan to start planting. This gives the materials time to settle and begin breaking down.
Maintaining Your No-Dig Garden
Seasonal Top-Ups
Maintaining your no-dig garden’s vitality requires periodic top-ups of organic matter, typically done twice a year. The best times for these seasonal refreshes are early spring and late autumn, though you can add materials whenever you notice your beds starting to look depleted.
In spring, add a 1-2 inch layer of well-rotted compost or aged manure to prepare your beds for the growing season. This fresh layer provides nutrients for your spring plantings and helps retain moisture as temperatures rise. Remember to combine this with proper watering techniques to give your plants the best start.
For the autumn top-up, apply a slightly thicker layer (2-3 inches) of organic matter. This could be a mix of compost, leaf mold, and well-rotted manure. The winter months allow this material to break down gradually, enriching your soil for the following spring. If you notice any bare patches throughout the year, simply add a thin layer of compost or mulch to protect the soil.
When adding new layers, gently spread the material around existing plants, being careful not to bury their stems or crown. There’s no need to dig or turn the soil – simply let nature do the work. The earthworms will gradually incorporate the new material into the existing layers, improving soil structure and fertility naturally.

Managing Weeds
Managing weeds in a no-dig garden is surprisingly straightforward, and you’ll find that weed problems naturally decrease over time. The key is to prevent weeds from getting established in the first place by keeping your soil covered at all times. A thick layer of organic mulch, about 2-3 inches deep, works wonders in suppressing weed growth while feeding your soil.
When weeds do appear, simply pull them out by hand while they’re still young and their roots are shallow. The beauty of no-dig gardening is that weeds usually come out easily since the soil remains loose and friable. For larger areas, you can lay down cardboard or several layers of newspaper before adding your mulch – this creates a natural barrier that weeds struggle to penetrate.
Remember to tackle weeds before they set seed, and avoid disturbing the soil unnecessarily, as this can bring dormant weed seeds to the surface. Many gardeners find that hoeing isn’t necessary in a no-dig system; instead, regular light weeding sessions keep unwanted plants in check while maintaining the integrity of your soil structure.
Using ground cover plants and practicing close spacing between crops also helps minimize weed growth by leaving less room for unwanted visitors to take hold.
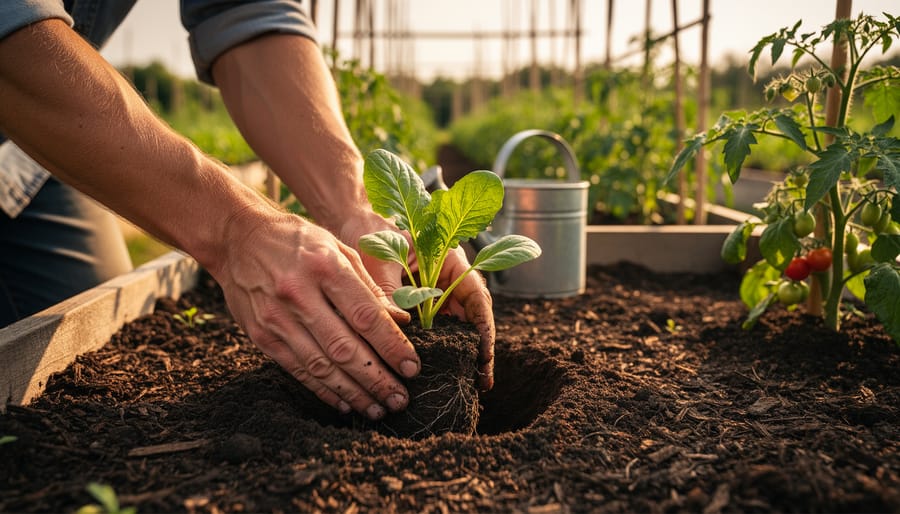
Planting Tips
When it comes to planting in your no-dig bed, the key is to work with nature rather than against it. Start by creating small holes in your mulch layer using your hands or a trowel, just deep enough for your seedlings or plants. Gently part the mulch and compost, being careful not to disturb the soil structure beneath.
For seeds, create shallow furrows in the top layer of compost, sow your seeds, and lightly cover them with the surrounding compost. When transplanting seedlings, make a hole just slightly larger than the root ball, place your plant, and firm the compost around it with gentle pressure.
Space your plants according to their mature size, just as you would in a traditional garden. After planting, water thoroughly but gently to help settle the compost around your plants’ roots. Add a thin layer of mulch around your newly planted seedlings, keeping it slightly away from their stems to prevent rot.
Remember, one of the beauties of no-dig gardening is that your plants will develop strong root systems naturally through the undisturbed soil layers, so trust the process and let nature do its work.
Common Beginner Questions
Dealing with Clay Soil
Clay soil doesn’t have to be a barrier to successful no-dig gardening – in fact, this method can help improve heavy clay over time! Start by laying cardboard directly on your clay soil, ensuring all grass and weeds are completely covered. Add a generous 6-8 inch layer of well-rotted compost or organic matter on top, which will gradually work its way down and improve soil structure.
For the first season, focus on plants with robust root systems that can help break up the clay naturally. Consider adding drought-resistant plants like yarrow or echinacea, which thrive in challenging conditions. As worms and other beneficial organisms move through the layers, they’ll create channels that improve drainage and aeration.
Keep adding thin layers of compost throughout the growing season, and you’ll notice the soil becoming more workable each year. Mulch heavily in autumn with leaves or straw to protect the improving soil structure. Be patient – while it may take a couple of seasons to transform clay soil completely, the no-dig approach allows nature to do most of the hard work for you!
Working Around Tree Roots
Tree roots can present a challenge in your garden, but they shouldn’t discourage you from creating a thriving no-dig space. Instead of fighting against them, work with nature by building your garden beds on top of the root system. Start by laying a thick layer of cardboard directly over the rooted area, ensuring all gaps are well-covered to suppress weed growth.
For areas with shallow tree roots, create raised beds at least 6 inches deep using a mix of compost, aged manure, and leaf mold. This provides enough depth for most vegetables and flowers to thrive without disturbing the roots below. If you’re dealing with surface roots, try growing shallow-rooted plants like lettuce, herbs, and strawberries.
Remember that trees and plants can work together harmoniously. Many trees provide beneficial shade and protect tender plants from harsh weather. Choose plants that naturally thrive in woodland settings, such as ferns, hostas, and shade-loving perennials. Just be mindful to maintain adequate distance from tree trunks and avoid piling soil directly against them to prevent rot and disease.
No-dig gardening is a gentle, effective way to grow abundant produce while nurturing the soil beneath. By following the principles we’ve explored – layering organic materials, maintaining soil coverage, and minimal disturbance – you’ll create a thriving garden ecosystem that gets better year after year. Remember, you don’t need fancy equipment or years of experience to start; just gather your materials, choose a suitable spot, and begin layering. The beauty of no-dig gardening lies in its simplicity and natural approach. As your garden develops, you’ll notice fewer weeds, healthier plants, and improved soil structure. Why not start small with a single bed this season? Your future self – and your garden – will thank you for taking this sustainable step toward better growing. Happy gardening!