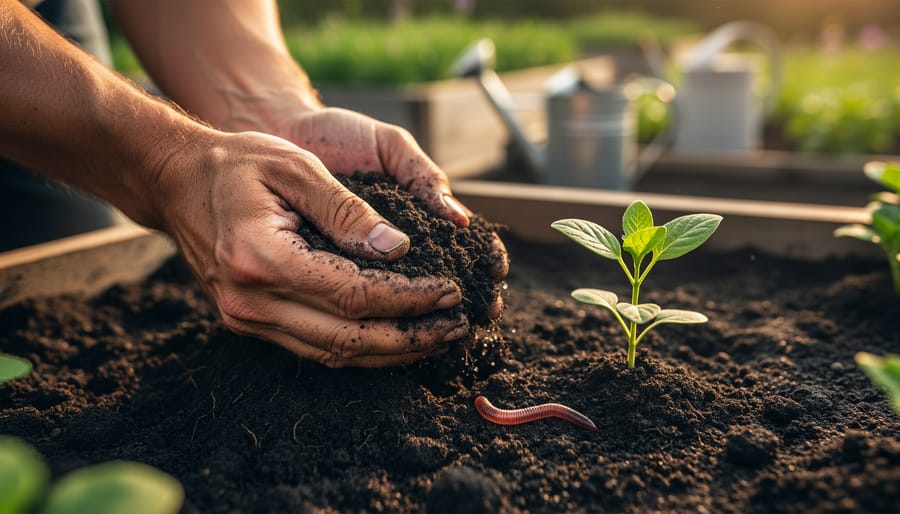
Transform your garden into a climate-fighting powerhouse by measuring the carbon stored in your carbon-rich soil. Grab a garden trowel and collect soil samples from multiple locations, digging 6-8 inches deep to capture an accurate representation of your soil profile. Press a soil probe into the ground to measure organic matter depth – darker soil typically indicates higher carbon content. Compare soil samples side by side in clear glass jars filled with water; soil that’s rich in carbon will appear darker and settle with more distinct layers. For those ready to dive deeper, affordable soil testing kits from local extension offices provide detailed carbon content analysis without breaking the bank. Understanding your soil’s carbon levels helps track your garden’s contribution to fighting climate change while building healthier, more productive growing spaces.
Basic Tools You’ll Need for Soil Carbon Testing
Essential Testing Equipment
To get started with measuring carbon sequestration in your soil, you’ll need some basic equipment that’s both affordable and easy to use. A soil probe or core sampler is essential – it’s like a long, hollow tube that helps you collect soil samples from different depths without disturbing the surrounding area. You’ll also need clean collection containers, preferably plastic or glass jars with tight-fitting lids, to store your samples.
A basic soil testing kit is another must-have tool. Look for one that measures organic matter content, as this correlates with carbon levels. You’ll also want a reliable digital scale for weighing samples, and clean labels or markers to identify each sample’s location and date.
Other helpful items include a garden trowel for surface sampling, plastic bags for larger samples, and a notebook to record your findings. Don’t forget protective gear like gardening gloves and a dust mask when handling soil samples.
For more accurate results, consider investing in a soil moisture meter and pH tester. While not strictly necessary for carbon testing, these tools help you understand the overall health of your soil and how it might affect carbon storage.

Optional Advanced Tools
For those ready to take their soil carbon measurements to the next level, several advanced tools can provide more detailed and accurate results. Digital soil carbon meters, while more expensive than basic testing methods, offer instant readings and can store data for long-term tracking. The Vario MAX CN analyzer is particularly popular among serious gardeners, providing precise carbon-to-nitrogen ratios with minimal sample preparation.
Core sampling equipment, such as soil probes and augers designed specifically for carbon testing, can help you collect samples from deeper soil layers. These tools typically reach depths of 30-100cm, giving you a more complete picture of your soil’s carbon profile.
A portable spectrophotometer can analyze soil organic matter content through light absorption, though it requires careful calibration. For those interested in tracking changes over time, data logging systems with soil probes can automatically record carbon levels along with moisture and temperature.
Remember that while these tools offer greater precision, they’re not essential for basic carbon sequestration monitoring. Consider them as potential upgrades once you’re comfortable with fundamental measurement techniques.
Step-by-Step Soil Sampling Process
Choosing Sample Sites
Selecting the right spots to take your soil samples is crucial for getting accurate carbon measurements. Start by dividing your garden into distinct zones based on how you use the land – separate your vegetable beds, flower gardens, and lawn areas. For each zone, choose 3-5 sampling points that best represent that area’s typical conditions.
Look for spots that reflect the average characteristics of each zone, avoiding unusual areas like compost pile edges or heavily trafficked paths. If you have a slope in your garden, take samples from both the top and bottom to account for natural variations. Similarly, if you have areas with different soil types or drainage patterns, include sample points from each.
For the most reliable results, mark your sampling locations with small stakes or flags, and note them on a simple garden sketch. This way, you can return to the exact same spots for future measurements, making it easier to track changes over time. Remember to stay at least 5 feet away from buildings, large trees, or other structures that might affect soil composition.
Pro tip: Take your samples during the same season each year, ideally when the soil isn’t too wet or too dry, for the most consistent measurements.
Proper Sample Collection
Collecting soil samples correctly is crucial for accurate carbon measurements. Start by identifying several sampling spots across your garden – I like to think of it as creating a zigzag pattern across the area. For each spot, clear away any surface debris or mulch to expose the bare soil.
Using a clean garden trowel or soil core sampler, dig down to about 12 inches deep. Take samples from three depths: 0-4 inches, 4-8 inches, and 8-12 inches. This gives you a complete picture of carbon distribution throughout your soil profile. Think of it like layers in a cake – each level tells its own story!
Store your samples in clean, airtight plastic bags or containers. Label each one clearly with the date, location, and depth. A helpful tip I learned from experience: use permanent markers for labeling, as regular ink can smudge if the bags get damp.
Keep your samples cool and dry until you’re ready to test them. If you can’t process them immediately, store them in a refrigerator (around 40°F) for up to a week. Avoid freezing the samples, as this can affect their chemical composition.
Remember to clean your sampling tools between different collection spots to prevent cross-contamination. A quick wipe with a clean cloth is usually sufficient for home garden testing.

Sample Preparation
Before testing your soil for carbon content, proper sample preparation is essential for accurate results. Start by collecting multiple soil samples from different areas of your garden, combining them to create a representative sample. Remove any visible plant material, rocks, or debris by hand.
Spread the soil on a clean baking sheet or shallow container and allow it to air-dry completely at room temperature for 2-3 days. Avoid using artificial heat, as this can affect the organic matter content. Once dry, break up any large clumps using a wooden spoon or your hands.
Next, pass the dried soil through a fine-mesh sieve (2mm works well) to remove any remaining debris and create a uniform texture. If you don’t have a proper soil sieve, a clean kitchen strainer can work in a pinch. Store your prepared samples in clean, labeled paper bags or containers until you’re ready to test them.
Remember to handle your samples with clean tools and avoid contamination from organic materials. If you’re planning to store samples for later testing, keep them in a cool, dry place away from direct sunlight.
Testing Methods for Home Gardeners
Visual Assessment Method
One of the simplest ways to assess soil carbon content is through visual inspection. While not as precise as laboratory tests, these observational techniques can give you valuable insights into your soil’s health and organic matter levels.
Start by examining your soil’s color – darker soil typically indicates higher organic matter content. Dig up a small handful and notice if it’s a rich, deep brown or black color, which suggests good carbon content. Lighter, grayish, or reddish soils often indicate lower organic matter levels.
Next, check your soil’s structure. Healthy soil with good carbon content tends to form stable crumbs or aggregates. These small clusters should hold together when moist but break apart easily with gentle pressure. This structure provides an ideal environment for beneficial soil microbes and plant roots.
Look for signs of biological activity too. The presence of earthworms, visible organic matter like partially decomposed leaves, and a fresh, earthy smell all suggest active carbon cycling in your soil. If you notice these elements, you’re likely on the right track with your soil management practices.
Remember that while these visual assessments aren’t definitive measurements, they’re valuable tools for monitoring changes in your soil’s health over time. Keep a photo diary of your soil’s appearance throughout the seasons to track improvements in its structure and color.
Home Testing Kits
For home gardeners interested in measuring soil carbon levels, several user-friendly test kits are now available on the market. These kits typically use color-changing solutions or strips that react with soil samples to indicate carbon content levels.
To use a home testing kit, start by collecting soil samples from different areas of your garden, about 6 inches deep. Mix these samples thoroughly and remove any plant material or stones. Most kits require you to add a small amount of soil to a provided solution or apply it to a test strip. After waiting for the specified reaction time (usually 5-10 minutes), compare the resulting color to the chart provided in your kit.
While these kits aren’t as precise as laboratory testing, they can give you a good general indication of your soil’s carbon levels. Most kits use a scale ranging from “very low” to “very high,” making it easy to track changes over time. For best results, conduct tests seasonally and keep detailed records of your readings.
Remember that results can vary based on soil moisture and temperature, so try to test under similar conditions each time. Also, consider testing multiple spots in your garden, as carbon levels can differ significantly across your yard. While these kits are convenient, they work best as part of a broader soil health monitoring strategy.
Professional Lab Testing
While home testing methods are useful for regular monitoring, sending soil samples to a professional laboratory provides the most accurate and comprehensive analysis of carbon sequestration levels. Most agricultural extension offices can recommend certified soil testing laboratories in your area that specialize in carbon analysis.
To get started, contact your chosen laboratory and request their specific sampling instructions and submission forms. Generally, you’ll need to collect multiple soil samples from different areas of your garden, following their depth and quantity requirements. Most labs prefer samples taken from 0-30 cm depth, with about 2 cups of soil per sample.
Package your samples in clean, sealed plastic bags labeled with your name, date, and sample location. Many labs provide specialized containers for this purpose. Be sure to keep samples cool and send them promptly to maintain accuracy.
Professional lab testing typically costs between $30-100 per sample, depending on the type of analysis requested. While this might seem expensive, it’s worth doing at least once a year for baseline measurements. The detailed report you’ll receive includes not only carbon content but often other valuable soil health indicators like nitrogen levels and organic matter percentage.
Remember to schedule your testing during the same season each year to ensure comparable results, ideally in early spring or late fall when soil conditions are most stable.
Interpreting Your Results
Reading the Numbers
When it comes to understanding carbon levels in your garden soil, think of it as reading your soil’s health report card. A carbon content between 3-6% typically indicates healthy, fertile soil that’s doing a great job at carbon sequestration. If your readings show less than 2%, your soil might need some extra attention to improve its soil health.
Higher carbon percentages (above 6%) often indicate exceptional soil quality, common in well-maintained gardens and forests. However, context matters – sandy soils naturally have lower carbon levels than clay soils, so consider your soil type when interpreting results.
The color of your soil can also give you clues about carbon content. Darker soil usually means more organic carbon is present. As you build up carbon levels through composting and organic matter addition, you’ll likely notice your soil becoming darker and more crumbly.
Remember, improving carbon levels is a gradual process. Even small increases of 0.1-0.5% per year represent significant progress in your garden’s carbon-storing capacity.

Taking Action
Once you’ve measured your soil carbon levels, it’s time to take action! There are several effective ways to improve soil carbon levels based on your test results. If your measurements show low carbon content, start by adding organic matter through compost and mulch. Layer your garden with 2-3 inches of compost in spring and fall, and maintain a thick mulch covering throughout the growing season.
Consider planting cover crops like clover or rye during off-seasons – they’re excellent at building soil carbon while preventing erosion. Minimize soil disturbance by adopting no-till practices where possible, as tilling releases stored carbon back into the atmosphere.
For areas showing moderate carbon levels, focus on maintaining and gradually building them through regular additions of organic materials. Keep your soil covered with living plants or mulch year-round, and incorporate diverse plant species to support healthy soil biology.
Remember to retest your soil annually to track improvements and adjust your approach as needed. Small, consistent actions make a big difference in building carbon-rich, healthy soil over time.
Measuring soil carbon sequestration doesn’t have to be complicated, and you now have several practical methods at your disposal. Whether you choose the simple jar test, work with professional soil testing services, or invest in a home testing kit, understanding your soil’s carbon levels is an important step toward creating a healthier garden. Start with the basic methods we’ve discussed and gradually work your way up to more detailed analyses as you become comfortable with the process. Remember, every measurement you take helps you better understand and improve your soil’s health. By regularly monitoring your soil’s carbon levels, you’re not just improving your garden – you’re also contributing to a more sustainable future. Why not grab your first soil sample today and begin your journey toward carbon-rich, thriving soil?