Transform your living space into a thriving indoor garden with hydroponics – a soil-free growing method that produces faster yields and uses 90% less water than traditional gardening. Start with a simple deep water culture system: suspend plant roots in nutrient-rich water using net pots and grow media. Choose quick-growing leafy greens like lettuce or herbs for your first crop, perfect for mastering these beginner-friendly gardening tips. Set up your growing station near a sunny window or under LED grow lights, maintaining water temperature between 65-75°F for optimal growth. Monitor pH levels weekly using a digital meter, adjusting nutrients as needed to keep levels between 5.5-6.5. This efficient growing method delivers fresh, nutritious produce year-round while teaching fundamental cultivation skills that work in any space.
Understanding Hydroponic Basics
How Plants Grow Without Soil
In hydroponics, plants thrive without soil by receiving nutrients directly through water-based solutions. Instead of searching for nutrients in soil, roots are suspended in or regularly doused with a carefully balanced mixture of essential minerals and water. This direct delivery system means plants can focus their energy on growing rather than developing extensive root systems to seek out nutrients.
The nutrient solution contains all the vital elements plants need: nitrogen for leaf growth, phosphorus for root development, potassium for overall health, and various micronutrients like calcium and magnesium. Think of it as serving plants a perfect meal in liquid form – they get exactly what they need, when they need it.
Water serves as both the nutrient carrier and the physical support system. Depending on the hydroponic method, plants might be supported by materials like rockwool, perlite, or clay pellets. These growing mediums provide stability for the roots while allowing optimal air and water flow. Because nutrients are so readily available, plants often grow faster and produce higher yields than their soil-grown counterparts.

Common Hydroponic Systems for Beginners
When it comes to growing vegetables indoors, several hydroponic systems are perfect for beginners. The Deep Water Culture (DWC) system is one of the simplest to set up and maintain. It consists of a reservoir filled with nutrient solution where plant roots are suspended, with an air pump providing oxygen to the roots.
Another beginner-friendly option is the Nutrient Film Technique (NFT) system, which uses a continuous flow of nutrient solution through channels. Plants sit in holes along these channels, and their roots access the flowing solution below. This system is great for leafy greens and herbs.
The Wick system is perhaps the most basic of all – it uses simple wicks to draw nutrient solution up to the growing medium from a reservoir below. While it’s not the most efficient system, it’s perfect for learning the basics of hydroponics.
For those who prefer a more hands-off approach, the Kratky method requires no electricity or moving parts. Simply fill a container with nutrient solution, add your plant, and let it grow! As the water level drops, roots develop both in and above the solution.
Setting Up Your First System
Essential Equipment List
To get your hydroponic garden up and running, you’ll need several essential pieces of equipment. Let’s break down the must-have items that will set you up for success.
First, you’ll need a growing container or reservoir system. This can be as simple as a deep plastic tub or as sophisticated as a multi-tier growing system. Make sure it’s made from food-grade materials and is light-proof to prevent algae growth.
A quality water pump is crucial for circulating nutrient solution through your system. For most home setups, a submersible pump rated between 200-400 gallons per hour works well. Don’t forget to grab some food-grade tubing to connect everything.
You’ll also need:
– Growing media (like rockwool, clay pebbles, or coco coir)
– Net pots or growing cups
– Air pump and air stones for oxygenating the water
– pH testing kit and adjusters
– PPM/EC meter for measuring nutrient levels
– Timer for controlling pump cycles
– Grow lights (if not using natural sunlight)
For nutrients, invest in a quality hydroponic nutrient solution that includes both macro and micronutrients. It’s worth spending a bit more here – your plants will thank you!
Optional but helpful items include:
– Temperature gauge
– Backup pump
– Growing medium rinse bag
– Plant support stakes or trellis
– Pruning shears
Remember, you don’t need to buy everything at once. Start with the basics and expand your setup as you gain experience.

Assembly Instructions
Now that you have all your components ready, let’s put your hydroponic system together. Start by finding a level surface in a well-lit area, ideally near a power source. Place your reservoir container there and ensure it’s thoroughly cleaned.
Insert the pump into the reservoir and connect it to the air stone using the airline tubing. Position the air stone at the bottom of the reservoir – this will ensure optimal oxygen distribution throughout your nutrient solution.
Next, prepare your growing tray by drilling holes for your net pots. Space them evenly, allowing enough room for plants to grow. If you’re using a pre-made system, simply insert the included net pot holders into their designated spots.
Install the water pump and connect it to your distribution system. Run the tubing along your growing tray, making sure it reaches all plants evenly. Test the water flow by running the pump briefly – you should see consistent water distribution.
Fill your net pots about two-thirds full with your chosen growing medium. Carefully place your seedlings or plant cuttings into the pots, ensuring the roots reach through the bottom. Add more growing medium around the plant base for stability.
Mix your nutrient solution according to the manufacturer’s instructions and fill the reservoir. Check that the water level covers your pump intake but doesn’t touch the bottom of your growing tray.
Finally, connect your pump to a timer and set it to run in 15-minute intervals throughout the day. Double-check all connections and monitor the system for any leaks during the first 24 hours.
Remember, take your time with the assembly – proper setup now means fewer issues later!
Lighting and Environment Setup
Creating the perfect environment for your hydroponic garden is crucial for successful year-round indoor growing. Start by choosing a location that maintains a consistent temperature between 65-75°F (18-24°C). This could be a spare room, basement, or even a dedicated grow tent.
Lighting is perhaps the most critical factor in your setup. For leafy greens and herbs, LED grow lights with a blue spectrum promote healthy leaf growth and should be positioned 12-18 inches above your plants. Flowering and fruiting plants need additional red spectrum light to thrive. I recommend using adjustable hanging systems so you can modify the height as your plants grow.
Ventilation plays a vital role in preventing mold and maintaining proper humidity levels. A small fan creating gentle air movement will strengthen your plants’ stems and help regulate temperature. Keep humidity between 50-70% for most plants – a basic humidity monitor will help you track this.
Remember to check your lighting schedule: most plants do well with 14-16 hours of light daily. Using a simple timer can automate this process, making maintenance much easier and ensuring consistent growth cycles.
Choosing Your First Plants
Best Starter Plants
When you’re just starting out, choosing the right plants can make all the difference in your hydroponic journey. Let’s explore some foolproof options that are perfect for beginners. Leafy greens like lettuce, spinach, and kale are excellent choices – they grow quickly and don’t require complex nutrient solutions. These plants typically mature in just 4-6 weeks, giving you the satisfaction of quick results.
Herbs are another fantastic option for newcomers. Growing herbs hydroponically is remarkably easy, with basil, mint, and cilantro being particularly forgiving. These aromatic plants not only provide fresh flavors for your kitchen but also thrive in basic hydroponic systems.
For those feeling a bit more adventurous, cherry tomatoes and strawberries can be rewarding choices. While they need more attention than leafy greens, they’re still manageable for beginners and offer the excitement of harvesting actual fruits. Remember, success with these starter plants will build your confidence and prepare you for more challenging varieties as your experience grows.

Planting and Transfer Tips
Starting seeds for your hydroponic garden is easier than you might think! For best results, use starter cubes or rockwool plugs, which provide the perfect environment for germination. Simply place 2-3 seeds in each cube and keep them moist but not waterlogged. Most seeds will sprout within 5-7 days when kept at temperatures between 65-75°F.
Once your seedlings develop their first true leaves, it’s time to thin them out. Keep the strongest plant in each cube and gently remove the others. Wait until your plants have developed a strong root system before transferring them to your hydroponic system – typically when roots start emerging from the bottom of the starter cube.
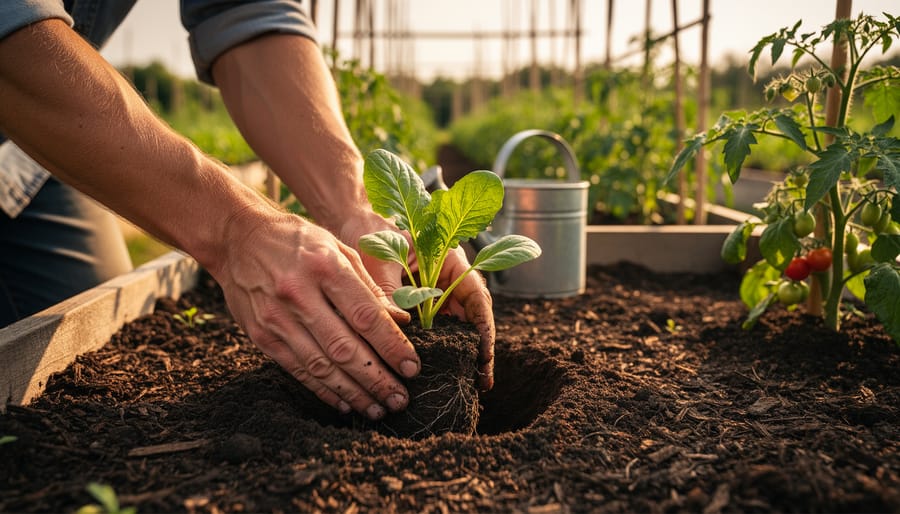
When transferring, handle plants gently by their growing medium, never by their stems. Place them carefully into your chosen hydroponic medium, whether it’s clay pellets, coconut coir, or another substrate. Make sure the roots are fully submerged in the nutrient solution while keeping the stem and leaves above water.
For those just starting out, leafy greens like lettuce and herbs are the most forgiving when it comes to transplanting. They typically show minimal transplant shock and adjust quickly to their new environment.
Daily Maintenance and Troubleshooting
Daily Care Routine
A successful hydroponic garden requires a consistent daily maintenance routine to ensure your plants thrive. Here’s your essential checklist of tasks to keep your garden flourishing:
Start each morning by checking your water levels and nutrient solution. Top up as needed, and ensure the pH stays between 5.5 and 6.5. Make quick adjustments using pH up or down solutions if necessary.
Monitor your plants for signs of stress or nutrient deficiencies. Look for discoloration, wilting, or unusual growth patterns. Catching issues early makes them much easier to address.
Inspect your equipment daily: verify that pumps are running smoothly, check for leaks in your system, and ensure all plants are receiving proper water flow. Clean any clogged nozzles or blocked tubes immediately.
Prune yellowing leaves and support growing plants with stakes or ties as needed. Remove any plant debris from the growing area to prevent pest issues and maintain good air circulation.
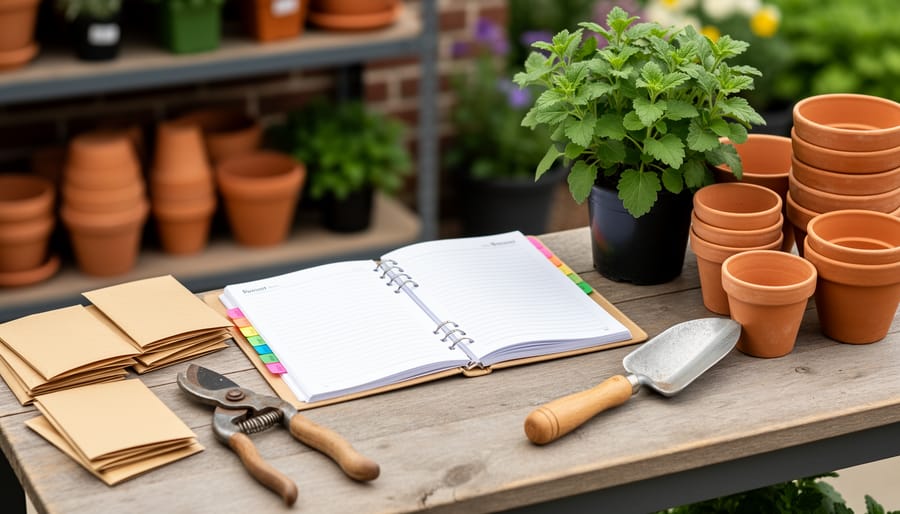
Record important measurements in a garden journal, including pH levels, nutrient concentrations, and any adjustments made. This helps you track patterns and optimize your growing conditions over time.
Weekly tasks include cleaning filters, checking electrical connections, and testing nutrient solution strength. Replace the nutrient solution completely every two to three weeks to maintain optimal growing conditions.

Common Problems and Solutions
Even experienced hydroponic gardeners face challenges from time to time, but don’t worry – most common problems have straightforward solutions. Let’s tackle some issues you might encounter and how to fix them.
Yellowing leaves often indicate a nutrient deficiency, usually nitrogen. Check your nutrient solution’s pH level first, as improper pH can prevent plants from absorbing nutrients. Adjust to between 5.5-6.5 for most plants, and consider refreshing your nutrient solution if the problem persists.
Algae growth in your system is another frequent challenge. This green film appears when light hits your nutrient solution. Combat this by covering exposed water surfaces with light-proof materials and ensuring your growing area stays clean. Regular system cleaning and maintaining proper water temperature (65-75°F) helps prevent algae buildup.
Root rot can be particularly troubling. If you notice brown, mushy roots with an unpleasant smell, your system likely has poor oxygenation. Increase air circulation by cleaning or replacing air stones, checking that pumps work correctly, and considering a beneficial bacteria supplement to promote healthy root development.
Stunted growth might occur if your grow lights are positioned incorrectly. Plants should be about 6-12 inches from LED lights, adjusting as they grow. Also check room temperature – most plants thrive between 65-75°F. If temperatures fluctuate too much, consider using a small fan or heater to maintain consistency.
Nutrient burn, showing as brown leaf tips, happens when nutrient concentration is too high. Start with half-strength nutrient solution for young plants and gradually increase as they mature. If you notice burning, flush the system with plain pH-balanced water and restart with a lighter nutrient mix.
Remember, prevention is often easier than cure. Keep a daily log of pH levels, temperature, and plant appearance. This helps you spot potential issues before they become serious problems and makes troubleshooting much simpler when challenges arise.
Starting a hydroponic garden is an exciting journey that opens up a world of possibilities for year-round growing, regardless of your available space or gardening experience. As we’ve explored throughout this guide, hydroponics offers numerous advantages, from water conservation to faster growth rates and higher yields. While it may seem intimidating at first, remember that you can start small with a simple system and gradually expand as your confidence grows.
The key to success lies in understanding the basics: choosing the right system for your needs, maintaining proper nutrient levels, and monitoring your plants regularly. Don’t be afraid to make mistakes – they’re valuable learning opportunities that will help you become a better hydroponic gardener.
Whether you’re looking to grow fresh herbs in your kitchen, cultivate vegetables for your family, or experiment with exotic plants, hydroponics provides the perfect platform for your gardening aspirations. With the knowledge you’ve gained from this guide, you’re well-equipped to begin your hydroponic adventure.
Take that first step today – start small, stay curious, and watch your garden flourish. The satisfaction of harvesting your first hydroponic crops will make all the initial effort worthwhile.