Transform your backyard into a thriving garden sanctuary in just a few simple steps. Starting a garden brings the perfect blend of relaxation, healthy living, and personal satisfaction – whether you dream of fresh tomatoes on your windowsill or a backyard bursting with colorful blooms. Even the smallest spaces can yield abundant harvests with proper planning and care.
Begin by selecting your garden’s location based on sunlight exposure – most vegetables and flowering plants need 6-8 hours of direct sun daily. Next, test your soil’s quality using a basic soil testing kit from your local garden center. Understanding your soil’s pH and nutrient levels creates the foundation for successful growing.
While experienced gardeners might tackle elaborate landscapes, start small with a manageable 4×8 foot plot or a few containers. This focused approach allows you to learn essential gardening skills without feeling overwhelmed. Choose 3-4 beginner-friendly plants like tomatoes, lettuce, or marigolds to build your confidence and ensure early success.
Remember, every master gardener started with their first seed. With these fundamental steps, you’re well on your way to creating your own piece of natural paradise.
Planning Your Garden Space
Assessing Sunlight and Soil Conditions
Before you start digging or planting, take time to understand your garden’s unique environment. Start by monitoring your garden space throughout the day to track sunlight patterns. Most vegetables and flowering plants need 6-8 hours of direct sunlight to thrive, so note which areas receive full sun, partial shade, or full shade.
To track sun exposure, observe your garden space at different times (morning, noon, and afternoon) and mark sunny versus shady areas on a simple sketch of your yard. Don’t forget to consider seasonal changes and shadows from buildings or trees.
Next, evaluate your soil quality. Grab a handful of soil and squeeze it – good soil should form a ball that breaks apart easily when poked. If it’s too sandy, it won’t hold together; if it’s too clay-heavy, it’ll stay in a tight ball. You can also perform a simple jar test: fill a clear jar one-third full with soil, add water, shake well, and let it settle for 24 hours. The layers that form will show you the proportions of sand, silt, and clay in your soil.
Remember, while perfect conditions are ideal, most soil can be improved with organic matter and proper amendments.
Measuring and Mapping Your Garden Area
Before planting your first seed, take time to measure and map out your garden space properly. Start by measuring the total area you plan to use, noting any obstacles like trees, structures, or utility lines. Graph paper comes in handy here – use each square to represent one foot, creating a simple but effective garden blueprint.
For traditional garden beds, ensure paths between rows are at least 18 inches wide for comfortable access. If you’re considering a raised bed garden design, remember that four feet is the maximum width that allows you to reach the center from either side without stepping into the bed.
When planning plant spacing, think about mature sizes rather than seedling dimensions. A common beginner mistake is placing plants too close together. Most seed packets provide spacing guidelines – keep these handy as you sketch your layout. Consider companion planting patterns, where compatible plants grow together to maximize space and enhance growth.
Pro tip: Use garden twine and stakes to mark out your planned beds directly in your space. This gives you a real-world view of your design before you start digging, allowing for adjustments if needed.

Essential Tools and Materials
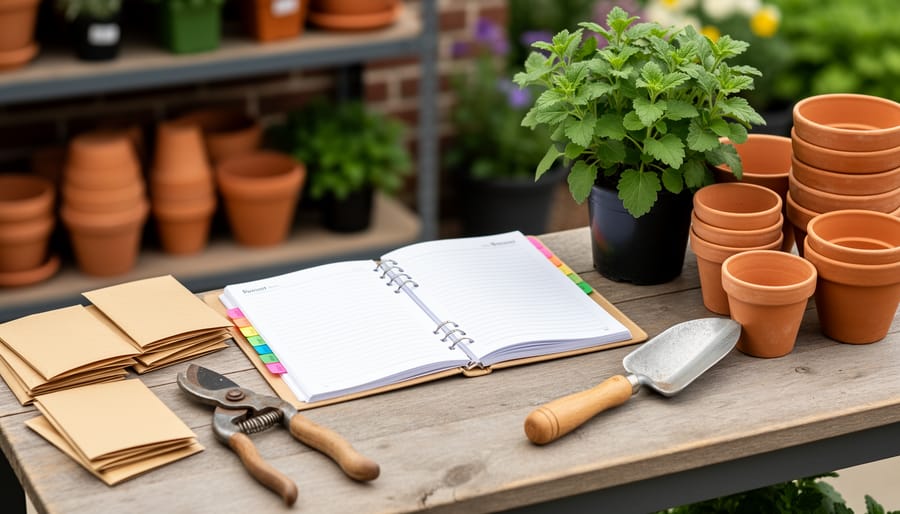
Must-Have Garden Tools
Starting your garden journey becomes much easier when you have the right tools at hand. Every gardener needs an essential hand trowel for planting, transplanting, and general digging tasks. Pair this with a sturdy garden fork for loosening soil and a sharp pair of pruning shears for maintaining your plants.
A durable watering can or garden hose with an adjustable nozzle ensures your plants get the hydration they need. For larger garden plots, invest in a long-handled spade and garden rake to make soil preparation less strenuous. Don’t forget gardening gloves to protect your hands and a kneeling pad for comfort during those longer planting sessions.
Keep your tools organized in a convenient carry-all or tool belt, making them easily accessible when you need them. While you might be tempted to buy everything at once, start with these basics and add more specialized tools as your garden grows and your needs evolve. Remember, quality tools, when properly maintained, will serve you well for many growing seasons to come.

Soil and Amendment Basics
Good soil is the foundation of any successful garden, and understanding the basics can make all the difference. Start by getting to know your soil type – is it sandy, clay-like, or somewhere in between? You can do a simple squeeze test: if it holds shape but crumbles easily, you’ve got ideal loamy soil. If it’s too sticky or doesn’t hold together at all, don’t worry – there’s always room for improvement!
Compost is your garden’s best friend. Whether store-bought or homemade, it adds essential nutrients and improves soil structure. Mix in about 2-3 inches of compost into your top 6-8 inches of soil before planting. For an extra boost, consider adding organic fertilizers like well-rotted manure or bone meal.
Pay attention to your soil’s pH level, which affects how well plants can absorb nutrients. Most vegetables prefer slightly acidic soil (6.0-7.0). Simple pH test kits from garden centers can help you determine if you need to make adjustments. If needed, lime raises pH, while sulfur lowers it. Remember, building great soil is a gradual process – focus on continuous improvement rather than perfection.
Choosing Your First Plants
Easy-to-Grow Vegetables
When growing your first vegetables, it’s best to start with varieties known for their reliability and easy maintenance. Lettuce is a fantastic beginner crop that grows quickly and can be harvested continuously. Simply snip the outer leaves, and it’ll keep producing for weeks!
Radishes are another excellent choice, ready to harvest in just 3-4 weeks. They’re perfect for impatient gardeners who want to see quick results. Cherry tomatoes are incredibly rewarding – they’re more forgiving than their larger cousins and produce abundantly throughout the season.
Bush beans are virtually foolproof and don’t require support structures like pole varieties do. They typically produce within 50-60 days and are great for getting kids involved in gardening. Zucchini and other summer squashes are known for their generous yields – just one or two plants can feed a family all season!
For herbs, consider starting with basil, mint, and parsley. They’re hardy, versatile in the kitchen, and can thrive in containers if space is limited. Root vegetables like carrots and beets are also surprisingly manageable, though they require loose, well-draining soil for best results.
Remember, success breeds confidence, so starting with these reliable crops will help build your gardening skills and enthusiasm for future seasons.
Simple Flowers for Success
Starting your garden with the right flowers can make all the difference in building your confidence as a new gardener. Let’s explore some tried-and-true blooms that are perfect for beginners and practically take care of themselves.
Marigolds are a fantastic choice, offering bright orange and yellow flowers that bloom throughout the summer. They’re incredibly resilient and naturally repel many garden pests. Zinnias are another excellent option, providing vibrant colors and long-lasting blooms that attract butterflies and make wonderful cut flowers.
For shaded areas, consider planting impatiens, which offer continuous color and require minimal maintenance beyond regular watering. Cosmos are also remarkably easy to grow from seed and will reward you with delicate, daisy-like flowers all season long.
If you’re looking for perennials that come back year after year, black-eyed susans and purple coneflowers are outstanding choices. These native plants are drought-tolerant and provide food for pollinators. Daylilies are practically indestructible and come in a rainbow of colors, while lavender adds both beauty and fragrance to your garden while requiring very little care.
For early spring color, try planting hardy pansies, which can withstand cool temperatures and provide cheerful faces in your garden. Don’t forget about sunflowers – they’re fast-growing, make excellent statement plants, and are perfect for getting children interested in gardening.
Remember to group flowers with similar water and sunlight needs together for the best results.
Planting and Initial Care
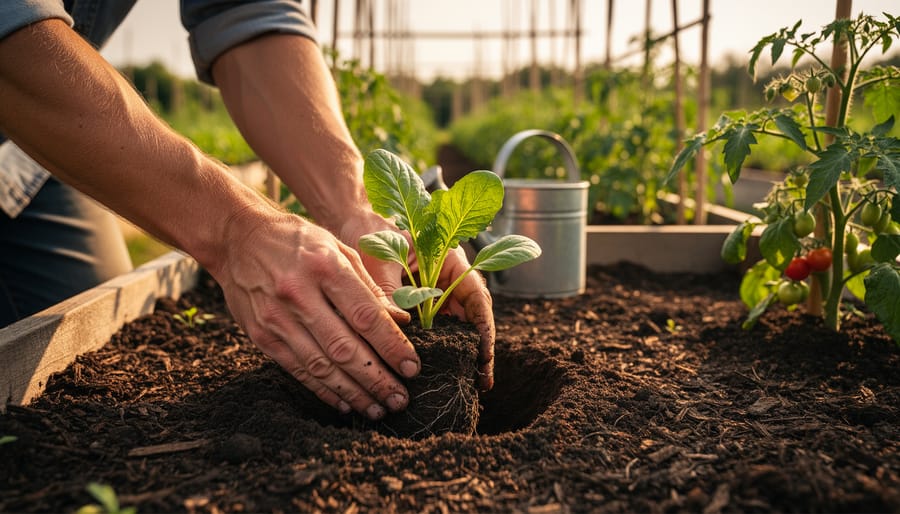
Proper Planting Techniques
Now that your garden bed is prepared, it’s time for the exciting part – planting! Whether you’re starting with seeds or seedlings, proper planting techniques are crucial for giving your plants the best start in life.
For seeds, begin by reading the packet instructions carefully – they’re your best friend at this stage. Create furrows at the recommended depth using your finger or a small trowel. A helpful rule of thumb is to plant seeds at a depth of about twice their diameter. Space them according to the packet guidelines, then cover gently with soil and water with a fine spray to avoid displacing them.
When planting seedlings, dig holes roughly twice the width of their containers and just slightly deeper. Gently remove plants from their pots, being careful not to damage the roots. If roots are tightly bound, carefully loosen them with your fingers. Place the seedling in the hole so that its soil level matches the garden bed’s surface – planting too deeply can suffocate the stem.
Fill in around the roots with soil, pressing firmly but gently to remove air pockets. Create a small basin around each plant to help water flow directly to the roots. After planting, water thoroughly to help settle the soil and give your plants a good drink.
Remember to space your plants properly – while it’s tempting to squeeze in more, crowded plants compete for nutrients and are more susceptible to disease.

Watering and Feeding Schedule
Proper watering and feeding are essential garden maintenance basics that can make or break your garden’s success. The key is to develop a consistent schedule that matches your plants’ needs while considering environmental factors.
For most gardens, water deeply but less frequently to encourage strong root growth. As a general rule, provide about 1-1.5 inches of water per week, either from rainfall or irrigation. Water early in the morning to reduce evaporation and prevent fungal growth. Remember that newly planted seedlings need more frequent watering than established plants.
When it comes to feeding, start with a good foundation of compost mixed into your soil before planting. During the growing season, apply a balanced, all-purpose organic fertilizer every 4-6 weeks. Heavy feeders like tomatoes and squash may need additional nutrients, while herbs typically require less feeding.
Pay attention to your plants’ signals – wilting leaves, yellowing foliage, or stunted growth might indicate incorrect watering or feeding. Adjust your schedule based on weather conditions, soil type, and plant species. During hot spells, you’ll need to water more frequently, while cooler, rainy periods require less intervention.
Consider installing a simple irrigation system or using self-watering containers to maintain consistent moisture levels, especially if you have a busy schedule. This helps ensure your plants receive the care they need without demanding too much of your time.
Common First-Time Gardener Mistakes
Even experienced gardeners started as beginners, and they’ll tell you that making mistakes is part of the learning process. Let’s explore some common pitfalls new gardeners encounter and how you can avoid them.
One of the most frequent mistakes is trying to grow too much too soon. It’s tempting to plant everything that catches your eye, but starting small allows you to learn and manage your garden effectively. Begin with a few easy-to-grow plants and expand gradually as you gain confidence.
Improper spacing is another typical oversight. When those tiny seedlings look so small, it’s hard to imagine how big they’ll become. Always follow the spacing guidelines on seed packets or plant labels – overcrowded plants compete for nutrients and are more susceptible to disease.
Many new gardeners also struggle with watering. Either they water too frequently and shallowly, encouraging weak root systems, or they forget to water consistently. The key is to water deeply but less often, encouraging roots to grow deeper into the soil.
Skipping the soil preparation step is a crucial mistake that can doom your garden from the start. Good soil is the foundation of a healthy garden, so take time to enrich it with compost and ensure proper drainage before planting.
Timing is everything in gardening, and planting at the wrong time is a common error. Research your local frost dates and planting zones, and create a calendar to track optimal planting times for different crops.
Finally, neglecting to monitor for pests early on can lead to significant problems later. Regular garden inspections help you catch issues before they become major headaches, making them easier to manage naturally.
Remember, every gardener has faced these challenges. The key is to learn from them and keep growing!
Starting a garden is an exciting journey that never truly ends – there’s always something new to learn, grow, and discover. Remember that every experienced gardener started exactly where you are now, and each season brings fresh opportunities to expand your knowledge and skills. Don’t be discouraged by initial setbacks; they’re valuable learning experiences that will make you a better gardener.
As you move forward, consider joining local gardening clubs or online communities where you can share experiences and learn from others. Keep a garden journal to track your successes and challenges, and don’t be afraid to experiment with different plants and techniques. The beauty of gardening lies in its flexibility – you can always adjust your approach based on what works best for your space and lifestyle.
Whether you’re dreaming of fresh vegetables, beautiful flowers, or a peaceful outdoor sanctuary, you now have the foundational knowledge to begin. Take that first step today – start small, stay curious, and watch your garden grow alongside your confidence. Happy gardening, and remember: every expert gardener was once a beginner who simply decided to start.