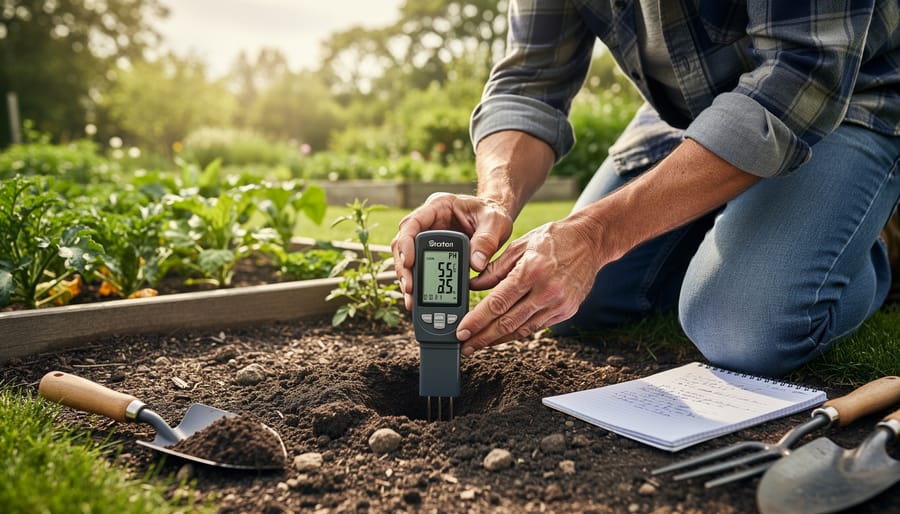
Test your soil first with an inexpensive pH kit from any garden center—you need to know your starting point before adding amendments. Most alkaline soils register above 7.5, and bringing them down even one full point takes time and patience, so set realistic expectations from the start.
Apply elemental sulfur for the most reliable long-term results, working it into the top 6 inches of soil at rates between 1-2 pounds per 100 square feet depending on your soil type and current pH. Clay soils need more sulfur than sandy ones, and the process takes 2-4 months as soil bacteria convert the sulfur to sulfuric acid.
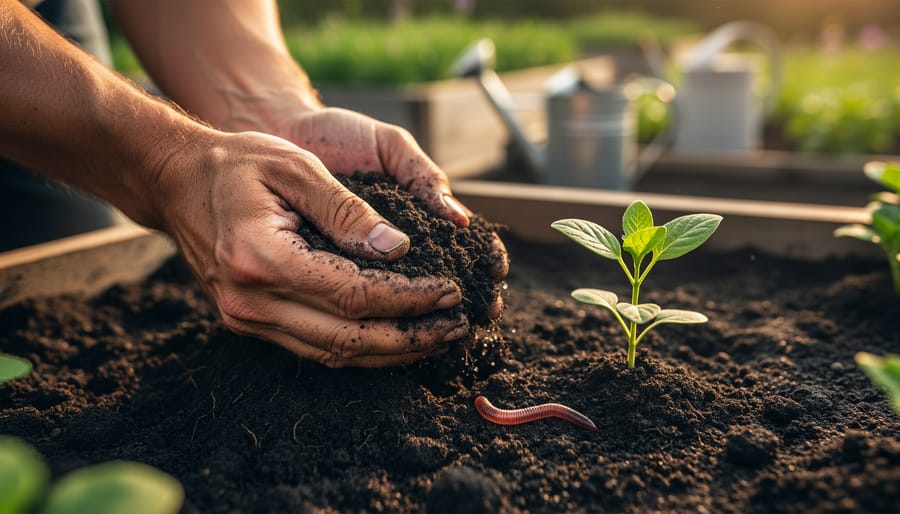
Add organic matter like compost, peat moss, or well-aged manure to gradually acidify soil while improving its structure and water retention. These amendments work slowly but safely, making them perfect for beginners who worry about over-correcting.
Choose aluminum sulfate or iron sulfate when you need faster results—they work within weeks rather than months. Mix these quick-acting amendments carefully following package directions, as they can burn plant roots if you apply too much at once.
Understanding pH requirements for specific plants helps you decide whether lowering your soil pH is worth the effort. Acid-loving plants like blueberries, azaleas, and rhododendrons absolutely need it, while many vegetables tolerate a wider range and might not justify the work involved.
Why Your Soil pH Matters More Than You Think
Think of soil pH as your garden’s gatekeeper, controlling which nutrients your plants can actually access. Even if your soil is rich in minerals and organic matter, the wrong pH level can lock those nutrients away, leaving your plants hungry and struggling. This is why understanding and managing pH is one of the most important steps you can take as a gardener.
Soil pH directly influences nutrient availability. When soil becomes too alkaline (above 7.0 on the pH scale), essential nutrients like iron, manganese, and phosphorus become chemically bound to soil particles. Your plants simply can’t absorb them, no matter how much fertilizer you add. It’s like having a fully stocked pantry but keeping the door locked.
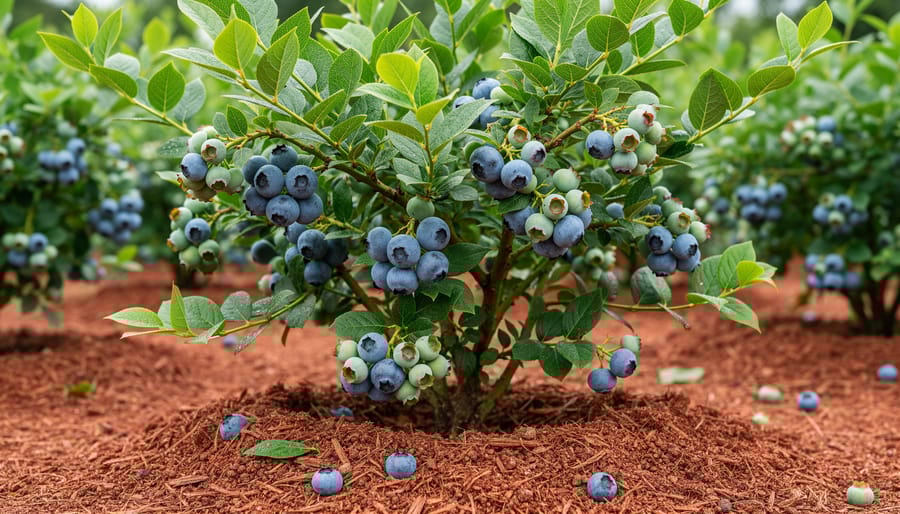
Some plants are particularly sensitive to alkaline conditions. Blueberries, azaleas, and rhododendrons are classic examples of acid-loving plants that absolutely refuse to thrive when pH creeps too high. These beauties evolved in naturally acidic environments and have adapted to efficiently absorb nutrients only within that specific range, typically between 4.5 and 6.0.
How can you tell if pH is causing problems? Your plants will send clear signals. Watch for yellowing leaves with green veins, a condition called chlorosis, which indicates iron deficiency. Stunted growth, poor flowering, and leaves that look pale or washed out are other common symptoms. You might notice your rhododendrons producing smaller blooms than usual or your blueberry bushes yielding disappointing harvests despite proper watering and sunlight.
The good news? Once you recognize these signs and confirm high pH through testing, you can take specific actions to lower it and unlock your soil’s full potential.
Testing Your Soil pH: The Essential First Step
DIY Testing vs. Professional Lab Analysis
When you’re ready to test your soil pH, you’ll face a choice: grab a home test kit or send a sample to a professional lab. Both have their place in your gardening toolkit!
Home test kits are perfect for quick checks and ongoing monitoring. These affordable options, usually costing under $20, give you results in minutes. They’re ideal when you’re adjusting pH gradually and want to track progress every few weeks. The color-matching strips work well for basic readings, though digital pH meters offer more precision. I keep a home kit handy for spot-checking different garden beds throughout the season.
Professional lab analysis becomes worthwhile when you’re starting a new garden or facing persistent plant problems. For $25-50, labs provide detailed reports including pH levels, nutrient content, and specific amendment recommendations tailored to your soil type. They’re particularly valuable before major landscaping projects or when growing pH-sensitive plants like blueberries. Learn more about various soil testing methods to find what works for your situation.
My advice? Start with lab testing to establish your baseline, then use home kits to monitor your pH-lowering efforts.
How to Collect Soil Samples the Right Way
Getting an accurate soil sample is easier than you might think, and it makes all the difference in your results! Start by choosing a dry day when your soil isn’t soggy or frozen. You’ll need a clean trowel or soil probe and a bucket.
Here’s the simple approach: Take samples from 6 to 10 different spots in the area you want to test. Dig down about 6 inches (or 4 inches for lawns), removing any grass or debris from the surface first. Mix all these samples together in your bucket – this gives you a true picture of your soil’s average pH rather than one potentially misleading spot.
If you have distinctly different garden areas, like a vegetable bed and a flower border, test them separately. They may have different pH levels and different needs.
Once mixed, let your sample air-dry if it’s damp, then take about a cup of this combined soil for testing. Remove any stones, roots, or plant material before testing. Remember, the more random spots you sample from, the more reliable your results will be. I learned this the hard way after testing just one spot and getting readings that didn’t represent my whole garden!
Proven Methods to Lower Soil pH Safely
Elemental Sulfur: The Gold Standard for Long-Term Results
If you’re serious about lowering your soil pH for the long haul, elemental sulfur is your best friend. Think of it as the marathon runner of soil amendments, working slowly but delivering results that last for years rather than months.
Here’s how sulfur works its magic: soil bacteria convert the elemental sulfur into sulfuric acid through a natural process. This gradual transformation is actually a good thing because it means the pH change happens steadily without shocking your plants. The catch? You’ll need patience. In warm, moist soil with active bacteria, you might see results in 3-4 months. In cooler conditions or clay soil, expect to wait 6-12 months for the full effect.
Application rates depend on your starting pH and soil type. As a general guide, sandy soil needs about 1-2 pounds of sulfur per 100 square feet to lower pH by one point, while clay soil requires 3-4 pounds for the same change. Always start conservatively and retest after a few months rather than overdoing it initially.
Timing matters significantly. Apply sulfur in fall if possible, giving it winter to work before spring planting. The next best window is early spring, at least three months before you need results. Spread it evenly across the soil surface, then work it into the top 6 inches with a garden fork or tiller. Water thoroughly after application to kickstart the bacterial activity.
Safety tips: wear a dust mask when applying powdered sulfur, as inhaling the fine particles irritates your lungs. Keep sulfur away from plant stems and wash your hands after handling. Store unused sulfur in a cool, dry place away from heat sources.
The beauty of sulfur is that once it works, you’re typically good for several years before needing another application. Just remember to test annually to track your progress and catch any drift back toward alkalinity early.
Aluminum Sulfate: When You Need Faster Results
When you’re racing against time to prepare a bed for acid-loving plants, aluminum sulfate can be your secret weapon. Unlike elemental sulfur, which relies on soil bacteria to work their magic over weeks or months, aluminum sulfate acidifies soil immediately through a chemical reaction. Think of it as the express lane compared to sulfur’s scenic route.
Here’s how it works: aluminum sulfate dissolves quickly in water and immediately releases hydrogen ions, lowering your pH within days rather than months. This makes it perfect for emergency situations, like when you’ve just realized your blueberries are arriving next week and your soil test shows a pH of 7.5.
However, this speed comes with responsibility. Apply 1 to 2 pounds per 10 square feet to lower pH by approximately one point, but always water it in thoroughly to prevent root burn. I learned this lesson the hard way when I got overzealous with my azaleas and scorched their shallow roots. Mix it with water first or sprinkle it around plants, never directly on foliage or crowns.
The biggest caution? Aluminum sulfate adds aluminum to your soil, which in excessive amounts can become toxic to plants. Use it sparingly and only when speed matters. For long-term pH management, elemental sulfur remains the healthier choice. Test your soil again after application to ensure you haven’t overshot your target pH range.
Organic Amendments That Gradually Acidify Soil
If you’re looking for a gentler approach to lowering pH, organic amendments offer a slow and steady solution that improves soil health along the way. These materials work gradually, so they’re perfect for long-term planning rather than quick fixes.
Peat moss is the heavyweight champion of acidifying amendments. With a pH between 3.5 and 4.5, it’s incredibly effective at bringing down alkaline soil over time. Work it into your top 6-8 inches of soil at a rate of about 2-3 inches across your planting area. The bonus? It improves water retention and adds valuable organic matter to your soil structure.
Pine needles (also called pine straw) have earned an unfair reputation as super acidifiers, but the truth is they’re mild and slow-acting. They work beautifully as mulch, gradually releasing weak acids as they decompose. Spread a 2-3 inch layer around acid-loving plants like blueberries and azaleas for steady, gentle acidification.
Composted oak leaves are another excellent choice. Fresh oak leaves contain tannins that lower pH, but composted leaves work even better because they’re ready to integrate into your soil immediately. Mix them into planting beds at a 1:3 ratio with existing soil.
Coffee grounds deserve a reality check. While used grounds are slightly acidic, they won’t dramatically change your pH. Use them sparingly, mixing no more than 20% grounds into compost or sprinkling thin layers around plants. They’re better valued for their nitrogen content than their acidifying power.
Here’s the key to success with any organic amendment: patience and consistency. Incorporating organic matter regularly, testing annually, and reapplying as needed will gradually shift your pH while building healthier, more resilient soil.
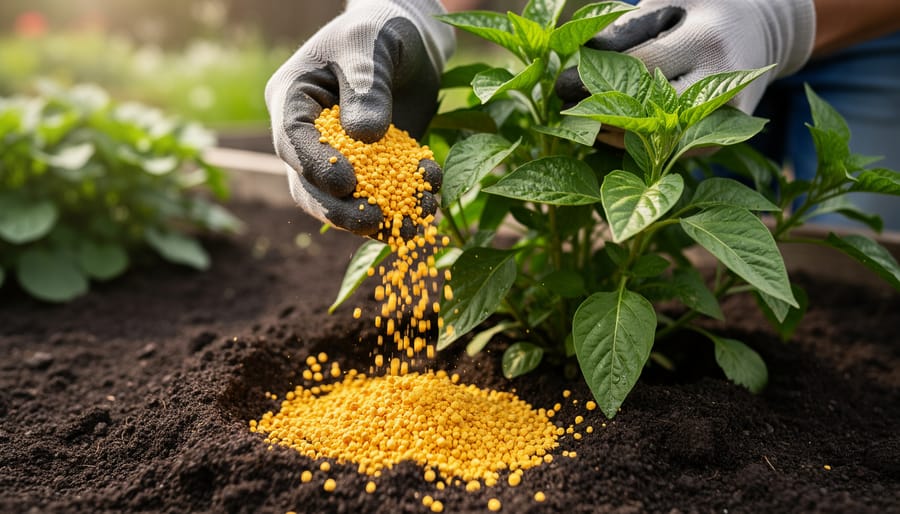
Acidifying Fertilizers for Ongoing Maintenance
Once you’ve brought your soil pH down to the desired level, you’ll want to keep it there—and that’s where acidifying fertilizers become your allies. These products do double duty: feeding your plants while gently nudging the pH downward over time.
Ammonium-based fertilizers are the workhorses of pH maintenance. When you apply fertilizers containing ammonium sulfate or ammonium nitrate, something interesting happens in the soil. As plants absorb the nitrogen, beneficial soil bacteria convert the ammonium into nitrate through a process that releases hydrogen ions. These hydrogen ions are what actually acidify your soil, creating that slightly tangy environment acid-loving plants adore.
I’ve found that using ammonium sulfate as a regular part of my feeding routine keeps my blueberry bushes happy without requiring constant pH adjustments. It’s particularly effective because the sulfur component also contributes to lowering pH, giving you a two-for-one benefit.
Look for fertilizers labeled specifically for acid-loving plants—these typically contain higher amounts of ammonium nitrogen. Popular options include products formulated for azaleas, rhododendrons, and blueberries. Apply them according to package directions during the growing season, usually every 4-6 weeks.
One word of caution: don’t overdo it. While these fertilizers help maintain acidity, excessive application can harm plants and create nutrient imbalances. Test your soil annually to monitor pH levels and adjust your fertilizing schedule accordingly. Think of these products as gentle maintenance tools rather than dramatic pH-changers—they’re perfect for keeping things stable once you’ve achieved your target range.
Calculating How Much Amendment You Actually Need
Here’s the truth: you don’t need to be a math whiz to figure out how much amendment to add. Most product labels provide guidelines, but understanding the basics helps you adjust for your specific situation.
Start with your soil test results. If your pH is 7.5 and you want to reach 6.5, you’re looking at a one-point drop. Sandy soils need less amendment than clay soils because they have less buffering capacity. Think of it like adding lemon juice to water versus adding it to milk—the water changes pH much faster.
As a general starting point, elemental sulfur typically requires about half a pound per 100 square feet to lower pH by one point in sandy soil, but clay soils might need triple that amount. Aluminum sulfate works faster but requires roughly six times as much by weight. Iron sulfate falls somewhere in between.
Here’s a practical example: Sarah from Ohio had clay soil testing at 7.8 and wanted to grow blueberries requiring 5.5 pH. Rather than trying to drop pH by 2.3 points all at once, she applied sulfur to target just 7.0 the first season. After retesting six months later, she made another application. It took two years to reach her goal, but her blueberries thrived without experiencing the shock that dramatic pH swings can cause.
The golden rule? Start with half the recommended amount for your first application. Wait three to six months, retest, and adjust accordingly. Soil pH changes gradually, and patience truly pays off. Overshooting your target is much harder to correct than adding a bit more amendment later. Remember, you’re working with living soil, not mixing a chemical solution in a lab.
Common Mistakes That Make pH Problems Worse
Even the most enthusiastic gardeners can stumble when adjusting soil pH. One of the biggest mistakes I see is over-application of sulfur or other acidifying amendments. More isn’t better here! Adding too much can send your pH plummeting dangerously low, shocking your plants and creating a whole new problem. Always start with the amount recommended by your soil test results.
Another common pitfall is the “set it and forget it” approach. After amending your soil, many gardeners assume the job is done and never retest. But pH can drift over time, especially with regular watering and fertilizing. Make retesting part of your seasonal routine, ideally every six months for the first year, then annually.
I’ve also met gardeners who treat their entire yard when only specific beds need adjustment. This wastes time, money, and amendments. Remember, not all plants need acidic soil. Test and treat only the areas where you’re growing acid-loving plants.
Perhaps the most frustrating mistake is expecting instant results. Lowering pH is a gradual process, sometimes taking several months to a full growing season. If you’re using elemental sulfur, patience is essential as soil bacteria need time to work their magic.
Here’s my encouragement: every experienced gardener has made these mistakes. The key is learning from them, keeping good records of what you’ve applied, and celebrating the small victories along the way. Your persistence will pay off with thriving, beautiful plants.
Keeping Your Soil pH Stable Over Time
Once you’ve successfully lowered your soil pH, the real work begins: keeping it stable! Think of soil pH management like tending a friendship – it needs regular attention and care.
Start by testing your soil twice a year, ideally in spring and fall. This helps you catch any shifts before they become problems. I keep a simple journal noting my pH readings, and it’s fascinating to see patterns emerge over time.
Your irrigation water plays a bigger role than you might expect. If you have hard water high in calcium and magnesium, it’ll gradually push your pH upward. Consider collecting rainwater for acid-loving plants, or add a splash of vinegar to your watering can occasionally (about one tablespoon per gallon works well).
Mulching is your secret weapon for pH stability. Organic mulches like pine needles, oak leaves, or wood chips slowly decompose and release mild acids, helping maintain lower pH levels while feeding beneficial soil microbes. Apply a 2-3 inch layer and refresh annually.
Be mindful of your fertilizer choices too. Many synthetic fertilizers have an alkalizing effect over time. Switch to acidic options like ammonium sulfate or choose organic alternatives that support natural soil chemistry.
Remember, different seasons bring different challenges. Heavy rains can leach amendments away, while drought concentrates minerals. Stay observant, test regularly, and make small adjustments rather than dramatic changes. Your plants will thank you with vibrant growth and abundant blooms!
Real Gardener Success Story: Turning Around a Struggling Blueberry Patch
When Margaret Chen first planted her prized highbush blueberries three years ago, she was puzzled by their yellowing leaves and stunted growth. “I couldn’t understand why they looked so miserable,” she recalls from her Portland garden. “I was watering regularly, fertilizing, doing everything right—or so I thought.”
A soil test revealed the culprit: her pH sat stubbornly at 7.2, far too alkaline for acid-loving blueberries that thrive between 4.5 and 5.5. “I felt discouraged at first, thinking I’d have to rip everything out and start over,” Margaret admits.
Instead, she tackled the challenge methodically. She began by working elemental sulfur into the soil around each plant in early spring, following the test lab’s recommended application rate. “The key was patience,” she emphasizes. “I tested every six weeks and adjusted as needed rather than dumping too much at once.”
Margaret also started amending with aged pine bark mulch and composted pine needles each season. Within four months, her pH dropped to 5.8, and by the following spring, it reached the ideal 5.2. “The transformation was incredible—dark green leaves, vigorous growth, and finally, buckets of beautiful berries.”
Her biggest lesson? “Don’t skip the soil test, and don’t expect overnight miracles. I kept a simple notebook tracking my pH readings and amendments, which helped me see the progress when it felt slow.” She also warns against overusing vinegar, which she tried initially. “That was a waste of time—it washed away after one good rain.”
Today, Margaret’s blueberry patch produces enough fruit to share with neighbors, proving that even challenging pH problems have solutions.
Adjusting your soil pH might seem daunting at first, but here’s the truth: it’s absolutely within your reach as a gardener. With patience and consistency, you can create the perfect environment for your acid-loving plants to thrive. Remember, this isn’t a race. Soil chemistry changes gradually, and that’s actually a good thing because it gives you control over the process.
Let’s recap what we’ve covered. Always start by testing your soil to know exactly where you stand. Then, choose your amendment method based on your timeline and specific needs. Apply treatments gradually rather than dumping everything at once, which could shock your plants. Monitor your progress with regular testing, and don’t expect overnight miracles. Finally, maintain your efforts because soil pH naturally wants to drift back toward its original state.
Think of this as an ongoing conversation with your garden rather than a one-time fix. Each season brings new opportunities to fine-tune and observe how your plants respond. Those vibrant azaleas, productive blueberries, and stunning rhododendrons you’ve been dreaming about? They’re absolutely achievable when you give them the acidic soil they crave. You’ve got this, and your garden will thank you with abundant, healthy growth.