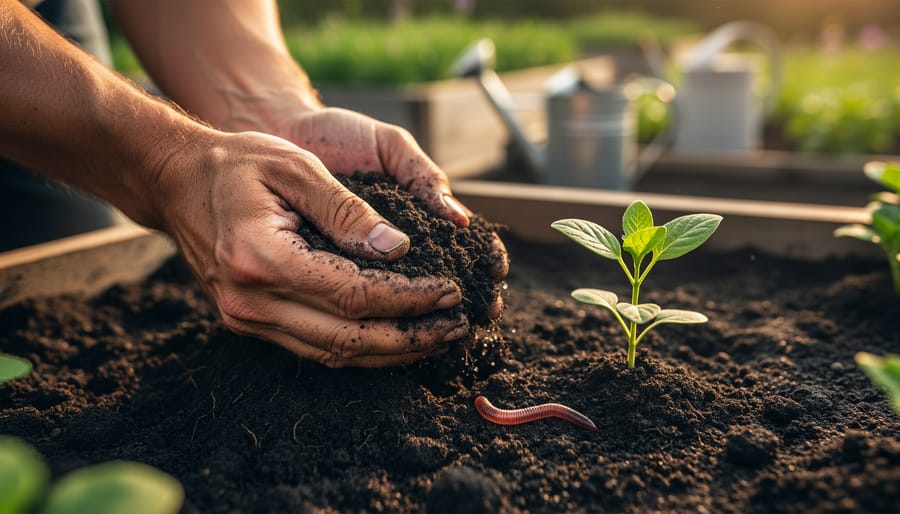
Your zoysia grass thrives best when soil pH sits between 6.0 and 6.5, that sweet spot where nutrients flow freely to those dense, carpet-like blades. Getting this right means the difference between a lawn that merely survives and one that becomes the envy of your neighborhood.
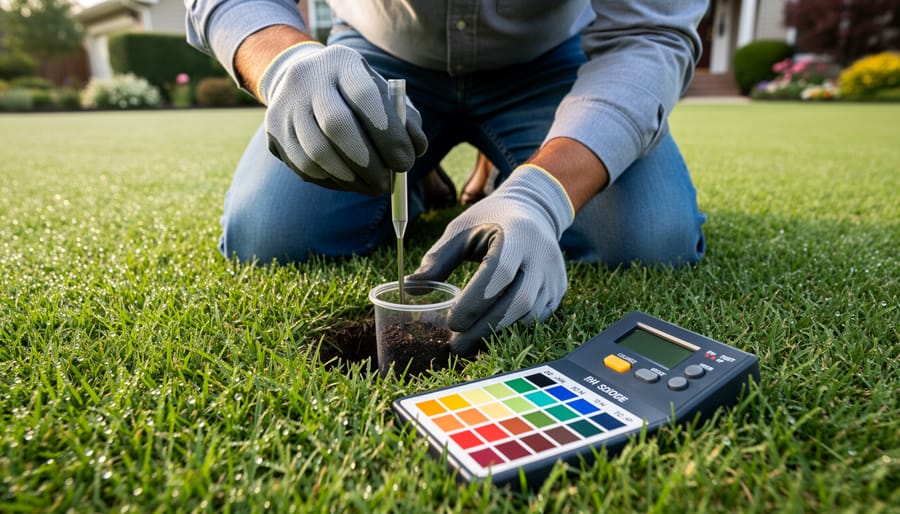
Test your soil now using a simple home kit from any garden center, or send a sample to your local extension office for detailed results that reveal not just pH but nutrient levels too. You’ll get answers within days, not weeks, and know exactly where you stand.
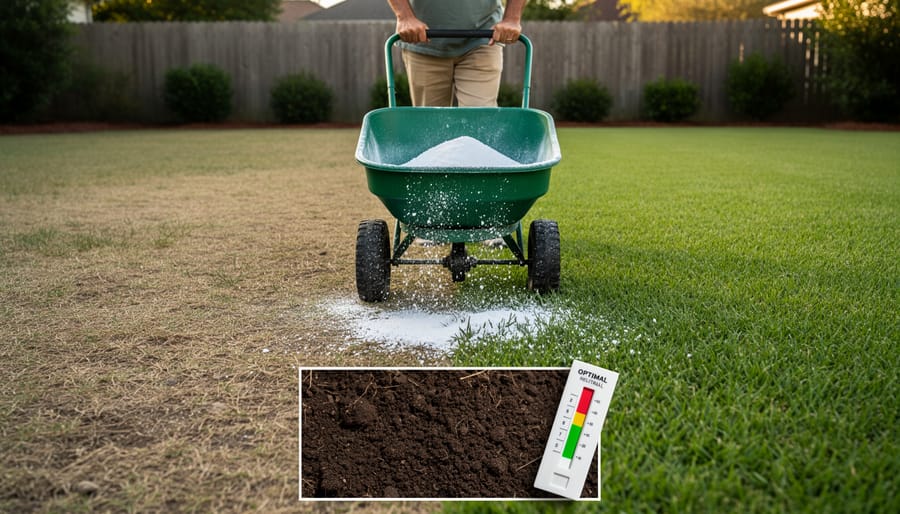
If your test shows acidic soil below 6.0, apply garden lime at rates your test recommends, working it into the top few inches during early spring. For alkaline soil above 7.0, incorporate elemental sulfur or organic amendments like compost, which gradually nudge pH downward while feeding beneficial microbes.
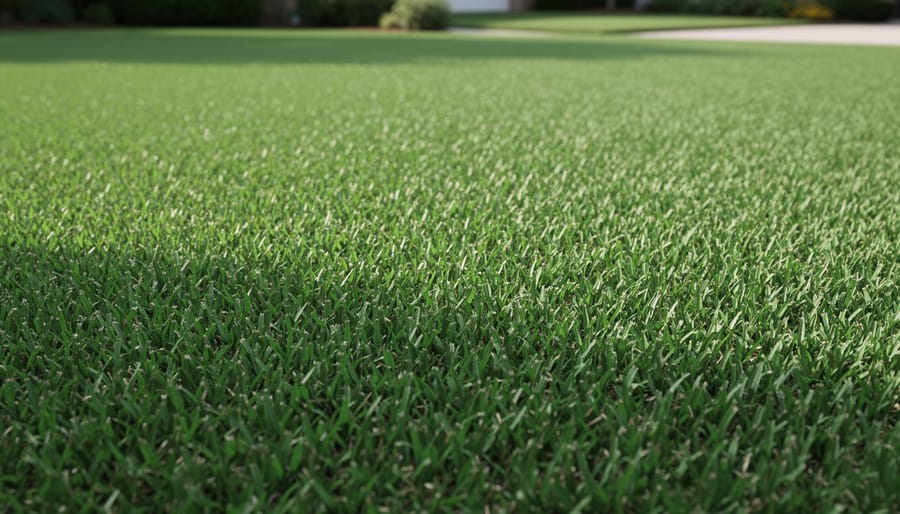
The beauty of zoysia lies in its adaptability. While it tolerates pH ranges from 5.5 to 7.0, dialing in that ideal range unlocks vigorous growth, better drought tolerance, and natural resistance to weeds and disease. Small adjustments today create that lush, resilient lawn you’ve been dreaming about, transforming your outdoor space into a living masterpiece.
What Zoysia Grass Really Needs from Your Soil
The Sweet Spot: Understanding pH Numbers
Think of pH as a sliding scale that measures whether your soil is acidic, neutral, or alkaline. The scale runs from 0 to 14, with 7 sitting right in the middle as neutral. Numbers below 7 indicate acidic soil, while anything above 7 means your soil is alkaline (or basic).
Here’s where it gets interesting for your zoysia lawn: this resilient grass performs best when your soil pH falls between 6.0 and 7.0, with the sweet spot hovering around 6.5. At this slightly acidic to neutral range, your zoysia can efficiently absorb essential nutrients like nitrogen, phosphorus, and iron from the soil. The beneficial soil microbes that support healthy grass growth also thrive in this range.
When pH drifts too far in either direction, your grass starts struggling. Even if your soil contains plenty of nutrients, they become locked up and unavailable to your zoysia’s roots when pH levels are off. That’s why understanding and maintaining proper pH is just as important as fertilizing. The good news? Adjusting soil pH is totally doable, and I’ll show you exactly how in the sections ahead.
When pH Goes Wrong: What You’ll See in Your Lawn
Your zoysia grass is pretty good at telling you when something’s off with the soil pH, you just need to know what to look for! If the pH is too low or too high, you’ll likely notice your once-lush lawn looking a bit lackluster.
The most common sign is yellowing or pale grass, especially between the leaf veins. This happens because improper pH locks up essential nutrients like iron and nitrogen, making them unavailable to your grass roots even though they’re sitting right there in the soil. It’s like having food in the pantry but not being able to open the door!
You might also notice your zoysia growing more slowly than usual or developing thin, patchy areas that never seem to fill in. When pH is off-balance, the grass becomes stressed and more vulnerable to diseases and pest problems. Brown spots, fungal infections, and increased weed invasion often follow because weeds are opportunistic and love to move into weakened turf areas.
Another telltale sign is poor response to fertilizer. If you’ve been feeding your lawn regularly but not seeing improvement, pH imbalance could be blocking nutrient absorption. Think of it as your grass being unable to digest its meals properly, no matter how much you serve!
Testing Your Soil: The First Step to a Perfect Lawn
DIY Testing Kits vs. Professional Lab Analysis
When it comes to testing your zoysia grass soil, you have two main options, each with its own benefits. DIY soil testing methods are budget-friendly, typically costing $10-20 for a basic kit, and give you results within minutes right in your backyard. They’re perfect for quick checks and ongoing monitoring throughout the season. However, they provide less detailed information and may be less accurate than professional analysis.
Professional lab testing, running $30-50 per sample, offers comprehensive results including pH, nutrient levels, and specific recommendations for amendments. Labs can detect micronutrients and provide baseline data that’s invaluable for long-term lawn planning. I recommend starting with a professional test when establishing new zoysia or troubleshooting persistent problems. This gives you a complete picture of your soil’s health.
For routine maintenance, DIY kits work wonderfully. Many experienced gardeners use both methods: a professional test annually and DIY testing throughout the growing season to track changes. This combination approach balances accuracy with convenience while keeping costs manageable for most homeowners.
Reading Your Results Like a Pro
When your soil test results arrive, don’t let the numbers intimidate you! Think of it as getting a report card for your lawn, and I’m here to help you understand what your zoysia is telling you.
The most important number you’ll see is the pH value, which typically appears near the top of your report. For zoysia grass, you’re looking for a sweet spot between 6.0 and 7.0. If your reading falls between 6.0 and 6.5, give yourself a pat on the back because that’s absolutely ideal. Your zoysia will thrive in this slightly acidic range, accessing nutrients efficiently and developing those dense, healthy roots we all want.
If your pH reads below 6.0, your soil is too acidic. This means your grass might struggle to absorb calcium and magnesium, leading to weaker growth. Numbers above 7.0 indicate alkaline soil, which can lock up iron and other micronutrients, potentially causing that yellowing you might have noticed.
Beyond pH, look at the nutrient levels listed. Phosphorus (P) and potassium (K) values should fall within the “adequate” or “optimum” range specified on your report. These nutrients work hand-in-hand with proper pH to keep your zoysia lush and resilient.
Many test reports include specific recommendations tailored to your results, which takes the guesswork out of amendments. I always recommend keeping these reports in a garden journal so you can track improvements over time and see how your efforts pay off season after season.
Raising Soil pH: When Your Soil is Too Acidic
Choosing the Right Lime for Your Lawn
When you’re ready to raise your soil’s pH, choosing the right type of lime makes a real difference. Think of lime as coming in three main varieties, each with its own personality.
Calcitic lime contains primarily calcium carbonate and works beautifully when your soil test shows adequate magnesium levels. It’s often the most budget-friendly option and does exactly what you need: raises pH efficiently. I’ve used it successfully on lawns that just needed a straightforward pH boost.
Dolomitic lime brings both calcium and magnesium to the party. If your soil test reveals low magnesium alongside acidic pH, this is your go-to choice. Many zoysia lawns benefit from the extra magnesium, which supports that gorgeous green color we all love.
Pelletized lime is simply ground limestone formed into easy-to-spread pellets. While it costs a bit more, the convenience factor is significant. It’s less dusty, spreads evenly with a regular spreader, and won’t blow around on breezy days. For most homeowners, this user-friendly option is worth the investment.
Your soil test results will guide your decision. Look at both your pH level and nutrient profile. When in doubt, pelletized dolomitic lime offers a reliable, all-around solution for most zoysia lawns needing a pH adjustment.
How Much and How Often: Application Guidelines
When optimizing soil pH for your zoysia lawn, patience and precision are your best friends. For raising pH with lime, apply 25-50 pounds per 1,000 square feet, depending on your soil test results. Sandy soils need less, while clay soils require more. Work it into the top 6 inches of soil before planting, or topdress established lawns and water thoroughly.
To lower pH with sulfur, use 5-10 pounds per 1,000 square feet for sandy soil, or up to 20 pounds for clay. Fall application works beautifully since cooler temperatures allow gradual soil reaction without stressing your grass.
Here’s the reality check: pH changes happen slowly. You’ll typically see measurable results in 2-3 months, though complete adjustment can take 6-12 months. Retest your soil every three months initially, then annually once you’ve hit that sweet spot of 6.0-7.0.
Think of it like seasoning a cast iron pan—small, repeated applications work better than one dramatic change. Your zoysia will reward your patience with that gorgeous, dense growth you’re after.
Alternative Amendments That Also Work
Beyond limestone, several natural amendments can gently raise your soil pH for zoysia grass. Wood ash from your fireplace works wonderfully—it contains potassium and calcium carbonate, though it acts faster than lime, so apply sparingly. I sprinkle about half the amount I’d use for lime and retest after a few weeks.
Oyster shell or clamshell meal offers a slow-release option that’s perfect if you’re patient. These crushed shells break down gradually, providing calcium while buffering pH over several months. They’re especially great for coastal gardeners who can source them locally.
Bone meal primarily adds phosphorus but also nudges pH upward slightly. Eggshells, saved and crushed, work similarly on a smaller scale—I always save mine throughout winter for spring application.
Each option has unique benefits, so consider combining them based on what’s available in your area. Remember, organic amendments work more slowly than synthetic products, so test your soil regularly and adjust your approach as needed.
Lowering Soil pH: Tackling Alkaline Conditions
Sulfur: The Go-To Solution for Alkaline Soil
When your soil tests above 7.0, elemental sulfur becomes your best friend for bringing pH down to zoysia’s preferred range. Here’s how it works its magic: soil microbes convert the sulfur into sulfuric acid, gradually lowering pH over several weeks. It’s a natural process that’s both effective and safe for your lawn when done correctly.
Application rates depend on your starting pH and soil type. For sandy soils testing at 7.5, you’ll typically need about 5 pounds of elemental sulfur per 1,000 square feet to drop the pH by one point. Clay soils require more—roughly 10 to 15 pounds per 1,000 square feet—because they resist pH changes. Always start conservatively and retest after three months before adding more.
The beauty of sulfur is its gentle action. Unlike quick-fix products, it won’t shock your grass or burn roots. Apply it during spring or fall when your zoysia is actively growing but not stressed by heat. Simply broadcast the granules evenly across your lawn using a spreader, then water thoroughly to activate the process.
One safety tip I always share: wear gloves and a dust mask during application, and keep pets off the lawn until you’ve watered it in completely.
Organic Methods to Gradually Lower pH
If you’re dealing with alkaline soil and your zoysia grass needs a slightly lower pH, organic methods offer a gentle, sustainable approach. These natural materials work gradually, which means they won’t shock your grass or cause dramatic pH swings that could do more harm than good.
Compost is my go-to recommendation for lowering alkaline soil pH because it improves soil structure while slowly acidifying. Spread a half-inch layer over your lawn twice yearly, and you’ll see steady improvement. The microorganisms in compost continue working long after application, creating that perfect environment zoysia loves.
Peat moss is another reliable option, though it works best when incorporated before establishing your lawn. If you’re overseeding or renovating bare patches, mix peat moss into the top few inches of soil. It’s naturally acidic and helps retain moisture, which benefits zoysia during dry spells.
Here’s a fun tip I learned from a master gardener in North Carolina: save your coffee grounds! Sprinkle them lightly over your lawn or add them to your compost pile. They’re mildly acidic and provide nitrogen as they break down. Just don’t overdo it, a thin layer every few weeks is plenty.
Elemental sulfur can also be considered organic, though it’s more concentrated than other materials. Apply it according to soil test recommendations, typically in fall or early spring. Remember, patience is key with organic methods. You’re building healthy soil for the long term, not just chasing quick fixes.
Maintaining Perfect pH Year After Year
Creating a pH Monitoring Schedule
Checking your zoysia’s soil pH doesn’t need to be complicated. I recommend testing twice a year: once in early spring before active growth begins, and again in late summer. This schedule helps you catch shifts before they impact your lawn’s health.
For new lawns, test monthly during the first growing season to establish a baseline. Keep a simple notebook or spreadsheet recording the date, pH reading, and any amendments you’ve applied. You’ll start noticing patterns, like how heavy rainfall might lower pH or how lime applications gradually raise it over weeks.
Watch for visual cues between tests too. Yellowing grass or patchy growth often signals pH issues developing. By tracking your readings over time, you’ll develop an intuition for your soil’s behavior and can adjust proactively rather than reactively. Think of it as getting to know a friend; the more attention you pay, the better you understand their needs. This ongoing relationship with your soil makes maintaining that sweet spot of 6.0 to 7.0 pH much easier.
Lawn Care Practices That Protect Your pH Balance
Your everyday lawn care habits play a bigger role in soil pH than you might think! Let me share some insights that’ll help you maintain that sweet spot for your zoysia.
When it comes to fertilizers, choosing the right type matters tremendously. Ammonium-based fertilizers tend to acidify soil over time, while nitrate-based options have less impact on pH. If your soil already leans acidic, consider switching to a more pH-neutral formula. Practicing integrated nutrient management helps you balance these inputs effectively.
Watering practices also influence pH, especially in areas with hard water that contains dissolved minerals. These minerals gradually raise soil pH, so monitor this if you’re watering frequently. Deep, infrequent watering is better for zoysia anyway, promoting stronger root systems while minimizing pH shifts.
Your mowing routine affects pH indirectly through grass clippings. Leaving clippings on the lawn returns nutrients to the soil, but they also slightly acidify as they decompose. This natural process actually benefits most lawns!
Regular soil testing every two to three years keeps you ahead of any pH problems. I recommend testing in early spring before you begin your seasonal fertilization program. This timing gives you a clear baseline and plenty of time to make adjustments before peak growing season arrives.
Troubleshooting Common pH Problems
Even with the best intentions, pH adjustment doesn’t always go smoothly. If you’ve applied amendments but your pH stubbornly refuses to budge, you’re not alone. Clay soils, in particular, have high buffering capacity, meaning they resist change. The solution? Patience and persistence. Rather than dumping larger quantities of lime or sulfur all at once, apply smaller amounts more frequently over several seasons. Heavy clay may need multiple treatments spaced six months apart to reach your target range of 6.0 to 6.5.
Regional challenges can also throw a wrench in your plans. If you live in an area with naturally alkaline water or limestone-heavy soil, maintaining acidic to neutral pH becomes an ongoing commitment rather than a one-time fix. Consider installing a rain barrel system to water your zoysia with naturally softer rainwater, which won’t add alkalinity back into your soil.
When results aren’t showing after a full growing season, reassess your testing method. Home test kits can sometimes give inconsistent readings. Invest in a professional soil test to get accurate baseline data, including information about nutrient availability that might be hampering grass health independent of pH.
Here’s an insider tip from Marcus Chen, a groundskeeper with twenty years of experience: “I always tell people to focus on organic matter first. I’ve seen lawns transform just by top-dressing with compost twice yearly. It naturally moderates pH swings and improves soil structure, making whatever amendments you add work more effectively.”
Remember, healthy zoysia is the goal. Sometimes the grass responds better than the numbers suggest it should, so don’t obsess over achieving perfect pH if your lawn already looks vibrant and green.
You’ve got this! Creating the perfect growing environment for your zoysia grass isn’t as complicated as it might seem. By now, you understand that maintaining a soil pH between 6.0 and 7.0 gives your lawn the best chance to thrive, absorb nutrients efficiently, and develop that lush, dense carpet you’re dreaming of.
The beauty of pH optimization is that you don’t need to be a soil scientist to succeed. Start with one simple action today: test your soil. Whether you grab an inexpensive kit from your local garden center or send a sample to your extension office, that first step reveals exactly where you stand. From there, the path forward becomes clear, whether you need to add lime to raise pH or sulfur to lower it.
Remember, adjusting soil pH is a gradual process, not an overnight transformation. But every small effort you make compounds over time. Your zoysia grass will reward your attention with improved color, better drought resistance, and stronger root development. The investment of time and energy is minimal compared to the satisfaction of walking barefoot across a healthy, vibrant lawn. So go ahead and test that soil this weekend. Your future lawn will thank you!