Position garden beds along a north-south axis to maximize sunlight exposure and ensure all plants receive equal light distribution throughout the day. Orient raised beds perpendicular to slopes to prevent soil erosion and manage water flow effectively, incorporating key garden planning essentials from the start. Align longer beds parallel to prevailing winds to protect delicate plants while maintaining adequate airflow between rows. Consider your property’s unique microclimate patterns, adjusting bed orientation to take advantage of natural windbreaks and thermal masses like walls or fences. Map sun patterns across your garden space during different seasons before finalizing bed placement, marking shadows cast by structures and mature trees that might affect growth zones. This strategic positioning transforms an ordinary garden into a thriving ecosystem where plants flourish with minimal intervention.
Sun Exposure: The Foundation of Garden Bed Orientation
North-South vs. East-West Orientation
The orientation of your garden beds can significantly impact plant growth and overall garden success. North-south oriented beds typically provide the most balanced sunlight exposure throughout the day. When plants are arranged in rows running north to south, both sides receive equal amounts of morning and afternoon sun, promoting uniform growth and preventing one side from overshadowing the other.
East-west orientation, while less common, can be advantageous in specific situations. This arrangement works well when you want to create deliberate shade patterns or protect heat-sensitive plants. Taller plants placed on the south side of an east-west bed can provide natural shade for smaller, shade-loving varieties planted on the north side.
Consider your specific climate and location when choosing bed orientation. In hot regions, east-west beds might help protect delicate plants from intense afternoon sun. Northern hemisphere gardeners often find that north-south orientation maximizes sunlight during shorter winter days. Local factors like wind patterns and nearby structures should also influence your decision.
For vertical growing structures like trellises and climbing supports, north-south orientation usually works best. This arrangement prevents tall plants from casting extended shadows across your garden, ensuring all plants receive adequate light throughout the growing season.
Remember that these are general guidelines, and you may need to adapt based on your unique garden conditions and the specific needs of your chosen plants.

Tracking Sun Patterns in Your Garden
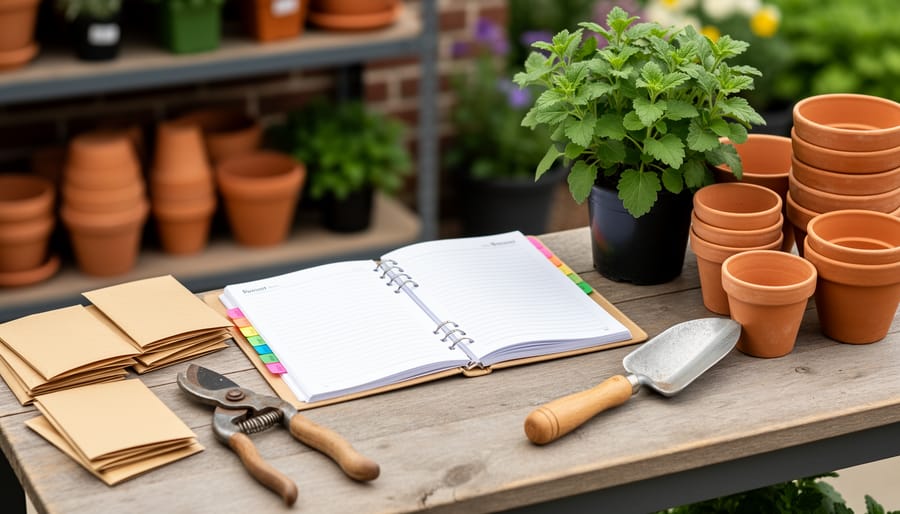
Tracking sun patterns is like creating a solar map of your garden, and it’s easier than you might think! Start by observing your garden space at different times throughout the day – ideally at 9 AM, noon, and 3 PM. Take photos or make sketches of where shadows fall, noting any obstacles like trees or buildings that affect sunlight.
For the most accurate results, conduct these observations during different seasons. Summer sun patterns will differ significantly from winter ones, especially if you have deciduous trees that lose their leaves. A simple notebook or garden journal works perfectly for recording your findings.
Pro tip: Use wooden stakes or markers to trace shadow patterns across your planned garden area. Place them at the edges of shaded areas in the morning, afternoon, and evening. This creates a visual representation of how sunlight moves through your space.
Don’t forget to account for seasonal changes in the sun’s path. Summer sun rises higher in the sky and travels a longer arc, while winter sun stays lower and creates longer shadows. Understanding these patterns helps you position your beds to capture maximum sunlight when your plants need it most.
Working With Your Landscape
Slope and Drainage Considerations
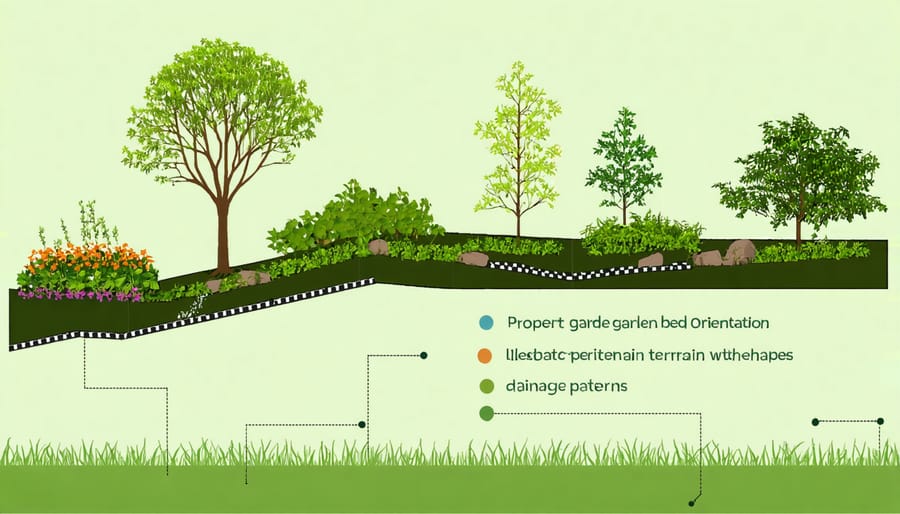
The slope of your garden can significantly impact your growing success, so it’s essential to work with your terrain rather than against it. When planning your garden beds, observe how water naturally flows across your property during rainfall. On sloped ground, orient beds across the slope (perpendicular to the direction of water flow) rather than up and down it. This technique, known as contour gardening, helps prevent soil erosion and ensures water is distributed evenly throughout your beds.
For gentle slopes, create level terraces for your beds using simple mounding techniques. On steeper inclines, you might need to build retaining walls or raised beds to create flat growing spaces. Remember to leave adequate paths between beds that follow the natural contours of your land.
Proper drainage is crucial for healthy plants. If you notice areas where water tends to pool, consider elevating your beds slightly or incorporating drainage channels. In particularly wet areas, raised beds can provide the perfect solution by lifting plant roots above waterlogged soil. Conversely, in areas where water runs off too quickly, adding organic matter to your soil will help retain moisture and nutrients.
Wind Protection Strategies
Strategic wind protection can make a significant difference in your garden’s success. Position taller plants or structures on the windward side to shield more delicate plants, creating a natural windbreak. You can also create beneficial microclimates by orienting beds perpendicular to prevailing winds, which helps reduce soil moisture loss and protects plants from wind damage.
Consider installing temporary windbreaks like burlap screens or permanent features such as trellises, which can serve double duty as both wind protection and growing spaces for climbing plants. If you’re working with a slope, positioning beds across the contour rather than up and down can help buffer wind effects while also preventing soil erosion.
For extra protection, group plants with similar heights together and place shorter, sturdier plants on the windward edges of beds. This arrangement helps disperse strong gusts before they reach more vulnerable plants in the center.
Practical Layout Techniques
Measuring and Marking Your Space
Once you’ve chosen your ideal location, it’s time to measure and mark your space accurately. Start by gathering essential tools: a measuring tape, garden twine, wooden stakes, and a notebook for recording measurements. This careful planning stage is crucial for successful raised bed garden design.
Begin by marking the corners of your planned garden beds using wooden stakes. Drive them firmly into the ground, ensuring they’re stable. Connect the stakes with garden twine to create a visible outline of your beds. If you’re planning multiple beds, use the same process for each one, maintaining consistent pathways between them (typically 2-3 feet wide for comfortable access).
For rectangular or square beds, double-check that your corners are at right angles by using the 3-4-5 triangle method: measure 3 feet along one side, 4 feet along the adjacent side, and the diagonal between these points should measure exactly 5 feet if your corner is square. This simple technique ensures your beds will look professionally aligned and maximize your growing space efficiently.
Proper garden bed orientation can truly make the difference between a thriving garden and one that struggles to reach its potential. By following the principles we’ve discussed – considering sunlight patterns, accounting for local climate conditions, and working with your landscape’s natural features – you’ll be well-equipped to create an optimal growing environment for your plants. Remember that while north-south orientation is often ideal, your specific situation might call for adjustments. Don’t be afraid to experiment and observe how your plants respond to different positions. Start small, perhaps with one or two beds, and use what you learn to expand your garden thoughtfully. With these orientation strategies in mind, you’re ready to design a garden that maximizes sunlight exposure and creates the perfect conditions for a bountiful harvest. Happy gardening!