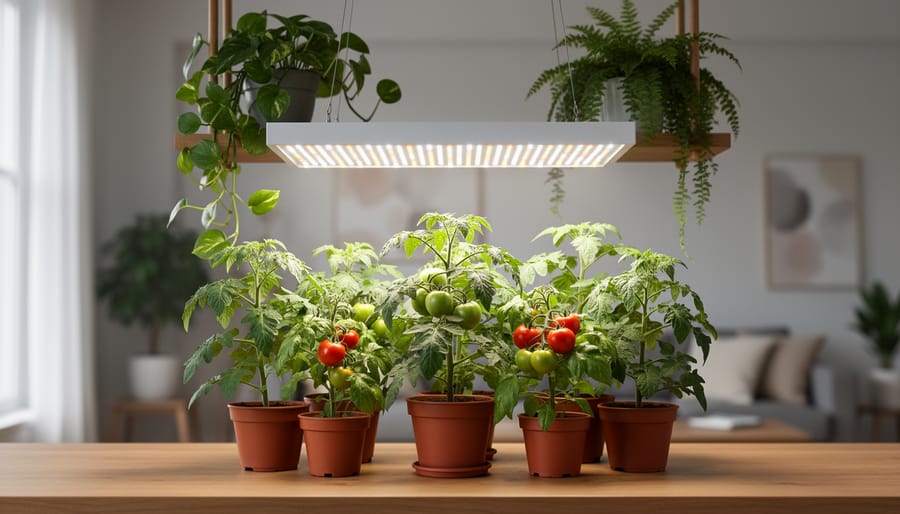
Inspect your indoor plants weekly for telltale signs of pest infestation – sticky residue, yellowing leaves, or tiny webs indicate urgent attention is needed. Master indoor gardening basics to build resilient plants that naturally resist common invaders like spider mites, mealybugs, and fungus gnats. Quarantine new plants for 14 days before introducing them to your existing collection, preventing pest spread and protecting your indoor garden sanctuary. Create optimal growing conditions with proper humidity, airflow, and clean foliage – healthy plants naturally defend against most pest problems, while stressed plants become vulnerable targets. Understanding these fundamental protection strategies transforms your home into a thriving, pest-resistant plant paradise where both you and your green companions can flourish.
Common Indoor Plant Pests: Know Your Enemy
Spider Mites and Aphids
Two of the most persistent indoor plant pests are spider mites and aphids, both capable of causing significant damage if left unchecked. Spider mites infestations often reveal themselves through tiny webbing on leaves and stems, particularly in corners and along leaf veins. Look for small specks moving on the underside of leaves – these pinhead-sized creatures can be red, brown, or translucent.
Aphids, on the other hand, are easier to spot with their pear-shaped bodies, typically clustering on new growth and stem tips. They can be green, black, or white, depending on the species. Both pests cause similar damage patterns: yellowing leaves, stunted growth, and distorted new foliage.
Early warning signs include stippling (tiny light dots) on leaves for spider mites, and sticky residue or black sooty mold for aphids. Regular inspection of your plants, especially the undersides of leaves, can help catch these unwanted visitors before they establish large colonies. If you notice any of these signs, isolate the affected plant immediately to prevent the pests from spreading to your other indoor greenery.

Mealybugs and Scale Insects
Mealybugs and scale insects are among the most persistent pests you might encounter on your indoor plants. These small, oval-shaped creatures are often found clustered along stems and leaf joints, appearing as tiny cotton-like masses for mealybugs or as brownish bumps for scale insects. You’ll typically notice them when examining the undersides of leaves or along plant stems.
Both pests go through similar life cycles, starting as eggs that hatch into crawlers. These young insects move around briefly before settling into a permanent feeding spot, where they insert their piercing mouthparts into plant tissue to feed on sap. Female mealybugs can lay hundreds of eggs in their cottony egg sacs, while scale insects protect their eggs beneath their protective covering.
The first sign of an infestation is often sticky honeydew on leaves or nearby surfaces, accompanied by black sooty mold growth. You might also notice yellowing leaves, stunted growth, or leaf drop. Regular plant inspection is key to catching these pests early – run your finger along stems and check leaf undersides weekly. If you spot even a few individuals, it’s important to act quickly before they establish a larger colony.
Fungus Gnats and Thrips
Fungus gnats appear as tiny, dark flies hovering around your plants, while thrips are slender insects that cause silvery streaks on leaves. These pests thrive in consistently moist soil and warm environments. Look for tell-tale signs like sticky yellow leaves, distorted growth, and black sooty mold on the soil surface. Plants with overwatered soil are particularly vulnerable to fungus gnats, as the larvae feed on organic matter and young roots. Thrips often target flowering plants and those with soft, tender growth. You might notice these pests more during spring and summer when conditions are ideal for their reproduction. Regular inspection of leaf undersides and soil surface can help catch infestations early before they become severe problems.
Natural Prevention Strategies That Actually Work
Creating a Pest-Resistant Environment
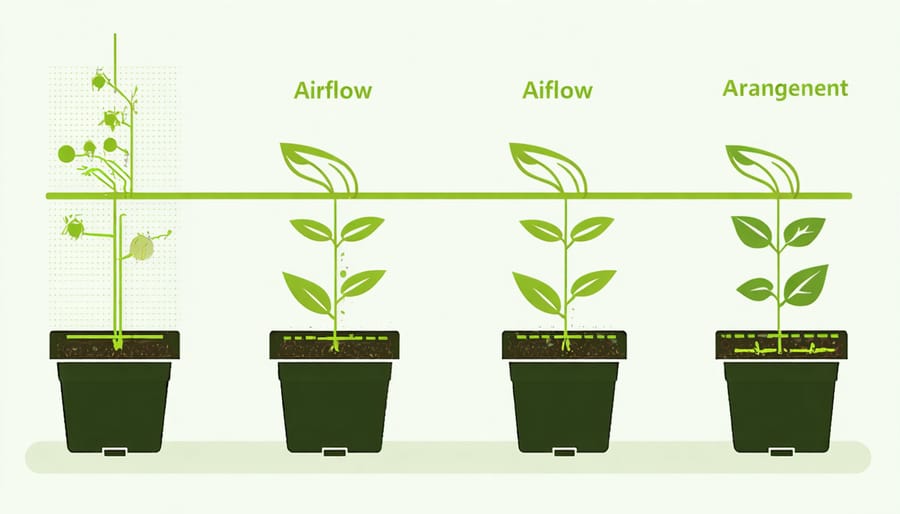
Creating a pest-resistant environment for your indoor plants starts with understanding and controlling three key factors: humidity, airflow, and plant spacing. The right balance of these elements can significantly reduce the likelihood of pest infestations.
Humidity plays a crucial role in pest prevention. Most indoor pests, like spider mites and thrips, thrive in dry conditions. Maintain humidity levels between 40-60% to discourage pest proliferation while avoiding excess moisture that could lead to fungal issues. Consider using a humidity tray or running a humidifier during dry seasons.
Proper airflow is your secret weapon against pests. Good air circulation helps prevent stagnant conditions where pests multiply and keeps leaf surfaces dry, deterring insects that prefer humid microclimates. Position a small fan to create gentle air movement around your plants, or open windows periodically for natural ventilation.
Plant spacing is equally important. Crowded plants create humid pockets and make it easier for pests to travel between leaves. Give each plant enough space to “breathe” – typically 6-12 inches between pots. This spacing not only reduces pest spread but also makes it easier to inspect plants regularly and spot potential problems early.
Remember to clean your plants’ leaves regularly with a soft, damp cloth. This simple practice removes dust that can harbor pests and helps you notice any early signs of infestation during the cleaning process.
Healthy Plant Care Practices
A strong defense against pests starts with proper plant care techniques that promote healthy growth and natural resistance. Think of it like building your plant’s immune system – when they’re thriving, they’re better equipped to fight off unwanted visitors.
Start with watering habits that work for each specific plant. Overwatering is one of the biggest mistakes indoor gardeners make, creating the perfect humid environment that many pests love. Check the soil moisture with your finger before watering, and ensure your pots have good drainage to prevent waterlogged roots.
Lighting is equally crucial – plants in inappropriate light conditions become stressed and vulnerable to pest attacks. Most indoor plants prefer bright, indirect light, but always research your specific variety’s needs. If you notice leggy growth or pale leaves, your plant might need a lighting adjustment.
When it comes to nutrition, a balanced feeding schedule keeps plants robust and resilient. Use a quality indoor plant fertilizer during the growing season, but don’t overdo it – too much fertilizer can actually attract certain pests. Remember to clean your plants’ leaves regularly to remove dust and check for early signs of pest activity.
Maintaining proper humidity levels and good air circulation also plays a vital role in plant health. Consider using a humidity tray or small fan if needed, but avoid creating overly damp conditions that could invite fungal problems or pests.
Safe and Effective Treatment Methods
Natural Remedies
Nature provides us with numerous effective solutions for pest control that are both plant-friendly and eco-conscious. Before reaching for chemical pesticides, consider these safe pest control methods using items you likely already have at home.
A simple solution of mild dish soap and water can work wonders against soft-bodied insects like aphids and mealybugs. Mix one tablespoon of gentle dish soap with a quart of water, then spray directly on affected areas. For fungus gnats, place a layer of cinnamon on top of your soil – it’s a natural fungicide that deters these persistent pests.
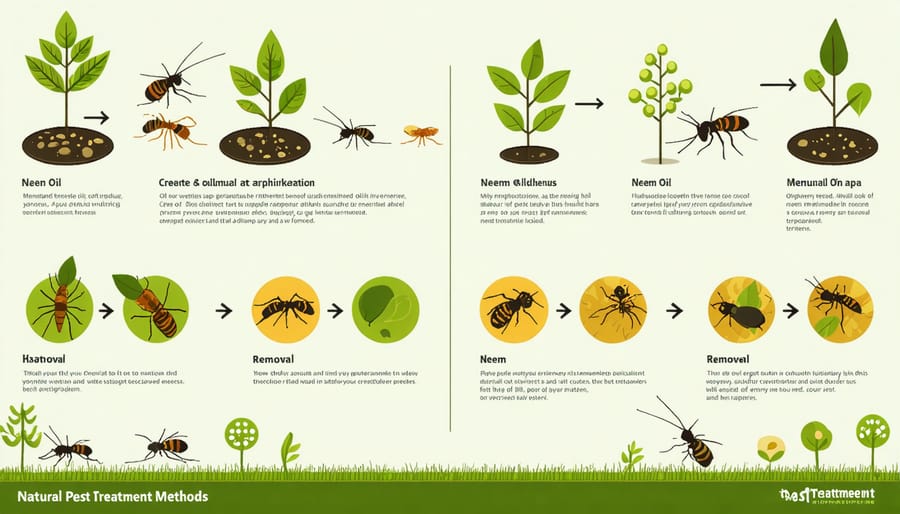
Neem oil, derived from neem tree seeds, is a powerful ally in your natural pest control arsenal. Dilute it according to package instructions and apply it weekly until pests disappear. Another favorite among experienced gardeners is a garlic and hot pepper spray: blend three cloves of garlic, one hot pepper, and two cups of water, strain, and spray on affected plants.
For crawling insects, diatomaceous earth creates an effective barrier. Sprinkle it around the base of your plants, being careful not to inhale the fine powder. You can also introduce beneficial insects like ladybugs, which naturally prey on common plant pests while causing no harm to your plants.
These natural solutions not only protect your plants but also maintain a healthy indoor environment for you and your family.
Physical Removal Techniques
Physical removal is one of the most effective and environmentally friendly ways to control indoor plant pests. Start by inspecting your plants regularly, paying special attention to the undersides of leaves where many pests hide. When you spot unwanted visitors, gently wipe them away using a soft, damp cloth or cotton swab. For larger infestations, you can use a steady stream of water in your sink or shower to knock off insects – just be sure to support the plant’s stem and cover the soil to prevent waterlogging.
Pruning affected areas is another crucial technique. Remove heavily infested leaves, stems, or branches using clean, sharp scissors or pruning shears. Remember to sanitize your tools between cuts to prevent spreading any potential diseases. Place the removed plant material in a sealed bag and dispose of it outside your home.
Isolation is your best friend when dealing with pest problems. As soon as you notice an infestation, separate the affected plant from your other houseplants. Keep it in quarantine for at least two weeks, even after treatment, to ensure the pests don’t spread to your healthy plants. During this time, monitor both the isolated plant and your other plants closely for any signs of pest activity.
For persistent problems, try using sticky traps near affected plants to catch flying pests, and regularly check plant roots for signs of soil-dwelling insects during routine repotting.
When to Use Commercial Products
Commercial pest control products can be an effective solution when natural remedies aren’t providing adequate results. Choose products specifically labeled for indoor plants and the pest you’re targeting – this ensures both effectiveness and plant safety. Always start with the least toxic option first, such as insecticidal soaps or neem oil, before moving to stronger chemical treatments.
Before applying any commercial product, read the label thoroughly and follow dosage instructions precisely. Over-application won’t improve results and may harm your plants. Test the product on a small leaf area first and wait 24 hours to check for adverse reactions. Apply treatments in a well-ventilated area, and keep children and pets away from treated plants until the product has dried completely.
Timing is crucial when using commercial treatments. Apply them in the early morning or evening when beneficial insects are less active. Most products require multiple applications spaced 7-14 days apart to break the pest life cycle effectively. Keep track of treatment dates and results to evaluate effectiveness.
Consider rotating between different types of products to prevent pest resistance. If you’re unsure about which product to use, consult with your local garden center or extension office for recommendations suited to your specific situation. Remember that even when using commercial products, maintaining good plant health through proper watering, light, and nutrition remains essential for long-term pest management.
Recovery and Future Protection
Post-Treatment Care
After treating your plants for pests, they’ll need some extra care to bounce back to full health. Start by placing your treated plant in a quiet, well-lit area away from direct sunlight and other plants. This quarantine period helps prevent any lingering pests from spreading and gives your plant time to recover.
Monitor the soil moisture carefully, as pest-stressed plants are sensitive to both overwatering and underwatering. Keep the soil consistently moist but not waterlogged. Consider using a humidity tray or misting the leaves if your home’s air is dry, as increased humidity can help with recovery.
Remove any remaining damaged leaves or stems, but avoid heavy pruning right away – your plant needs its healthy foliage to photosynthesize and regain strength. Hold off on fertilizing for at least two weeks after treatment, as the plant needs time to heal before taking in additional nutrients.
Watch for new growth, which is a positive sign of recovery. Within a few weeks, you should notice your plant perking up with fresh leaves and stronger stems. Once your plant shows clear signs of improvement, you can gradually reintroduce it to its regular care routine and location.
Long-Term Prevention Strategy
Developing a robust long-term prevention strategy is key to keeping your indoor plants pest-free. Start by establishing a weekly inspection routine, checking both the top and bottom of leaves, stems, and soil surface for any signs of pest activity. Make it a habit to quarantine new plants for at least two weeks before introducing them to your existing collection.
Create an environment that naturally deters pests by maintaining proper humidity levels and ensuring good air circulation. Regular cleaning of leaves with a damp cloth not only removes dust but also helps spot potential problems early. Consider introducing beneficial insects like ladybugs or predatory mites as a natural defense system.
Rotate your plants seasonally to prevent pest-prone areas, and maintain a consistent watering and fertilizing schedule to keep plants healthy and resilient. Remember to clean and sanitize your gardening tools regularly, and always use fresh, sterile potting soil when repotting. By implementing these preventive measures consistently, you’ll create a thriving indoor garden that’s naturally resistant to pest infestations and requires fewer interventions over time.
Maintaining healthy indoor plants doesn’t have to be a constant battle against pests. By staying vigilant and implementing the preventive measures we’ve discussed, you can create an environment where your plants thrive and unwanted visitors stay away. Remember that regular inspection, proper watering habits, and maintaining optimal growing conditions are your best defense against common pests. When problems do arise, act quickly but don’t panic – most pest issues can be resolved with natural solutions and consistent care. Keep your tools clean, quarantine new plants, and trust your instincts when something doesn’t look right. With these practices in place, you’ll be well-equipped to protect your indoor garden and enjoy the beauty and benefits of healthy, thriving plants for years to come. Happy growing!