Grow fresh, nutrient-packed greens on your kitchen counter in just 7-10 days, no garden required. Microgreens—the tiny, flavorful seedlings of vegetables and herbs—thrive indoors with minimal equipment: shallow trays, quality potting mix, seeds, and a sunny windowsill. Unlike traditional indoor vegetable growing, microgreens demand no transplanting, special lighting, or months of waiting.
Start by selecting fast-growing varieties like radish, broccoli, or sunflower. Spread seeds densely across moistened soil in a tray, cover them until germination, then move them into bright light. Mist daily and harvest with scissors when the first true leaves appear.
The beauty of microgreens lies in their forgiving nature—they’re nearly impossible to kill and require less space than a dinner plate. Whether you’re brand new to growing food or looking for a quick winter gardening project, you’ll discover that transforming seeds into vibrant greens is remarkably simple. This guide walks you through every step, troubleshoots common hiccups, and gives you the confidence to harvest your first crop within two weeks.
Why Microgreens Are Perfect for Indoor Growing
If you’ve ever thought growing your own fresh greens requires a backyard garden or years of experience, I have wonderful news for you—microgreens are about to change everything you believe about small space indoor gardening.
These tiny powerhouses are genuinely the perfect starter crop for anyone, and here’s why: they grow incredibly fast. We’re talking 7-21 days from seed to harvest, depending on the variety. That means you’ll see results before you have time to second-guess your green thumb! Compare that to traditional vegetables that take months, and you’ll understand why microgreens are so encouraging for beginners.
The space requirements? Delightfully minimal. A sunny windowsill, countertop, or shelf is all you need. No raised beds, no digging, no outdoor space whatsoever. A standard 10×20 inch tray fits perfectly in most kitchens and produces enough microgreens for salads, sandwiches, and smoothies throughout the week.
Let’s talk equipment. You won’t need fancy hydroponic systems or expensive grow lights to start (though a simple LED light helps during darker months). Basic shallow trays, quality seeds, and growing medium are your essentials—probably less than what’s already hiding in your kitchen cabinets.
Here’s the nutrition kicker that gets me excited: microgreens pack 4-40 times more nutrients than their mature counterparts. You’re growing superfood on your counter! Red cabbage microgreens, for example, contain 40 times more vitamin E than mature cabbage.
Best of all? Year-round harvests mean fresh greens even when winter blankets everything outside. No seasonal limitations, no weather worries—just consistent, nutritious growth happening right in your home, regardless of your experience level.

Everything You Need to Get Started
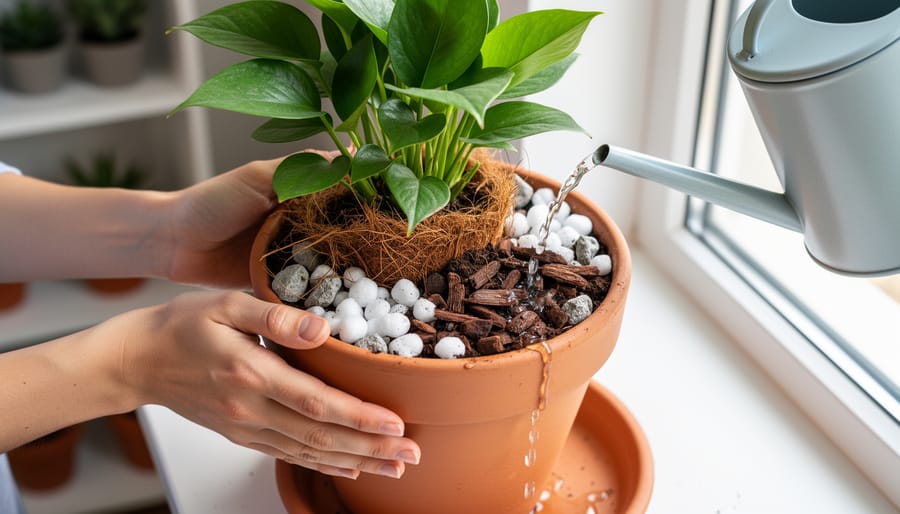
Choosing Your Growing Containers
The beauty of growing microgreens is that you don’t need fancy equipment to get started! Shallow trays work wonderfully—aim for containers about 1-2 inches deep. I’ve had great success with standard 10×20 inch nursery trays, but don’t feel limited to store-bought options.
Get creative with what you already have! Aluminum baking pans, plastic takeout containers, even clean egg cartons can become thriving microgreen gardens. My neighbor swears by her repurposed produce containers from the grocery store—they’re free and perfectly sized.
Here’s the crucial part: drainage matters. Your containers need small holes in the bottom to prevent waterlogging, which can lead to mold and rot. If your container doesn’t have drainage holes, simply poke several small ones using a nail or drill. Think of it like this—microgreens enjoy moist soil, not soggy feet! Place a tray underneath to catch excess water, and you’re ready to grow.
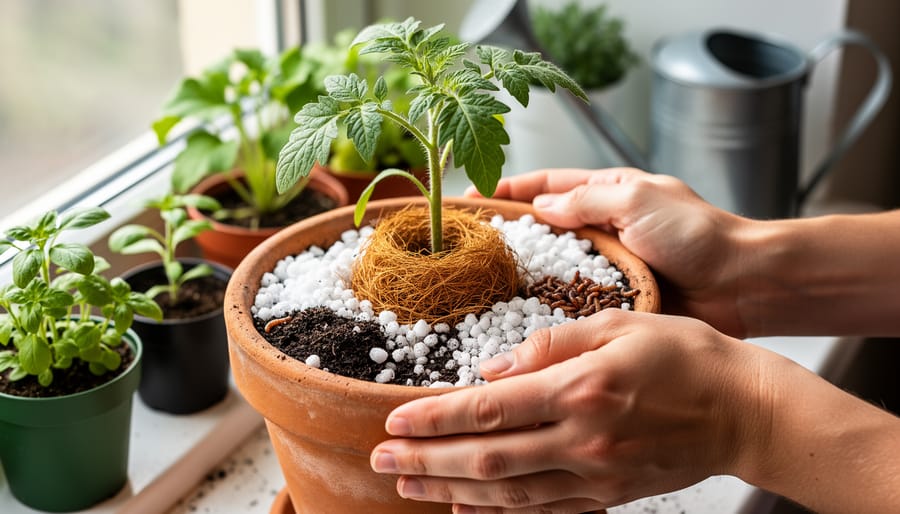
Picking the Right Growing Medium
Your growing medium is the foundation of your microgreens’ success, and the good news is you have several excellent options to choose from!
**Soil** is familiar and forgiving—regular potting mix works beautifully. It holds moisture well and provides natural nutrients, making it ideal for beginners. The downside? It can get a bit messy indoors.
**Coconut coir** has become my personal favorite. This compressed fiber is tidy, holds water exceptionally well, and resists mold better than soil. Simply soak it before use and you’re ready to plant.
**Hemp mats and hydroponic pads** offer the cleanest option. These pre-cut mats fit perfectly in trays and require minimal cleanup. They’re slightly pricier but incredibly convenient for apartment dwellers.
For your first attempt, I’d recommend starting with coconut coir—it strikes the perfect balance between performance and ease of use. As renowned gardener Maria Chen told me, “The best medium is the one you’ll actually use consistently.” Choose what fits your space and lifestyle, and don’t overthink it!
Seeds That Work Best Indoors
Starting with the right seeds makes all the difference in your microgreen success! For beginners, I always recommend **radish microgreens**—they’re incredibly forgiving and sprout in just 3-4 days with a delightful peppery kick. **Broccoli** offers a mild, slightly earthy flavor and grows reliably in about 8-10 days, perfect for salads and sandwiches.
**Sunflower** microgreens deliver a satisfying nutty crunch (just remember to remove those hulls!), while **pea shoots** bring sweet, tender greens that feel like springtime on your plate. Both take around 10-12 days but are absolutely worth the wait.
Look for organic, untreated seeds specifically labeled for microgreens or sprouting. I’ve had great success with seeds from Johnny’s Selected Seeds, True Leaf Market, and even local health food stores. Avoid regular garden seeds, as they’re often treated with chemicals you definitely don’t want on food you’ll harvest so quickly. Quality seeds ensure better germination rates and healthier greens!
Light Solutions for Every Space
Good news—microgreens thrive in various lighting conditions! A sunny south-facing window works wonderfully, providing 4-6 hours of direct light daily. I’ve grown delicious radish and broccoli microgreens on my kitchen windowsill with great success.
No bright windows? No problem! LED grow light solutions are affordable and energy-efficient, perfect for basements or dim apartments. Position lights 6-12 inches above trays for 12-16 hours daily. Even a small desk lamp with a grow bulb works for modest harvests. The beauty of microgreens is their flexibility—they adapt to your space, making fresh greens accessible wherever you live.
Step-by-Step: Planting Your First Batch
Preparing Your Container and Medium
Getting your container ready is easier than you might think! Start by selecting a shallow tray with drainage holes—even a recycled takeout container works perfectly if you poke a few holes in the bottom. Fill it with about 1-2 inches of moistened growing medium, whether that’s potting soil, coconut coir, or a seed-starting mix.
Here’s my favorite trick: pre-moisten your medium in a separate bowl before adding it to the tray. This prevents creating soggy spots or dry pockets later. Aim for the consistency of a wrung-out sponge—moist but not dripping. Gently press the surface flat with your hand, creating an even bed for your seeds. This simple step ensures uniform germination and prevents seeds from washing into clumps when you water them later. Your microgreens will thank you!
Seeding the Right Way
Getting your seeds into the soil properly sets the stage for a lush, healthy harvest. The golden rule? Think generous, but not greedy. For most microgreens, aim for an even, dense layer where seeds nearly touch but don’t pile on top of each other—about 10-15 seeds per square inch works beautifully.
I learned this the hard way when my first radish microgreens turned into a moldy mess from over-crowding! Sprinkle seeds evenly across your moistened growing medium, gently pressing them down for good contact. Larger seeds like sunflower or pea benefit from a light covering of soil, while tiny seeds like broccoli just need that gentle press.
Now comes the critical first watering. Your medium should be thoroughly moist but not waterlogged—think wrung-out sponge. Use a spray bottle or watering can with a gentle rose attachment to avoid displacing seeds. Many beginners underwater at this stage, causing poor germination. After watering, cover your tray with another tray or humidity dome to maintain moisture during those crucial first days. Check daily and mist if the surface looks dry.

The Blackout Period (And Why It Matters)
During the first 2-4 days after planting, many microgreens benefit from complete darkness—think of it as their cozy germination cocoon. This “blackout period” encourages seeds to sprout vigorously by mimicking the natural underground environment where they’d typically germinate. The darkness signals roots to grow downward while pushing shoots upward toward light.
Creating blackout conditions couldn’t be simpler! Just cover your tray with an inverted tray, a piece of cardboard, or even a damp towel. Some gardeners stack a second tray on top with a light weight to encourage stronger stems. Check daily for moisture—you want the soil damp but never waterlogged.
Once you see those first green shoots pushing through (usually when they’re about an inch tall), it’s showtime! Remove the cover and move your tray into bright light. This transition marks the exciting moment when your microgreens begin their journey toward harvest-ready greens.
Daily Care During the Growing Phase
Once your seeds are planted, the magic begins! For the first 2-3 days, keep your trays covered in darkness—this mimics natural soil conditions and encourages strong root development. Check daily for moisture; the growing medium should feel like a wrung-out sponge, never soggy or bone-dry.
When you spot those first tiny sprouts pushing upward, it’s time to introduce light! Position your trays under grow lights or in a bright window, keeping lights about 6 inches above the greens. Most microgreens thrive with 12-16 hours of light daily.
During this growth phase, mist or bottom-water once or twice daily, depending on humidity levels. I’ve learned the hard way that overwatering invites mold—your biggest enemy indoors! Healthy microgreens stand upright with vibrant color and grow noticeably each day.
Watch for leggy, pale stems (too little light) or wilting (incorrect watering). Pro gardener Maria Chen suggests, “Trust your eyes and fingers—healthy greens look perky and feel slightly moist but never wet.” Within 7-14 days, you’ll have harvest-ready microgreens bursting with flavor and nutrition!
Creating the Perfect Indoor Growing Environment
Getting your indoor space just right for microgreens is easier than you might think—no greenhouse required! I’ve grown thriving microgreens in tiny apartments and drafty basements, and I can tell you that a few simple tweaks make all the difference.
**Temperature matters, but you’ve got flexibility.** Most microgreens flourish between 65-75°F, which is perfect because that’s comfortable room temperature for most of us. If your home runs cooler in winter, place your trays away from drafty windows. A little warmer? Keep them out of direct heat vents that could dry them out too quickly.
**Humidity is your secret weapon.** Microgreens love moisture in the air, ideally around 40-60%. In dry climates or during winter heating season, I keep a small tray of water near my microgreens or mist the air lightly once daily. You don’t need fancy humidifiers—though they certainly help if you’re growing larger quantities.
**Air circulation prevents problems before they start.** Stagnant air invites mold and disease, but the solution is wonderfully simple. A small fan set on low, positioned to create gentle air movement (not a direct blast), works beautifully. I run mine for a few hours daily, and my microgreens grow stronger stems because of it.
**Light cycles don’t need to be complicated.** After your seeds germinate and you uncover them, aim for 12-16 hours of light daily. If you’re using grow lights, an inexpensive outlet timer makes this effortless—set it and forget it. Keep lights 2-4 inches above your trays, adjusting as they grow. Natural windowsill light works too, though growth may be slightly slower.
The beauty of microgreens is their forgiving nature. You don’t need laboratory precision—just consistent conditions and a little attention. Start with these basics, observe how your greens respond, and adjust accordingly. You’ll quickly develop an intuition for what works in your unique space.
Common Problems and How to Fix Them
Don’t worry—every microgreens grower encounters a few bumps along the way! These challenges are simply part of the learning process, and each one teaches you something valuable about creating the perfect growing environment.
**Mold appearing on soil or seeds** is one of the most common issues, usually caused by too much moisture or poor air circulation. If you spot white fuzz, reduce watering immediately and increase ventilation by removing covers or using a small fan nearby. Next time, try misting less frequently and ensuring your growing trays have proper drainage. Preventing mold and pests becomes easier once you understand the balance between moisture and airflow.
**Leggy, stretched-out growth** happens when microgreens aren’t getting enough light. They’re literally reaching toward any available brightness! Move your trays closer to your light source or invest in a simple grow light. Your microgreens should be sturdy and compact, not tall and spindly.
**Uneven germination** can feel frustrating, but it’s often just a matter of seed-to-soil contact. Press seeds gently but firmly into the soil, ensuring they’re making good contact. Some seeds naturally germinate faster than others, so give them a few extra days before assuming something’s wrong.
**Wilting microgreens** typically signal either underwatering or overcrowding. Check if your soil feels dry, and water gently if needed. For your next batch, try spacing seeds a bit more generously to allow better air circulation.
Remember, even experienced growers face these challenges occasionally. Each crop teaches you something new, bringing you one step closer to perfect microgreens!
Harvesting and Using Your Microgreens
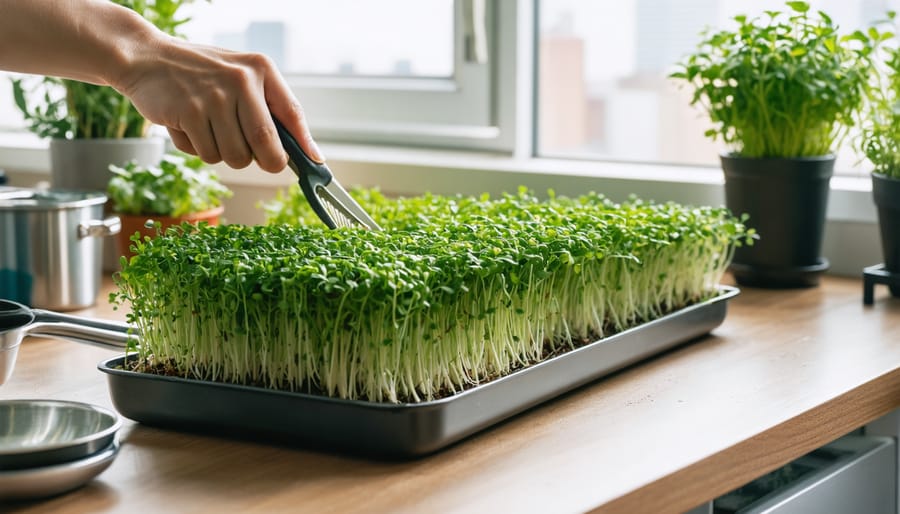
The most exciting moment in your microgreens journey arrives when those tender greens reach harvest height—typically 7-14 days after planting, depending on the variety. You’ll know they’re ready when the first true leaves appear above the initial cotyledon leaves. For maximum flavor and nutrition, harvest in the morning after the dew has dried but before the midday heat.
Using clean, sharp scissors or a knife, cut the stems just above the soil line. Don’t pull them up, as this disturbs the roots and can introduce debris. Harvest only what you need for immediate use, leaving the rest to grow a bit longer if you’d like. Most microgreens won’t regrow after cutting, so plan accordingly.
Fresh microgreens taste best when used within a few hours, but you can store them for 5-7 days. Gently pat them dry with paper towels, wrap loosely in a clean kitchen towel, and refrigerate in a container. Avoid washing until you’re ready to use them, as excess moisture encourages spoilage.
Now for the fun part—eating them! Microgreens add incredible flavor and nutrition to sandwiches, salads, smoothies, and omelets. I love sprinkling pea shoots on morning toast with avocado or adding a handful of spicy radish microgreens to tacos. Try them as colorful garnishes on soups, blend them into pesto, or simply enjoy them by the forkful. Your homegrown harvest transforms ordinary meals into something special!

You’re now ready to transform your windowsill into a vibrant microgreens garden! Growing these nutrient-packed greens indoors is genuinely simple—all you need is a sunny spot, basic supplies, and a bit of enthusiasm. Don’t be afraid to experiment with different varieties like spicy radish, peppery arugula, or sweet pea shoots. Each harvest teaches you something new, and before long, you’ll be confidently tweaking your methods to suit your space and taste preferences.
Remember, every expert gardener started exactly where you are now. If you’re feeling inspired to expand your indoor growing adventures, check out our beginner’s indoor garden guide for more creative ideas.
We’d love to hear about your microgreens journey! Which varieties are you most excited to try first? Share your successes, questions, or even your happy accidents with our gardening community—your experience might just inspire someone else to take that first step.