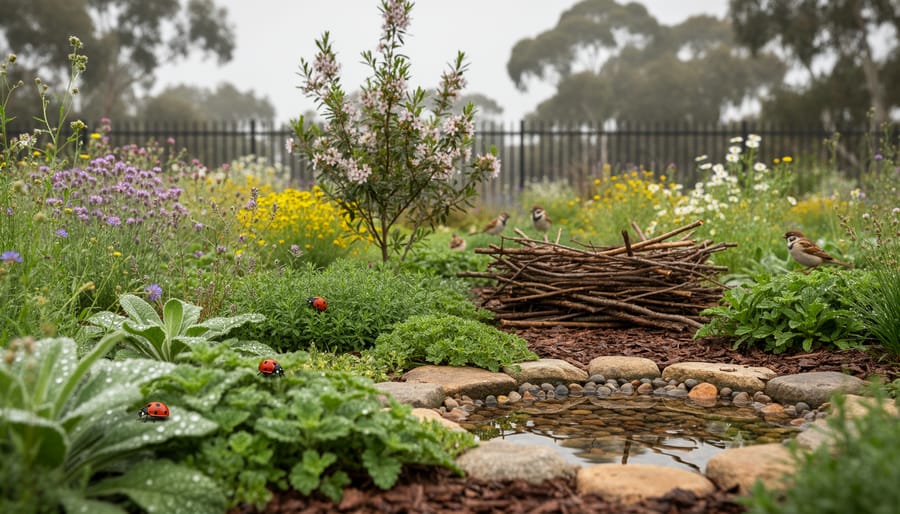
Ecosystem biodiversity in your garden means creating habitat for a wide variety of plants, animals, insects, and microorganisms that work together to keep your outdoor space healthy with minimal intervention from you. Picture a thriving garden where ladybugs handle aphids, deep-rooted wildflowers break up compacted soil, and native shrubs provide year-round shelter for birds that eat pest larvae. This isn’t just beautiful to look at; it’s a self-regulating system that reduces your need for pesticides, fertilizers, and constant maintenance.
The secret lies in layering different types of plants and creating diverse microhabitats within your space. When you include native trees, flowering perennials, ground covers, and even a small water feature or brush pile, you’re essentially building a miniature ecosystem where every element supports the others. A garden with high biodiversity naturally resists disease, recovers faster from weather extremes, and attracts beneficial pollinators that increase your harvest.
I’ve seen firsthand how transformative this approach can be. My own yard went from a struggling lawn that needed weekly attention to a vibrant, layered landscape that practically takes care of itself. The shift happened when I stopped fighting nature and started working with it. In this guide, you’ll learn exactly how to create that same biodiversity in your garden through concrete examples and a step-by-step process that works whether you have a small urban plot or acres of land.
Understanding Ecosystem Biodiversity Examples in Your Garden
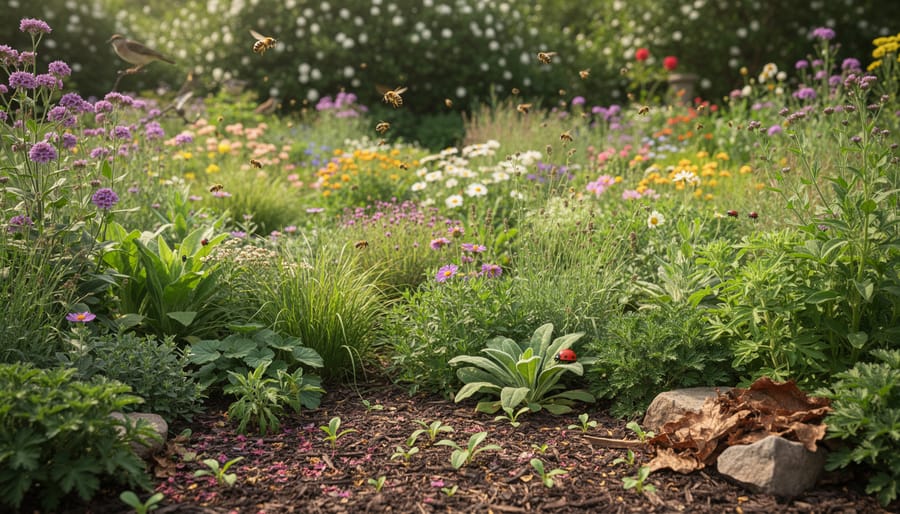
Walking through a truly biodiverse garden reveals a living community where every element plays a role. You’ll see clusters of native wildflowers buzzing with bees and butterflies, groundcovers sheltering beetles and spiders, and birds darting between shrubs to snatch insects or sip from berries. Below the surface, earthworms tunnel through rich soil while beneficial microbes break down organic matter, releasing nutrients that feed your plants. This interconnected web is what transforms a simple yard into an eco-friendly home garden that largely takes care of itself.
Here’s what you might observe in a healthy, diverse garden ecosystem:
- Multiple plant types blooming at different times throughout the season
- Ladybugs, lacewings, and hoverflies patrolling for aphids
- Birds visiting regularly to feed on insects and seeds
- Bumblebees and solitary bees nesting in undisturbed soil or hollow stems
- Earthworms visible when you gently turn over mulch or compost
- Mushrooms appearing after rain, signaling active fungal networks
- Spiders spinning webs between plants to catch flying pests
The beauty lies in how these pieces support each other. When you plant a mix of flowering species, you attract pollinators that fertilize your vegetables and ornamentals. Those same flowers draw predatory insects that control aphids and caterpillars naturally, reducing your need for intervention. Birds eat pest insects during nesting season, then spread seeds and fertilize soil with their droppings. Underground, mycorrhizal fungi trade nutrients with plant roots while bacteria convert nitrogen into forms your plants can use. Each organism fills a niche, and together they create resilience, if one pest appears, multiple predators respond before damage becomes severe. This is the practical payoff of applying earth-friendly practices that prioritize variety and natural interactions over sterile uniformity.
Tools and Materials You’ll Need
You don’t need specialized equipment to build a more biodiverse garden. Most of what you’ll use is already sitting in your shed or available at any garden center.
Native Plants
Start with native plant seeds or seedlings suited to your region. Buy a mix of species, at least five to ten different types if possible. Look for varieties that bloom at different times (spring through fall) and offer different structures: ground covers, upright perennials, and small shrubs. Seed packets are budget-friendly and give you large quantities, though seedlings establish faster if you want quicker results.
Mulch and Organic Matter
You’ll need mulch to retain moisture and feed soil life. Shredded leaves work perfectly and cost nothing if you collect your own in autumn. Wood chips, straw, or compost are equally good. Plan on enough to spread a two to three inch layer across planting beds.
Water Sources
A shallow dish, old birdbath, or terra cotta saucer becomes a drinking station for insects and birds. If you’re adding a small pond, grab a plastic liner or use a large ceramic bowl sunk into the ground.
Habitat Materials
Gather twigs, small logs, and stones for shelter. You can purchase or build simple bee hotels from hollow bamboo canes or drilled wood blocks. Untreated lumber scraps make excellent toad shelters.
Basic Tools
Your standard spade, hand trowel, and garden fork handle all the planting and soil prep. A watering can or hose keeps new plants alive while they establish roots. That’s it, no fancy gear required.
Safety Considerations for Biodiversity Enhancement
Before you start planting native wildflowers or building brush piles, take a moment to make your biodiversity project safe for everyone in your household. A few simple precautions now will prevent problems later.
First, research any native plants before adding them to your garden, especially if you have pets or young children. Many wildlife-friendly species are perfectly safe, but some can cause harm if ingested. Foxglove, for instance, attracts pollinators beautifully but contains toxins dangerous to dogs and cats. Keep a list of what you’ve planted and position potentially problematic species out of reach or behind barriers.
When handling compost, mulch, or soil amendments, wear gloves to protect against bacteria, fungi, and potential allergens. Wash your hands thoroughly afterward, and keep tetanus vaccinations current if you’re working with rough materials or used lumber for habitat features.
Water features need careful planning to avoid becoming mosquito breeding grounds. Change birdbath water every two to three days, and ensure any ponds or dishes have gentle movement or contain mosquito dunks if they’re stagnant. Position water sources away from electrical outlets and where children can’t easily reach deeper features.
For larger projects like in-ground ponds, extensive rock walls, or heavy timber structures, consider hiring a professional. They’ll ensure proper installation, stability, and compliance with local regulations. This isn’t just about convenience, it’s about preventing injuries from lifting heavy materials or dealing with potential underground utilities you didn’t know were there.
Step-by-Step Process to Enhance Garden Biodiversity
Step 1: Assess Your Current Garden Ecosystem
Before you start planting anything new, spend a week simply watching your garden. Walk through it at different times of day, early morning, midday, and evening, because different creatures are active at different hours. Bring a notebook or use your phone to record what you see, no matter how insignificant it might seem. That single dandelion attracting bees? It counts. The spiderweb strung between fence posts? Also important.
Start by making a simple inventory of what’s already there:
- Plant species present, including what some consider “weeds”
- Insects you spot, from butterflies to beetles to spiders
- Birds visiting or nesting in your space
- Evidence of other wildlife like holes, tracks, or droppings
- Bare soil patches versus areas with ground cover
- Shaded spots and sunny areas throughout the day
For soil health, dig a small hole about six inches deep and examine what you find. Healthy soil should be dark, crumbly, and smell earthy rather than sour. Look for earthworms, which signal good soil structure. Take photos of everything you document so you can compare progress later. This baseline assessment helps you understand which biodiversity elements you already support and where the gaps are, making your enhancement efforts far more targeted and effective.
Step 2: Plant a Variety of Native Species
Start by researching native plants in your area, contact your local extension office or use online native plant databases to identify species that evolved alongside your region’s wildlife. These plants require less water and fertilizer than exotics because they’re adapted to local conditions, and they provide the specific nectar, pollen, and seeds that native pollinators and birds depend on.
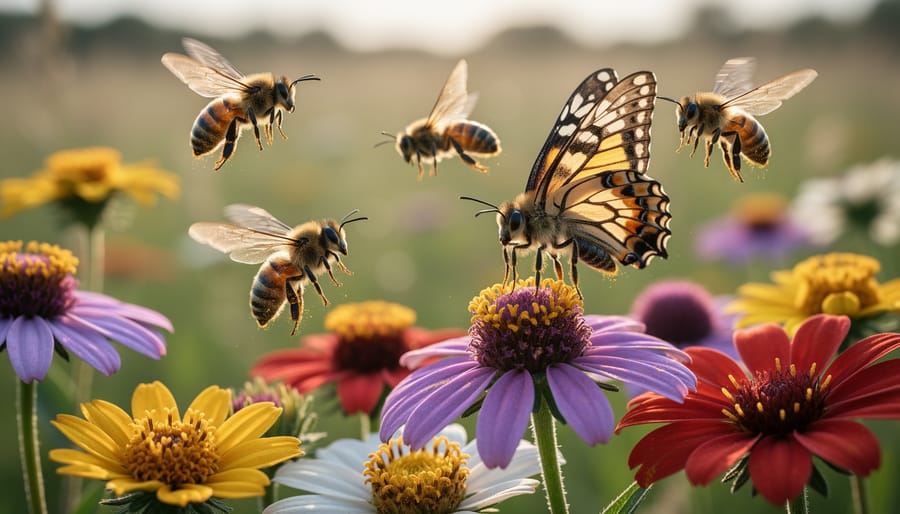
Choose at least six to eight different species that bloom at different times throughout the growing season. Early spring bloomers like wild columbine feed emerging bees, summer flowers such as coneflowers support peak pollinator activity, and fall-blooming asters provide crucial late-season food when resources become scarce. This approach creates plants with overlapping blooms that ensure continuous food availability.
Mix structural types in your plantings. Include low-growing groundcovers like wild strawberry, mid-height perennials such as black-eyed Susans, and taller grasses like little bluestem. This layering gives different species places to forage at their preferred heights while creating visual interest in your garden.
Plant in clusters of three to five of the same species rather than scattering single plants. Pollinators can spot these groupings more easily and spend less energy moving between flowers. Position sun-loving natives where they’ll get six or more hours of direct light, and shade-tolerant species like wild ginger under trees or along north-facing walls.
Step 3: Create Layered Habitats
Creating layers in your garden mimics how natural ecosystems work, think forest floors with ferns beneath tall trees. This vertical structure gives different creatures exactly what they need at the height they prefer.
Start at ground level with low-growing plants like creeping thyme or wild strawberry. These provide cover for ground beetles and small amphibians while keeping soil protected. Next, add perennials reaching 1-3 feet, such as coneflowers or black-eyed Susans. These mid-height plants attract butterflies and offer perching spots for songbirds.
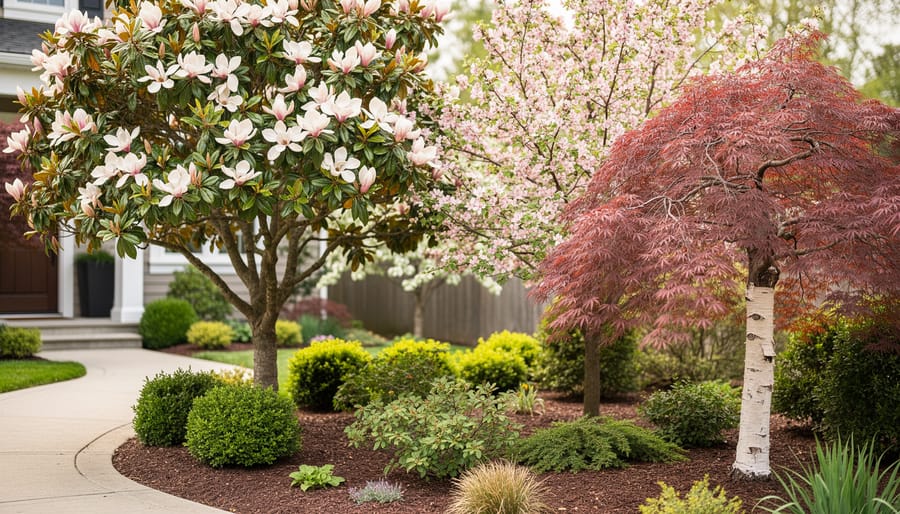
Shrubs form your next layer. Native options like elderberry or viburnum create nesting sites and food sources at 4-8 feet high. If you have space, a small tree completes the canopy, but this isn’t essential for biodiversity.
In small gardens, use containers at different heights or train climbing plants up trellises to create vertical interest. Even a balcony can have ground-level pots, hanging baskets, and climbers to establish layers. The key is variety, mixing heights creates more ecological niches in whatever space you’re working with, giving more species a reason to visit and stay.
Step 4: Add Water Features and Drinking Sources
Water transforms your garden into a wildlife magnet. Start with a shallow birdbath, no more than two inches deep at the edges, positioned where you can see visiting birds but predators can’t easily hide nearby. Add a few flat stones as landing pads for butterflies and bees, which need safe drinking spots too.
For small gardens, a simple saucer works as well as an expensive feature. Place multiple water sources at different heights: a ground-level dish for ground-feeding birds and small mammals, a pedestal birdbath for larger species, and shallow containers near your water-wise plants where insects gather.
Change water every two to three days. Mosquitoes breed in standing water within a week, so regular refreshing keeps your water features helpful rather than harmful. Scrub birdbaths weekly with a stiff brush and plain water, skip soap, which leaves residues toxic to wildlife.
If you install a small pond, create sloped edges rather than steep sides so creatures can climb out safely. Add a solar fountain to keep water moving, which naturally discourages mosquito larvae while attracting more visitors with the sound of flowing water.
Step 5: Establish Shelter and Nesting Sites
Creating shelter is about working with what nature already provides, and adding a few intentional features to fill the gaps.
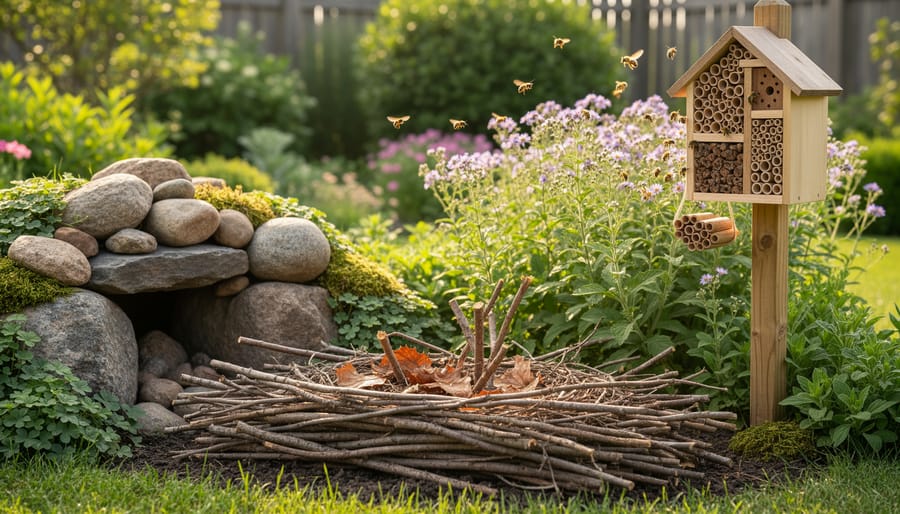
Start with the simplest option: leave a corner of your garden a bit wild. Stack pruned branches in a loose pile about 3 feet high, creating gaps where small birds, hedgehogs, and beneficial insects can hide from predators. Position brush piles near shrubs or along fence lines rather than in open lawn areas.
Dead wood is habitat gold. Instead of hauling away fallen logs, tuck them under trees or along garden edges. Beetles, solitary bees, and fungi colonize the rotting wood, feeding birds and enriching soil as it breaks down.
For more structured options, install a bee hotel on a south-facing wall at eye level, solitary bees prefer warm, dry spots. Mount birdhouses 5-15 feet high depending on species, with entrance holes facing away from prevailing winds.
Rock piles tucked into sunny spots attract lizards and provide cool retreats for toads. Layer flat stones with gaps between them rather than cementing them together.
Space these features throughout your garden rather than clustering them in one area, creating multiple microhabitats supports more species.
Step 6: Build Healthy Soil Biodiversity
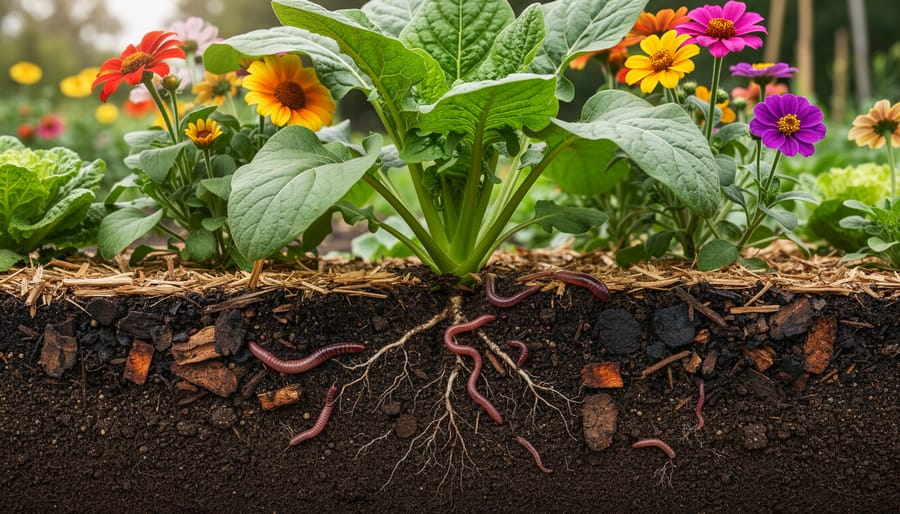
Healthy soil teems with invisible life, billions of bacteria, fungi, earthworms, and microorganisms that form the foundation of your garden’s ecosystem. Start by spreading a two-to-three-inch layer of compost or well-rotted manure across your beds each spring and fall. This feeds soil organisms and improves structure without harsh fertilizers.
Skip the rototiller whenever possible. Excessive tilling destroys fungal networks and worm tunnels that plants depend on. Instead, use a garden fork to gently loosen compacted areas, or simply add mulch and let earthworms do the work.
Leave fallen leaves and grass clippings as natural mulch, they break down into nutrients while sheltering beneficial insects. Within weeks, you’ll notice earthworms appearing near the surface and soil that crumbles easily in your hands. This underground diversity directly supports healthier plants, which in turn attract more pollinators and wildlife above ground.
Verification: How to Know Your Biodiversity Efforts Are Working
Recognizing progress takes patience, but clear signs will emerge if you watch for them. Within two to three weeks of planting native species, you’ll likely spot your first new pollinators, native bees hovering around blooms, butterflies pausing on flower heads, or hummingbirds investigating tubular flowers. By the second month, beneficial insects like ladybugs, lacewings, and ground beetles should appear more frequently, often clustering near aphid colonies or patrolling leaf undersides.
Soil improvements take longer but show up through physical changes. After three to four months of applying soil-friendly methods dig down a few inches and check for earthworm activity, crumbly texture, and a rich, earthy smell, all signs of thriving microbial communities. Your plants will respond with stronger growth and deeper green foliage, reflecting improved nutrient availability.
Pest problems often decrease noticeably by the six-month mark as predator populations establish themselves. You might still see aphids or caterpillars, but they’ll be managed by the beneficial insects you’ve attracted rather than overwhelming your plants. Bird activity increases steadily as they discover reliable food sources, watch for more frequent visits to feeders, baths, and shrubs where insects gather.
By tracking these indicators through notes or photos, you’ll see patterns emerge that confirm your organic gardening approach is working. Give your ecosystem a full growing season to stabilize, but expect encouraging signs well before then.
Interview with a Biodiversity Gardening Expert
We spoke with Dr. Elena Ramirez, an ecologist and author who has spent two decades helping gardeners transform their spaces into thriving wildlife habitats. She gardens on a third-acre plot in Ontario, where she’s documented over 80 bird species and countless insect varieties visiting her diverse plantings.
What’s the biggest misconception about biodiversity gardening?
“People think it means letting everything go wild and messy. Actually, you can have a beautiful, structured garden that’s also biodiverse. It’s about choosing the right plants and creating intentional habitat features, not abandoning maintenance entirely. My garden looks tidy but supports exponentially more life than a traditional lawn-and-shrub setup.”
What’s your favorite quick-win strategy for beginners?
“Leave the leaves. It sounds too simple, but leaf litter under shrubs and in garden beds creates instant habitat for overwintering insects, which then feed birds in spring. You’re also feeding soil organisms that improve plant health. I tell people to rake leaves off lawns if they must, but tuck them around perennials and woody plants instead of bagging them.”
How does climate affect biodiversity approaches?
“The principles stay the same, diverse natives, layered structure, water, shelter, but plant choices and timing shift dramatically. In warmer zones, year-round water becomes critical and you focus on drought-tolerant natives. In colder regions, providing winter shelter matters most. I always tell gardeners to observe what thrives naturally in nearby wild spaces, then mimic those patterns.”
What mistake do you see most often?
“Planting only for pollinators while ignoring the predators. Biodiversity means supporting the whole food web, including the beneficial insects that provide natural pest control. If you don’t have habitat for ladybugs, lacewings, and ground beetles, you’ll still battle aphids and other pests. Balance is everything.”
Frequently Asked Questions
How long does it take to see biodiversity improvements in my garden?
You’ll notice some changes within weeks, pollinators visiting new flowers and beneficial insects appearing, but meaningful biodiversity takes 6-12 months to establish. Soil improvements and wildlife habitat development continue enhancing over several years as your garden matures.
Can I enhance biodiversity in a small garden or container space?
Absolutely. Even a balcony with native flowering plants, a small water dish, and a bee hotel contributes to local biodiversity. Focus on vertical layering with hanging baskets, wall planters, and varied container heights to maximize habitat in limited space.
Will attracting more wildlife mean more pests in my garden?
The opposite usually happens. A biodiverse garden attracts natural predators like ladybugs, lacewings, and birds that keep pest populations under control, reducing the need for interventions and creating a healthier balance.
Do I need to remove all non-native plants from my garden?
No, you don’t need to remove everything. Start by adding native species alongside existing plants, then gradually replace non-natives as they decline or when you’re ready for changes, prioritizing removal of invasive species that spread aggressively.
These questions reflect the concerns most gardeners have when starting biodiversity work. Remember that your specific results will vary based on your location, climate, and starting conditions, but the principles remain consistent across different garden types and sizes.
Building biodiversity in your garden isn’t something you finish and cross off your list. It’s an evolving partnership with nature that deepens over time. What starts as a few native plants and a birdbath gradually becomes a thriving ecosystem where you’ll notice new species arriving each season.
Don’t feel pressured to transform your entire garden at once. Pick one step from this guide, try it, and watch what happens. Maybe you’ll add a patch of native wildflowers this spring, then a bee hotel next fall. Each small addition creates ripples of positive change, attracting creatures that attract others in turn.
The most rewarding part? As your garden’s biodiversity grows, it genuinely becomes easier to maintain. Natural pest control kicks in. Soil improves. Plants support each other. You’ll spend less time fighting problems and more time enjoying the hummingbirds, butterflies, and unexpected visitors that make your garden feel alive.
Your patch of earth, no matter how small, matters. Local wildlife needs these refuges, and you’re creating something that benefits far beyond your property line. Start where you are, use what you have, and let nature meet you halfway.