Peer through your microscope at 400x magnification to witness the vibrant ecosystem of beneficial microorganisms that power healthy soil biology. Living soil contains thousands of species working in harmony – from busy bacteria and graceful protozoa to the intricate threads of fungal networks. Understanding this microscopic world holds the key to revitalize depleted soil naturally.
Regular soil microscopy reveals the hidden story of your garden’s health, showing you exactly which beneficial organisms are present and active. This living perspective transforms how we approach cultivation – instead of simply adding nutrients, we can nurture the complex web of life that makes soil truly regenerative.
By examining soil samples weekly through a microscope, gardeners gain an intimate window into their soil’s biological activity. The presence of diverse microorganisms indicates thriving soil health, while their absence signals areas needing attention. This scientific yet accessible practice empowers growers to work in harmony with nature’s most fundamental systems.
Why Your Garden Needs a Closer Look
The Living Soil Beneath Your Feet
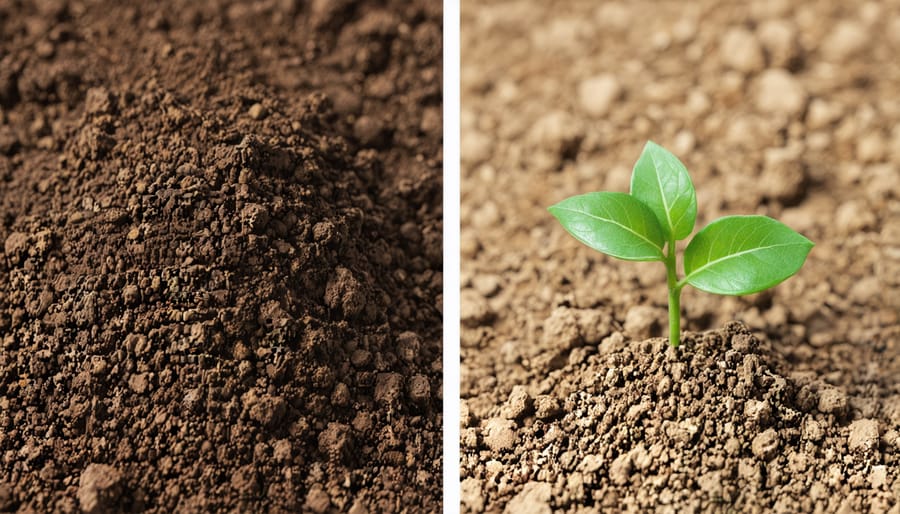
Beneath every thriving garden lies a bustling microscopic world teeming with life. Each handful of healthy soil contains billions of beneficial organisms, from bacteria and fungi to protozoa and nematodes, all working together in a complex dance of life. These tiny creatures form the foundation of your garden’s ecosystem, breaking down organic matter into nutrients that plants can readily absorb.
Bacteria, the smallest but most numerous inhabitants, help decompose organic materials and fix nitrogen from the air. Fungi create vast underground networks, connecting plants and helping them share resources. Protozoa and nematodes feed on bacteria and other microorganisms, releasing locked-up nutrients in the process.
Think of soil microorganisms as nature’s recycling crew – they transform dead plant material, animal waste, and minerals into the building blocks of plant life. When these organisms thrive, they create natural antibiotics that protect plants from diseases, produce growth-promoting compounds, and improve soil structure. This living soil web is the secret behind gardens that seem to flourish effortlessly, requiring fewer inputs while producing healthier, more resilient plants.

Beyond What the Eye Can See
When we dig deeper into the fascinating world of soil microscopy, we discover that it’s one of the most exciting modern gardening innovations available to home gardeners. The most common technique is brightfield microscopy, which uses direct light to observe soil organisms and structure. This method is perfect for beginners, allowing you to see beneficial microorganisms, fungal networks, and the intricate dance of soil life.
For more detailed observation, phase contrast microscopy reveals transparent organisms that might otherwise be invisible, while darkfield microscopy creates stunning contrasts that make soil organisms appear bright against a dark background. Perhaps the most exciting technique is fluorescence microscopy, which uses special lighting to make certain soil components glow, helping us track specific organisms and understand their roles in soil health.
Each of these methods offers a unique window into the underground world of your garden, helping you make informed decisions about soil management and improvement. The best part? Many of these techniques are now accessible to home gardeners through affordable digital microscopes and smartphone attachments.
Getting Started with Soil Microscopy
Essential Equipment for Home Soil Analysis
Getting started with soil microscopy doesn’t require a fortune in equipment. Here’s what you’ll need for your home analysis setup:
First and foremost, you’ll need a quality microscope. For soil analysis, a compound microscope with 40x to 400x magnification range works best. Look for models with both coarse and fine focus adjustments and a built-in light source. While professional models can cost thousands, there are reliable options available for $200-500 that serve home gardeners well.
Essential accessories include:
– Clean glass slides and coverslips
– Plastic droppers or pipettes
– Small collection jars or vials
– Distilled water
– A basic pH meter
– Sample collection tools (trowel and containers)
– A notebook for recording observations
– Basic cleaning supplies (lens paper, alcohol wipes)
Storage matters too! Keep your microscope in a clean, dry area away from dust and humidity. A microscope cover or dedicated case will protect your investment between uses.
Optional but helpful items include:
– A digital camera attachment for documentation
– Staining solutions for better contrast
– Grid-marked slides for measurement
– A simple centrifuge for sample preparation
Remember, start with the basics and add tools as you gain experience. Many gardeners begin with just a microscope, slides, and basic collection tools, expanding their kit as they develop their skills. The goal is to observe and learn about your soil’s living ecosystem, not to create a professional lab.
One surprising tip: Your smartphone can be a valuable tool! Many microscopes now offer phone adapters, letting you capture and share images of your discoveries.

Collecting and Preparing Soil Samples
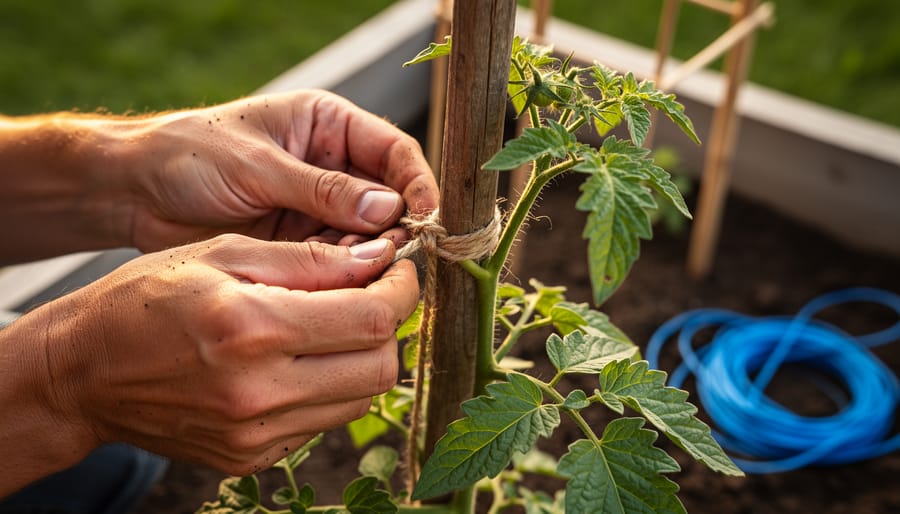
Collecting the right soil sample is crucial for accurate microscopic analysis. Start by identifying several spots in your garden where you’d like to assess soil health. Choose areas that represent different growing conditions or where plants seem to struggle.
Using a clean trowel or soil probe, dig 6-8 inches deep and collect about a tablespoon of soil from each location. Avoid touching the samples with your hands to prevent contamination. Place each sample in a separate, clean container and label them with the collection location and date.
For the best results, gather samples early in the morning when the soil is slightly moist but not wet. If you’re collecting multiple samples, clean your tools between each collection to avoid cross-contamination.
To prepare your samples for viewing, start by placing a small pinch of soil (about the size of a pea) in a clean glass container. Add a few drops of distilled water – just enough to create a thin slurry when stirred. Using a clean glass rod or plastic spoon, gently mix the soil and water until well combined but not overly disturbed.
Using an eyedropper or pipette, place a single drop of the mixture on a clean microscope slide. Gently lower a coverslip at an angle to prevent air bubbles from forming. If the sample appears too thick or cloudy, try diluting your soil mixture with a bit more water.
Remember to prepare fresh slides for each viewing session, as the biological activity in your samples will change over time. Store any remaining soil samples in a cool, dark place if you plan to examine them later.
Reading Your Soil’s Story
Identifying Beneficial Microorganisms
When examining your soil sample under the microscope, several beneficial microorganisms should catch your attention. The most common and easily identifiable are the nematodes, which appear as transparent, worm-like creatures moving in a snake-like pattern. These helpful organisms help break down organic matter and cycle nutrients.
Another positive sign is the presence of protozoa, particularly amoebae and flagellates. They look like tiny, blob-like organisms that move slowly across your field of view. These microorganisms play a crucial role in releasing nitrogen that plants can use.
Beneficial fungi can be spotted as long, thread-like structures called hyphae. Healthy soil typically shows these fungal networks branching out in multiple directions. You might also notice small, round fungal spores scattered throughout the sample.
Keep an eye out for arthropods like springtails and mites. While these are larger than most microorganisms, their presence indicates a thriving soil ecosystem. They appear as small, segmented creatures that may move quickly across your sample.
A good rule of thumb is that diverse movement in your sample usually indicates healthy soil biology. If you see various organisms of different sizes and shapes moving about, you’re likely looking at a vibrant soil community. Remember that healthy soil is never static – it’s always teeming with life and activity.
Warning Signs to Watch For
When examining your soil under the microscope, certain signs can indicate potential problems that need addressing. A lack of diverse microorganisms is one of the first red flags – if you’re seeing very few different types of bacteria, fungi, or beneficial nematodes, your soil might be lacking vital organic matter or suffering from chemical imbalances.
Watch for excessive numbers of harmful nematodes or pathogenic fungi, which often appear as dark, irregular masses. These could signal developing disease issues in your garden. Similarly, the presence of too many ciliates (single-celled organisms) often indicates anaerobic conditions, meaning your soil isn’t getting enough oxygen.
The absence of fungal hyphae networks – those thread-like structures that help distribute nutrients – might suggest your soil needs more organic material to support fungal growth. Keep an eye out for soil aggregates that appear compacted or show little structural diversity, as this can mean poor soil structure and limited root development potential.
Color changes in your soil samples can also tell a story. Grayish or bluish tints might indicate waterlogging issues, while consistently pale samples could suggest mineral deficiencies. If you notice an abundance of decomposing organic matter but few living organisms, your soil’s food web might be out of balance.
Remember, these warning signs don’t mean your soil is beyond help – they’re valuable indicators that guide you toward specific improvements in your regenerative gardening practices.
Tracking Your Soil’s Progress
Keeping track of your soil’s progress is like maintaining a health diary for your garden. Start by establishing a baseline – take monthly microscope observations and maintain detailed notes about what you see. Pay special attention to the diversity and quantity of microorganisms, particularly beneficial ones like protozoa and nematodes.
Photos are your best friends in this journey. Capture clear microscope images of your soil samples and date them carefully. This visual record will help you spot changes that might be difficult to remember otherwise. Consider creating a simple spreadsheet to record key observations: organism counts, types present, and any unusual findings.
Many gardeners find it helpful to mark specific testing spots in their garden with small stakes or markers. Take samples from the same locations each time to ensure consistent monitoring. Remember to note any amendments or changes you’ve made between observations, such as adding compost or implementing new watering practices.
Look for positive indicators like increased fungal networks, more diverse bacterial populations, and the presence of beneficial organisms. These are signs your soil is becoming more alive and resilient. Don’t be discouraged if changes seem slow at first – soil regeneration is a gradual process that requires patience.
Consider keeping seasonal records too, as soil life naturally fluctuates throughout the year. This helps you distinguish between normal seasonal variations and true improvements in soil health.
Taking Action: From Observation to Regeneration
Adjusting Your Soil Care Routine
Once you’ve observed your soil under the microscope, it’s time to adjust your gardening practices accordingly. Start by implementing small changes and monitoring their effects through regular microscopic observations. If you notice a lack of beneficial microorganisms, consider adding high-quality compost or actively aerated compost tea to boost microbial life. When your samples reveal compacted soil structures, reduce tilling and incorporate more time-saving garden techniques like mulching and cover cropping.
Pay attention to soil moisture levels, which directly affect microbial activity. If your observations show dry conditions, adjust your watering schedule and add organic matter to improve water retention. When fungal networks appear weak or sparse, introduce woody materials like wood chips or biochar to support fungal growth.
Remember to document your observations and changes in a garden journal. This helps track improvements over time and understand which adjustments work best for your specific soil conditions. Be patient – building healthy soil is a gradual process, but regular microscopic monitoring will help you make informed decisions about your soil care routine.
Building Long-term Soil Health
Building vibrant, living soil is a continuous journey that requires dedication and the right approach. Through regular microscopic observation, you can monitor your soil’s progress and adjust your earth-friendly gardening practices accordingly. Start by incorporating organic matter consistently – think compost, cover crops, and mulch. These materials feed beneficial microorganisms and create the perfect environment for them to thrive.
Remember to minimize soil disturbance, as excessive tilling can disrupt delicate fungal networks and bacterial communities. Instead, use gentle methods like sheet mulching or no-dig approaches. Keep your soil covered year-round with living plants or organic mulch to protect these microscopic allies.
Regular applications of compost tea or actively aerated compost extract can boost microbial populations. When you observe your samples under the microscope and notice a decline in beneficial organisms, these brew applications can help restore balance. The key is consistency – small, regular improvements will lead to lasting soil health rather than quick fixes.
Monitor moisture levels carefully, as soil life needs adequate water to flourish. Your microscope will reveal when conditions are too wet or dry, allowing you to adjust your watering practices accordingly.
Soil microscopy opens up a fascinating world that connects us directly with the life beneath our feet. By understanding our soil at this intimate level, we can make better-informed decisions about our gardening practices and truly embrace regenerative techniques. Whether you’re troubleshooting plant health issues or simply curious about the microscopic ecosystem in your garden, this powerful tool provides invaluable insights that can transform your approach to gardening. Starting your own soil observation journey doesn’t require expensive equipment – even a basic microscope can reveal the incredible diversity of life in healthy soil. As you begin exploring your soil under magnification, you’ll develop a deeper appreciation for the complex web of life that supports your garden. Take that first step today – your garden will thank you with healthier plants and more abundant harvests.