Transform your backyard into a water-wise oasis by creating a rain garden that works in harmony with permaculture principles. These innovative garden designs capture and filter stormwater runoff, turning a potential problem into a thriving ecosystem that supports local wildlife while reducing water waste. By strategically placing water-loving native plants in a gentle depression, you’ll create a self-sustaining landscape feature that manages excess rainfall naturally, prevents erosion, and adds stunning visual interest to your property. Whether you’re dealing with drainage issues or simply want to embrace sustainable gardening practices, a permaculture rain garden offers an elegant solution that benefits both your landscape and the environment.
Let’s explore how to design and implement this beautiful, functional feature that works with nature rather than against it, combining the best of ecological design with practical water management strategies. From selecting the perfect location to choosing the right plant combinations, you’ll discover how easy it is to create a garden that celebrates every raindrop while supporting local biodiversity.
Why Your Permaculture Garden Needs a Rain Garden
Water Conservation Magic
Rain gardens are nature’s water-saving champions, working like magical sponges to capture and store precious rainwater that would otherwise flow away. By creating bowl-shaped depressions in your landscape, these gardens can collect up to 30% more water than traditional garden beds, allowing it to slowly seep into the ground rather than contributing to stormwater runoff.
The magic happens in layers: First, the depression catches rainfall and roof runoff, then specially selected plants and soil layers filter the water naturally. Deep-rooted native plants play a crucial role, creating channels that help water penetrate deep into the soil. This stored moisture becomes available to plants during dry spells, reducing or eliminating the need for supplemental watering.
What’s particularly wonderful about rain gardens is their ability to recharge groundwater supplies. As water slowly filters through the soil layers, it replenishes underground aquifers, contributing to the overall health of our water systems. Plus, any overflow during heavy rains is released slowly and cleanly, preventing erosion and flooding in your yard and neighborhood.
Natural Habitat Creation
A permaculture rain garden does more than manage water – it creates a thriving sanctuary for local wildlife. As native plants establish their roots, they attract a diverse array of pollinators, including bees, butterflies, and hummingbirds. The varying water levels in your garden create distinct microhabitats, from shallow puddles perfect for birds to moist soil where beneficial insects thrive.
The layered planting approach typical in permaculture gardens provides shelter and nesting sites for small animals. Tall grasses offer coverage for ground-dwelling creatures, while flowering plants produce seeds that feed local bird populations throughout the seasons. Even in urban settings, these gardens become stepping stones for wildlife, creating vital corridors between larger natural areas.
The combination of standing water and diverse plant life also attracts helpful predators like frogs and dragonflies, which naturally control mosquito populations. As your garden matures, you’ll notice an increasing variety of beneficial insects that help maintain a healthy ecological balance, reducing the need for pest control while supporting local biodiversity.
Remember, every creature that visits your rain garden contributes to its success, creating a self-sustaining ecosystem right in your backyard.

Planning Your Permaculture Rain Garden
Choosing the Perfect Location
Choosing the perfect location for your rain garden is crucial for its success and effectiveness. Start by observing your property during rainfall to identify where water naturally flows and collects. Look for areas where downspouts discharge or where water tends to pool – these spots are prime candidates for your rain garden.
The ideal location should be at least 10 feet away from your house’s foundation to prevent water damage. Avoid placing your rain garden directly over septic systems, utility lines, or tree roots. The area should have a gentle slope (between 1-10%) to allow water to flow naturally into the garden while preventing excessive pooling.
Test your soil’s drainage by digging a hole about 12 inches deep and filling it with water. If it takes more than 24 hours to drain, you’ll need to improve the soil composition or consider a different location. Sandy or loamy soils are ideal, but clay soils can work with proper amendments.
Consider the amount of sunlight the area receives throughout the day. While rain gardens can thrive in both sun and partial shade, the light conditions will influence your plant selection. Also, think about visibility – positioning your rain garden where it can be easily seen and enjoyed adds beauty to your landscape while serving its practical purpose.
Remember to check local regulations and utility locations before breaking ground. Some areas have specific requirements for rain garden placement and construction.
Size and Shape Considerations
When planning your rain garden, size and shape are crucial factors that determine its effectiveness. A good rule of thumb is to make your rain garden about 20% of the drainage area it serves. For example, if you’re collecting runoff from a 500-square-foot roof section, aim for a 100-square-foot garden.
The shape should follow natural contours while maintaining a pleasing aesthetic. Kidney-shaped or curved designs often work well, mimicking patterns found in nature. The depth typically ranges from 4-8 inches, with gently sloping sides at a 3:1 ratio to prevent erosion and ensure safety.
Consider your soil type when determining dimensions. Sandy soils can be slightly smaller since they drain faster, while clay soils might need a larger area to handle the same water volume effectively. The bottom should be level to ensure even water distribution.
For most home gardens, a width of 5-10 feet makes maintenance manageable while providing enough space for diverse plant communities. Remember to position the garden at least 10 feet from your house’s foundation to prevent water damage.

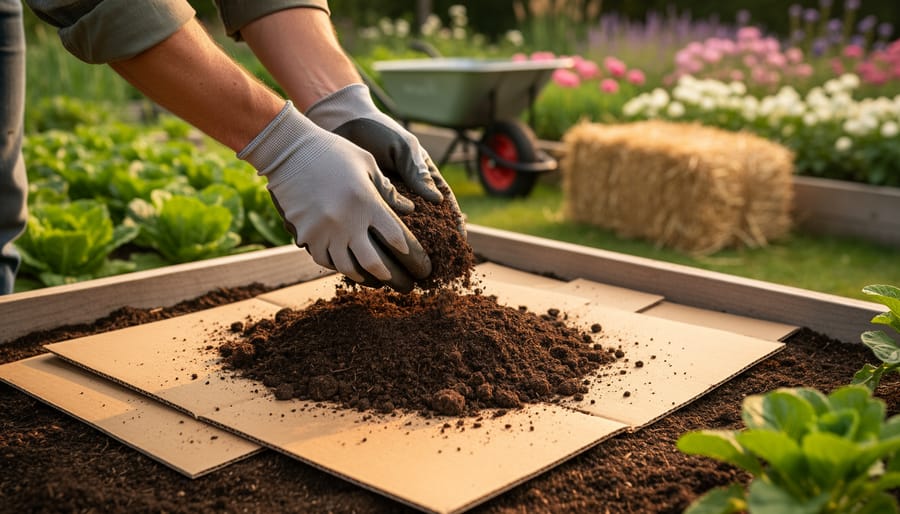
Soil Preparation Secrets
The foundation of a successful rain garden lies in proper soil preparation techniques. Start by testing your soil’s drainage rate – dig a hole 12 inches deep, fill it with water, and observe how quickly it drains. Your soil should absorb water at a rate of about 1-2 inches per hour.
For optimal results, create a soil mix that’s 60% sand, 20% topsoil, and 20% compost. This combination ensures excellent drainage while retaining enough nutrients for plants to thrive. Work the soil to a depth of 18-24 inches, removing any rocks or debris you encounter.
If your native soil is heavy clay, consider adding gypsum to improve structure and drainage. For sandy soils, incorporate more organic matter to enhance water retention. Remember to avoid compacting the soil while working – use planks to distribute your weight when necessary.
A layer of well-aged compost on top will help establish beneficial microorganisms and improve soil fertility naturally. This living soil system is key to permaculture principles and will help your rain garden flourish for years to come.
Best Plants for Your Rain Garden
Deep-Rooted Heroes
The backbone of any successful rain garden lies in its deep-rooted heroes – plants that work tirelessly below the surface to filter water and prevent soil erosion. Native grasses like Switchgrass and Little Bluestem develop extensive root systems that can reach depths of 15 feet or more, creating natural channels for water filtration while holding soil firmly in place.
One standout performer is Joe Pye Weed, whose robust root structure excels at breaking up compacted soil and absorbing excess nutrients from water runoff. Purple Coneflower not only adds vibrant color to your garden but also develops deep taproots that help water penetrate further into the ground.
For year-round soil stabilization, consider incorporating sedges like Fox Sedge or Penn Sedge. These hardy plants maintain their grip on the soil even during dormant seasons and thrive in both wet and dry conditions. Black-Eyed Susans are another excellent choice, combining beautiful blooms with impressive water-filtering capabilities through their fibrous root systems.
In shadier areas, Cardinal Flower and Blue Lobelia work wonderfully, their roots actively removing pollutants while providing stunning seasonal displays. For maximum effectiveness, plant these deep-rooted champions in groups, allowing their root systems to interweave and create a living mesh beneath the soil surface.
Remember to give these plants time to establish their root systems – typically one to two growing seasons – before they reach their full water-filtering potential.

Multi-Function Plants
In a permaculture rain garden, plants that serve multiple functions are essential for creating an efficient and sustainable ecosystem. These “multi-taskers” work harder for your garden, providing various benefits simultaneously.
Deep-rooted plants like Echinacea and Black-Eyed Susans not only add beautiful blooms but also help prevent soil erosion while creating channels for water to penetrate deeper into the ground. Their roots break up compacted soil, improving drainage and soil structure over time.
Native rushes and sedges excel at filtering pollutants from water runoff while providing shelter for beneficial insects and small wildlife. Joe Pye Weed, for instance, attracts pollinators with its flowers while its extensive root system helps manage water flow.
Edible plants can also play important roles in your rain garden. Blueberry bushes offer fresh fruit while their deep roots help manage water levels. Cranberry plants provide ground cover, preventing soil erosion while producing berries.
Some plants serve as dynamic accumulators, drawing nutrients from deep in the soil and making them available to other plants. Comfrey, with its deep tap roots, brings up minerals while its leaves can be used as nutrient-rich mulch.
Consider incorporating herbs like mint and lemon balm, which provide culinary and medicinal benefits while helping to control soil erosion. Just remember to plant aggressive spreaders like mint in contained areas to prevent them from taking over.
Maintaining Your Rain Garden Paradise
Seasonal Care Tips
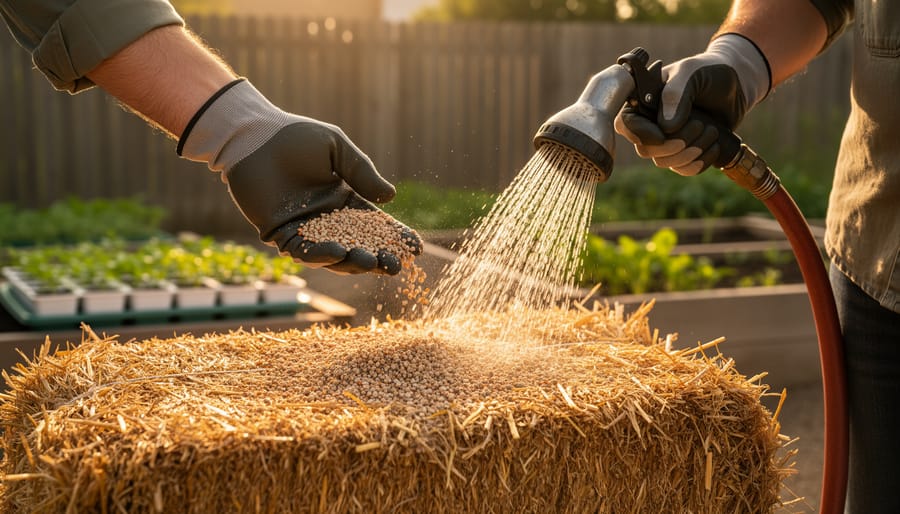
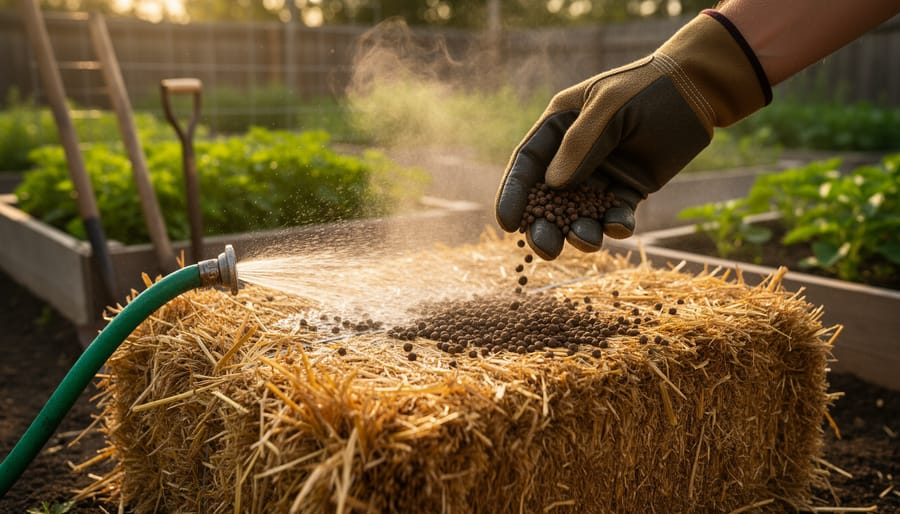
Maintaining your rain garden throughout the year ensures its long-term success and optimal performance. In spring, start by removing winter debris and dead plant material. Check for any erosion damage from winter storms and repair as needed. This is also the perfect time to add a fresh layer of mulch and plant new native species.
Summer maintenance focuses on weed control and monitoring plant health. Water newly established plants during dry spells, though established rain gardens rarely need additional watering. Remove any invasive species promptly and trim back overgrown plants to maintain proper water flow.
As autumn approaches, leave some seed heads and dried stems standing – they provide food and shelter for wildlife. Clear fallen leaves from drainage areas to prevent clogging, but consider leaving some leaf litter as natural mulch. Cut back perennials that don’t provide winter interest or wildlife benefits.
Winter is relatively low-maintenance, but keep an eye on drainage patterns during storms. Remove any ice buildup that might block water flow, and mark the garden’s boundaries if you live in a snowy region to prevent accidental damage from snow removal equipment.
Throughout all seasons, regularly inspect your garden after heavy rainfall to ensure proper drainage within 24-48 hours. Adjust soil levels or plant placement if you notice persistent standing water or dry spots.
Common Challenges and Solutions
Even the most well-planned rain gardens can face challenges, but don’t worry – most issues have straightforward solutions. One common problem is standing water that doesn’t drain within 24-48 hours. This usually indicates compacted soil or incorrect soil composition. The fix? Try adding more organic matter and sand to improve drainage, or consider installing a French drain if the problem persists.
Plant wilting or yellowing leaves might occur if you’ve chosen species that aren’t suited to your specific conditions. The solution is simple: observe which areas of your garden stay wet longest and replant with species that match those moisture levels. Native plants are your best friends here!
Erosion around the garden’s edges can be frustrating, but it’s easily addressed by adding more rocks or plants along the perimeter. Consider deep-rooted native grasses or ground covers that can hold soil in place. Some gardeners have found success with strategic placement of larger stones to slow water flow.
Unwanted volunteer plants (also known as weeds) are another typical challenge. Rather than reaching for chemical solutions, maintain a thick layer of mulch and regularly hand-pull any unwanted guests. This approach keeps with permaculture principles while effectively managing the issue.
If your garden isn’t capturing enough runoff, you might need to adjust the basin’s shape or depth. Start by observing water flow during rain events and modify the garden’s design accordingly. Sometimes, simply extending or redirecting the inflow channel can make a big difference.
Creating a permaculture rain garden is more than just a landscaping project – it’s a step towards sustainable living and environmental stewardship. By implementing the principles and techniques we’ve discussed, you’ll be creating a beautiful, functional space that manages stormwater, supports local wildlife, and enhances your property’s natural ecosystem.
Remember that your rain garden doesn’t need to be perfect from day one. Start small, observe how water moves through your landscape, and adjust your design as needed. The beauty of permaculture lies in its adaptive nature, allowing you to learn and grow alongside your garden.
Whether you’re working with a small urban yard or a sprawling rural property, the principles remain the same: catch water, slow its flow, and use it wisely. Begin with a simple design, choose native plants that thrive in your climate, and gradually expand your garden’s scope as your confidence grows.
The rewards of creating a permaculture rain garden extend far beyond water management. You’ll discover the joy of working with nature, the satisfaction of reducing your environmental impact, and the pleasure of creating a thriving habitat for beneficial insects and birds.
Don’t wait for the perfect moment to begin – start planning your rain garden today. Every drop of water you manage sustainably contributes to a healthier planet. Your garden can be part of the solution to water conservation while bringing beauty and biodiversity to your outdoor space.