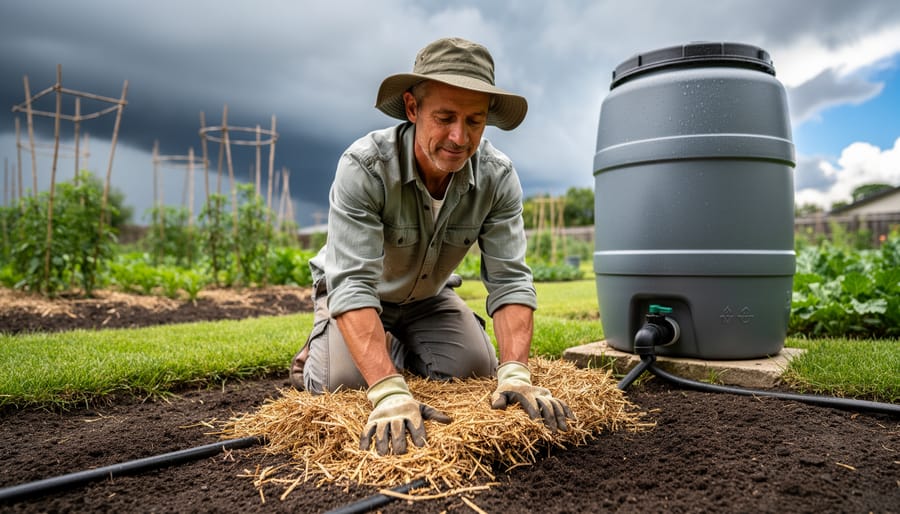
Grab a clean jar, fill it one-third with garden soil, and add water to test soil composition in under 24 hours. The layers that form reveal your soil’s sand, silt, and clay ratios – essential knowledge for successful integrated nutrient management. Press a moistened soil ball in your palm; crumbly texture indicates ideal loam, while sticky or gritty feelings point to clay or sandy soil respectively. Test soil pH using household vinegar and baking soda – fizzing with vinegar means alkaline soil, while baking soda reaction indicates acidity. These simple kitchen-counter tests provide immediate insights into your garden’s growing potential, helping you make informed decisions about amendments and plant selection without waiting weeks for laboratory results.
Simple Visual and Touch Tests
The Squeeze Test
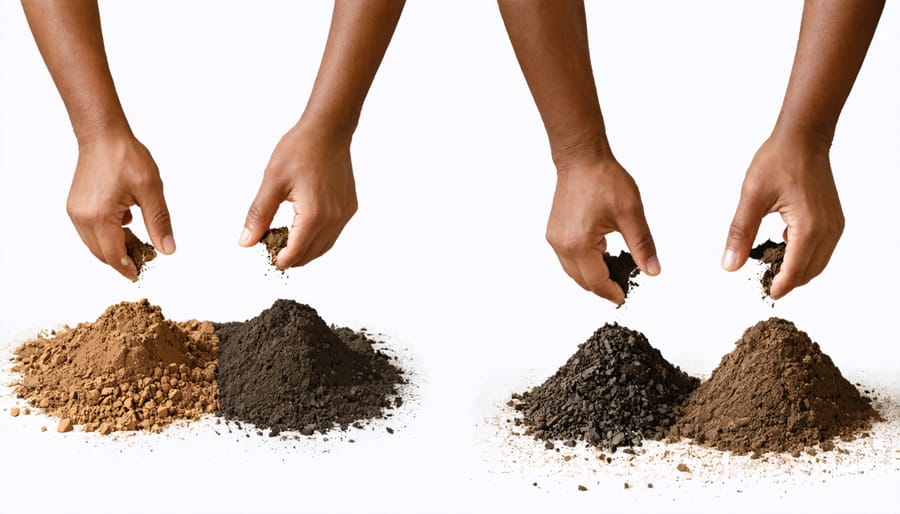
The squeeze test is one of the most reliable hands-on methods to determine your soil’s texture. Start by taking a handful of slightly moist soil – it should feel like a wrung-out sponge. Remove any stones or debris, then squeeze the soil firmly in your palm.
If the soil forms a tight ball that holds together even when poked, you likely have clay-rich soil. When you roll this ball between your fingers, it should form a smooth, pliable ribbon. Sandy soil, on the other hand, will barely hold together and fall apart as soon as you open your hand. It feels gritty and individual particles are visible.
Loamy soil – the gardener’s gold standard – will form a loose ball that holds its shape when handled gently but breaks apart easily when disturbed. It feels slightly sticky but also has a grainy texture. The soil shouldn’t leave much residue on your hands after the test.
Remember to test soil from different areas of your garden, as texture can vary significantly across your yard. This simple test gives you immediate insights into your soil’s structure and helps guide your gardening decisions.
The Ribbon Test
The ribbon test is one of the most reliable hands-on methods for determining your soil’s texture and clay content. Start by taking a small handful of moist soil – about the size of a golf ball. Remove any stones or debris, then knead the soil between your thumb and fingers until it’s thoroughly moistened and pliable.
Try to form the soil into a ribbon by pressing it between your thumb and forefinger, squeezing it upward into a thin strip. Watch how the soil behaves: if it crumbles immediately, you likely have sandy soil. If it forms a short ribbon (less than 1 inch) before breaking, you have loamy soil – ideal for most garden plants. A longer ribbon (2 inches or more) indicates clay-rich soil.
The longer and stronger the ribbon, the higher the clay content. For example, a ribbon that extends to 2-3 inches before breaking suggests your soil contains at least 40% clay. This information helps you make informed decisions about soil amendments and plant selection for your garden.
Quick pH Tests at Home
Vinegar and Baking Soda Method
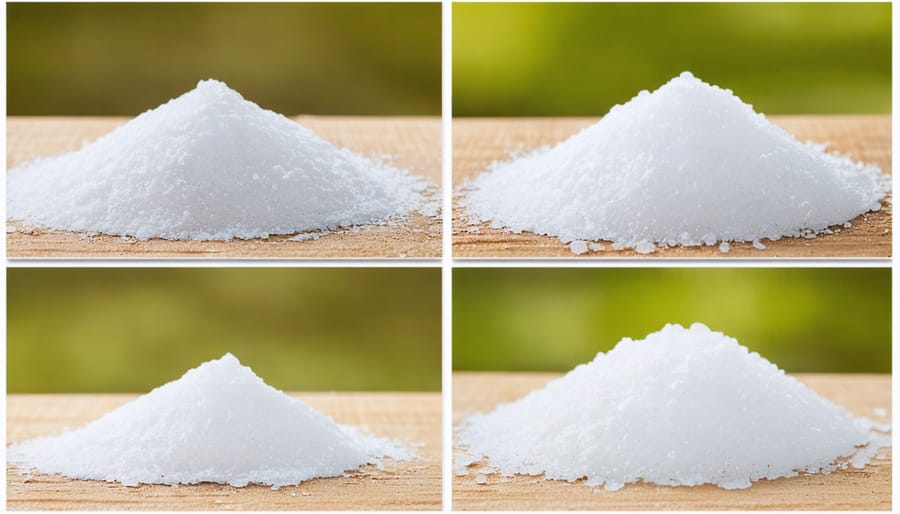
One of the simplest and most reliable DIY soil tests uses two common household items: vinegar and baking soda. This method helps you determine if your soil is acidic or alkaline, which is crucial for understanding what plants will thrive in your garden.
To perform this test, start by collecting two separate soil samples from your garden, each about 2 tablespoons. Place them in clean containers. Add a few drops of vinegar to the first sample. If it fizzes or bubbles, your soil is alkaline (has a pH above 7). If nothing happens, move on to the second test.
For the second sample, add a small amount of water to make the soil slightly damp, then sprinkle baking soda on top. If this mixture fizzes, your soil is acidic (has a pH below 7). If neither test produces a reaction, your soil is likely neutral, with a pH around 7.
Remember that this test provides a general indication rather than an exact pH measurement. The fizzing reaction occurs because alkaline soil contains calcium carbonate, which reacts with vinegar, while acidic soil reacts with the alkaline baking soda.
This quick test can help you make immediate decisions about soil amendments or plant selection, though for more precise results, you might want to consider a professional soil test later.
pH Strip Testing
For a more accurate assessment of your soil’s pH level, pH test strips offer an affordable and reliable solution. These inexpensive strips, available at most garden centers and online retailers, can give you a reading in just a few minutes. To test your soil, start by collecting a small sample and mixing it with distilled water in a clean container, using a 1:1 ratio of soil to water.
After stirring the mixture thoroughly, let it settle for about 30 minutes. Once settled, dip a pH strip into the clear liquid at the top of your solution. Watch as the strip changes color, then compare it to the color chart provided with your test kit. Most garden pH strips can detect levels between 3.5 and 9.0, which covers the full range of typical garden soils.
Remember that different plants thrive in different pH ranges. Most vegetables and flowers prefer slightly acidic soil (6.0-6.8), while some plants like blueberries need more acidic conditions (4.5-5.5). By knowing your soil’s pH, you can make informed decisions about soil amendments or plant selection.
For best results, test multiple areas of your garden, as pH levels can vary across your yard. It’s also helpful to test at the same time of day and season when comparing readings over time. Keep a simple garden journal to track your readings and any amendments you make based on the results.
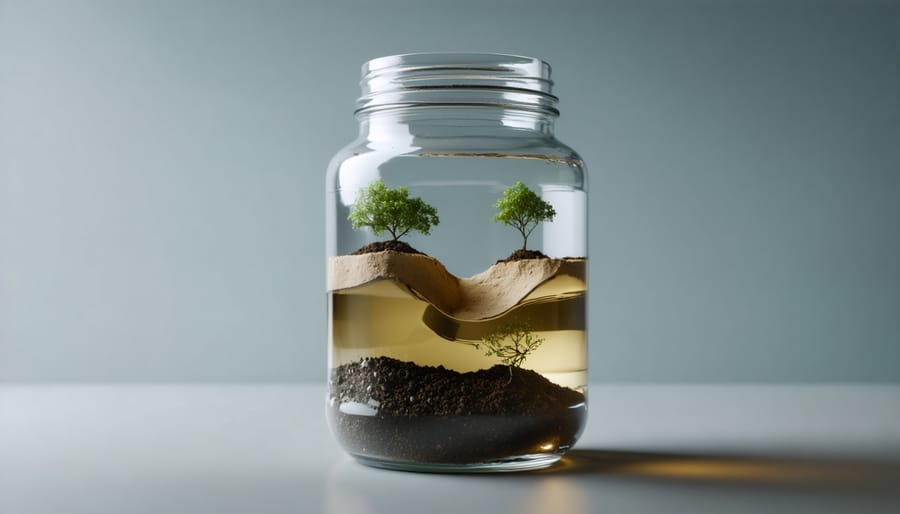
Jar Settling Test
The jar settling test is one of the most reliable and visual ways to understand your soil’s composition right at home. All you need is a clean glass jar with a lid, some soil from your garden, and water. This simple yet effective test can reveal the proportions of sand, silt, and clay in your soil, which directly affects your garden’s health and soil carbon content.
Start by filling your jar about one-third full with soil, then add water until it’s almost full, leaving some space for shaking. Add a teaspoon of liquid dish soap – this helps separate the particles. Secure the lid tightly and shake the jar vigorously for about two minutes. Place the jar on a level surface where it won’t be disturbed for 24 hours.
As the soil settles, you’ll notice distinct layers forming. The heaviest particles (sand) sink first, settling within a minute or two. Silt particles take about two hours to settle, forming the middle layer. Clay particles are the finest and will take up to 24 hours to settle completely, creating the top layer. Any organic matter will float on the surface.
Measure the thickness of each layer and calculate the percentages to determine your soil type. For example, if you have roughly equal layers, you’ve hit the jackpot – that’s loam soil, ideal for most garden plants. A thick bottom layer indicates sandy soil, while a prominent top layer suggests clay-heavy soil.
Remember, this test isn’t laboratory-precise, but it gives you valuable insights into your soil’s composition, helping you make informed decisions about amendments and plant selection.
Living Indicators in Your Soil
Your garden is teeming with natural indicators that can tell you a lot about your soil’s health. These living signs are like nature’s report card, offering valuable insights without any special equipment. One of the most reliable indicators is the presence of beneficial soil microorganisms and earthworms. When you dig into healthy soil, you should find at least 5-10 earthworms per square foot – they’re nature’s best soil engineers!
Pay attention to the weeds in your garden too; they’re actually telling you something important. Dandelions often indicate compacted soil, while chickweed tends to grow in fertile, nitrogen-rich earth. Moss typically suggests acidic conditions, and clover might mean your soil needs more nitrogen.
The overall health of your plants speaks volumes as well. Strong, vibrant growth with deep green leaves usually indicates good soil health. Yellow or stunted plants might signal nutrient deficiencies, while purple-tinged leaves often point to phosphorus shortages.
Look at your soil’s surface after rain. Does water pool for hours? That suggests poor drainage. Healthy soil should absorb water relatively quickly while still retaining enough moisture for plant growth. A rich, earthy smell is another positive sign – it indicates active decomposition and healthy organic matter levels.
The presence of mushrooms and other fungi is typically a good sign too. These organisms help break down organic matter and create vital nutrient networks in your soil. Remember, a diverse ecosystem in your garden is the foundation of healthy, productive soil.
Regular soil testing is your garden’s compass, guiding you toward healthier plants and more abundant harvests. By incorporating quick soil tests into your gardening routine, you can catch potential problems early and make informed decisions about soil amendments. Remember that while DIY tests provide valuable immediate insights, they work best when combined with professional lab testing every few years for a complete soil health picture.
Use your test results as a roadmap for improvement. If you’ve discovered your soil is too acidic, gradually incorporate lime. For alkaline soil, add sulfur or organic matter like pine needles. When tests reveal poor drainage, work in compost to improve soil structure. Keep a garden journal to track your test results and soil improvements over time – you’ll be amazed at how your soil transforms with proper care and attention.
Most importantly, don’t feel overwhelmed by the results. Every garden is a work in progress, and each small step toward better soil health brings you closer to your gardening goals. Regular testing and thoughtful amendments will reward you with vibrant, thriving plants and a deeper connection to your garden’s ecosystem.