Transform your community’s landscape into a living classroom with a native plant demonstration garden – a vibrant showcase of local flora that educates while it flourishes. These botanical sanctuaries do more than display indigenous plants; they create crucial wildlife habitats, reduce water consumption, and inspire visitors to embrace sustainable gardening practices in their own spaces. Whether you’re a homeowner looking to make a difference or a community organization planning a public garden, native plant demonstration gardens offer a powerful way to connect people with their local ecosystem while providing a stunning example of ecological landscaping done right.
As native gardens gain momentum across the country, demonstration spaces have become essential tools for teaching sustainable landscaping techniques, plant identification, and the vital relationships between native species and local wildlife. Beyond their educational value, these gardens serve as proof that environmentally responsible landscaping can be both beautiful and low-maintenance, challenging the traditional notion that formal gardens require exotic species and intensive care.
By showcasing the natural beauty and resilience of native plants in an organized, accessible setting, demonstration gardens help bridge the gap between wild spaces and cultivated landscapes, inspiring a new generation of gardeners to think locally when planning their outdoor spaces.
Planning Your Native Plant Demonstration Space
Site Selection and Analysis
Selecting the perfect location for your native plant demonstration garden is crucial for its success and educational impact. Start by surveying your available space, considering both sunny and partially shaded areas to accommodate diverse plant species, including plants for shaded areas.
Begin with a soil test to understand your garden’s pH levels and nutrient content. Most native plants adapt well to local soil conditions, but knowing your soil composition helps you select species that will thrive naturally. Look for areas with good drainage by observing how water moves across your property after rainfall. If water pools in certain spots, consider creating raised beds or implementing drainage solutions.
Pay attention to existing features like trees, buildings, and hardscapes that affect sunlight patterns throughout the day. Take notes over several weeks to map out areas receiving full sun (6+ hours), partial sun (4-6 hours), and shade. This information will be invaluable when choosing plants later.
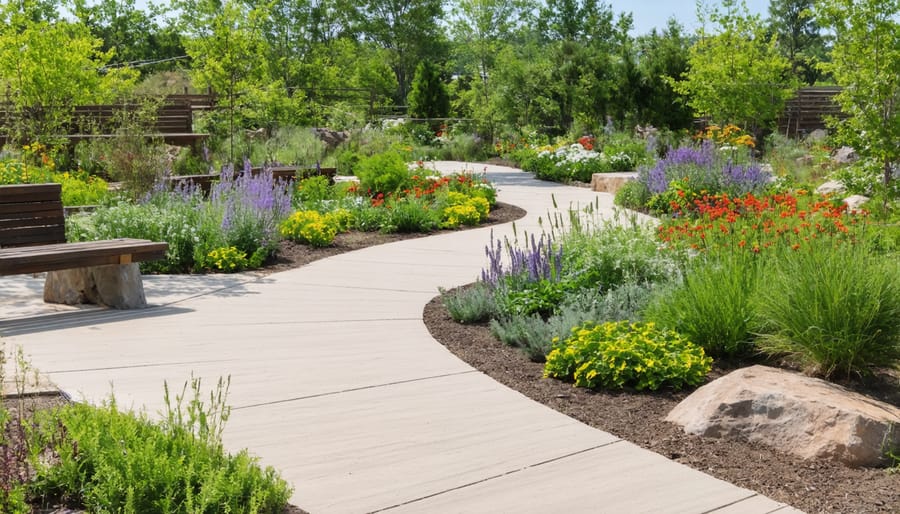
Consider accessibility too – your demonstration garden should be easily visible and reachable by visitors. If possible, select a location near walking paths or gathering areas where people naturally congregate. This placement maximizes the garden’s educational potential and ensures it becomes an engaging focal point for your community.
Remember to check local regulations and utilities before breaking ground. Ensure your chosen site doesn’t interfere with underground pipes or cables, and verify any setback requirements from property lines or structures.
Creating Educational Zones
Creating distinct educational zones in your native plant demonstration garden helps visitors understand how different plants thrive in specific conditions while making the space more engaging and easier to navigate. Start by mapping out your garden into clear sections based on natural habitats found in your region, such as woodland shade, sunny meadow, or wetland areas.
Consider organizing plants by their growing requirements, grouping those with similar water, light, and soil needs together. For instance, you might create a drought-tolerant section featuring native grasses and succulents, while another area showcases shade-loving ferns and woodland wildflowers. This practical arrangement not only makes maintenance easier but also helps visitors identify which plants will work best in their own gardens.
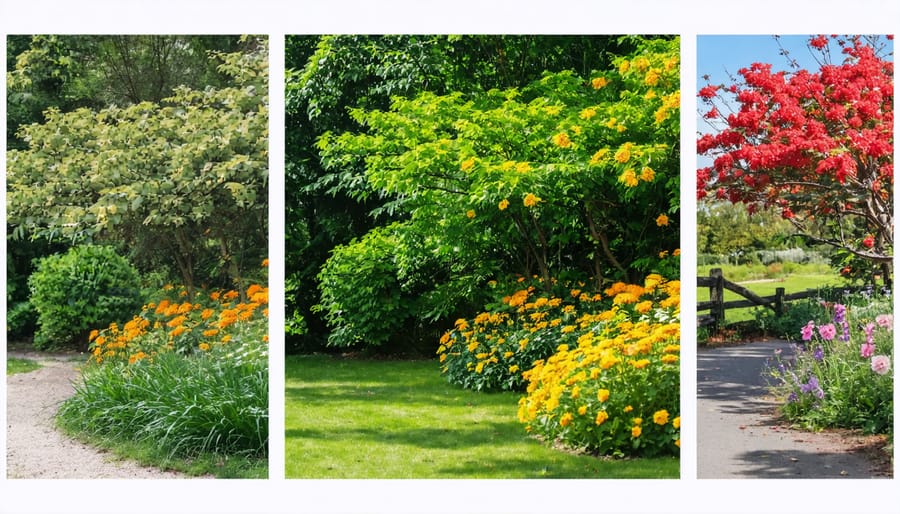
You can also design zones that highlight seasonal interest, ensuring your garden remains engaging year-round. Include early spring bloomers, summer flowering perennials, fall foliage stars, and plants with winter interest like ornamental seed heads or striking bark. Consider creating themed areas such as butterfly gardens, bird-friendly spaces, or medicinal plant collections to add another layer of educational value.
Don’t forget to include clear, weather-resistant signage for each zone, explaining the habitat type and growing conditions. Adding benches or viewing areas within each zone encourages visitors to pause and observe the plant communities up close, making the learning experience more immersive and memorable.
Selecting and Arranging Native Plants
Local Species Selection
Selecting the right native plants for your demonstration garden starts with understanding your local ecosystem. Begin by researching plants that naturally grow in your region, including both native ornamental plants and beneficial species that support local wildlife.
A great first step is to visit your local native plant nursery or botanical garden for inspiration. These facilities often have knowledgeable staff who can recommend species that will thrive in your specific climate and soil conditions. You can also connect with local native plant societies, which are treasure troves of regional expertise and often maintain lists of recommended species.
Consider your garden’s specific conditions when making selections. Take note of your soil type, sun exposure, and moisture levels in different areas. Some plants prefer dry, sunny spots, while others flourish in partially shaded, moist conditions. It’s helpful to observe which native plants grow naturally in areas with similar conditions to your garden.
Remember to include plants that flower at different times throughout the growing season. This not only creates year-round interest but also provides consistent support for pollinators. Mix different heights, textures, and growth habits to create visual appeal while demonstrating the diversity of native flora.
Start with hardy, easy-to-grow species that have a high success rate in your area. As you gain confidence, you can gradually introduce more specialized or challenging plants to your demonstration garden.
Design for Year-Round Interest
A well-designed native plant demonstration garden should captivate visitors throughout all seasons. Understanding year-round garden design principles helps create an engaging space that showcases the dynamic beauty of local flora across the calendar.
Start by selecting plants with varied blooming periods. Spring might feature vibrant wildflowers like trilliums and bloodroot, while summer brings the golden waves of black-eyed susans and purple coneflowers. Fall introduces warm hues through native grasses and asters, and winter reveals interesting bark patterns and seed heads that attract birds.
Consider incorporating evergreen natives like juniper or wintergreen for consistent structure. Plant in layers, with ground covers, mid-height perennials, and taller shrubs creating visual interest at different levels. Include plants with interesting textures – the feathery plumes of native grasses contrast beautifully with broad-leaved woodland plants.
Don’t forget to highlight plants with multiple seasonal attributes. Red-twig dogwood, for instance, offers spring flowers, summer berries, and striking red branches in winter. Label these multi-season performers to help visitors understand how native plants contribute to the garden’s appeal year-round.
Remember to position plants where their seasonal features are most visible. Place winter-interest specimens near pathways or viewing areas where they can be appreciated even during the coldest months.
Plant Grouping Strategies
Thoughtful plant grouping in a native demonstration garden serves both educational and aesthetic purposes. One effective strategy is to create themed clusters that showcase plants with similar growing conditions or ecological roles. For instance, you might group shade-loving woodland species together or create a sunny pollinator paradise with nectar-rich flowers.
Consider arranging plants in “plant communities” that naturally occur together in local ecosystems. This approach not only looks authentic but also helps visitors understand how these species interact in the wild. A woodland edge collection might feature understory shrubs, ferns, and spring ephemerals working together just as they would in nature.
Height and seasonal interest play crucial roles in effective grouping. Place taller plants toward the back of beds, medium-height species in the middle, and ground covers in front to create visual depth. Include plants that bloom at different times throughout the growing season to maintain year-round interest and educational value.
Educational groupings might focus on specific themes like medicinal plants, plants used by indigenous peoples, or species that support particular wildlife. Consider creating mini-habitats that demonstrate different ecological niches, such as a rain garden or dry prairie collection.
Remember to include clear identification labels and group similar species together to help visitors easily compare and learn about plant families and characteristics. This organized approach makes the garden both beautiful and an effective teaching tool.
Maintaining Your Demonstration Garden
Sustainable Care Practices
Maintaining a native plant demonstration garden requires a thoughtful approach that works in harmony with nature. Unlike traditional gardens, native plants thrive with minimal intervention when you implement proper soil management techniques. Start by embracing a “less is more” philosophy – native plants have evolved to succeed in your local conditions without excessive watering or fertilization.
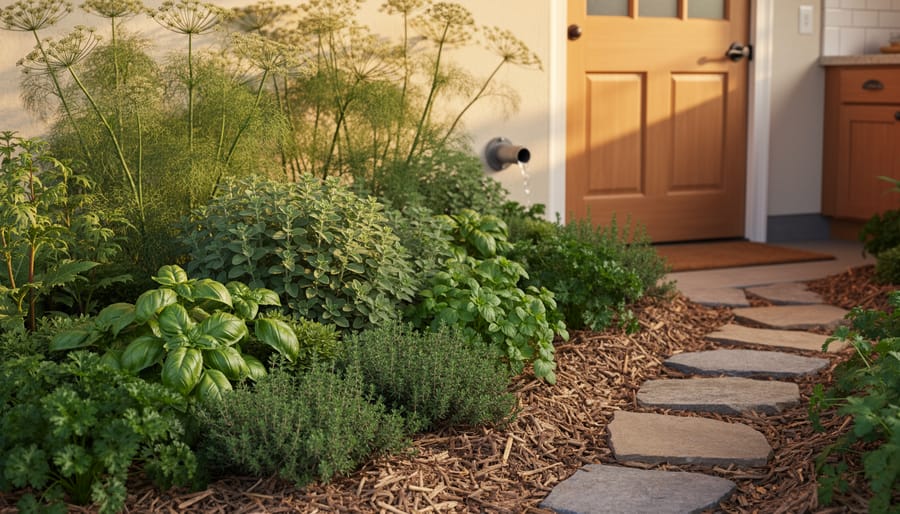
Water deeply but infrequently to encourage deep root growth, which makes plants more resilient during dry spells. Consider installing a rain garden or using rain barrels to capture natural precipitation. Mulching with locally sourced materials, such as fallen leaves or pine needles, helps retain moisture and suppress weeds while creating natural habitat for beneficial insects.
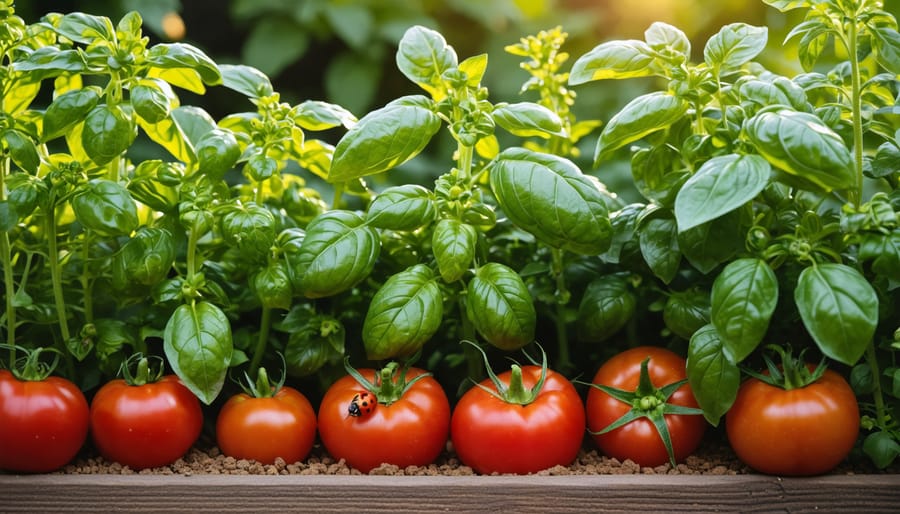
Skip chemical fertilizers and pesticides entirely. Instead, let nature maintain balance by attracting beneficial insects and birds that act as natural pest control. Leave seed heads and dead stalks standing through winter – they provide food for wildlife and winter interest to your garden.
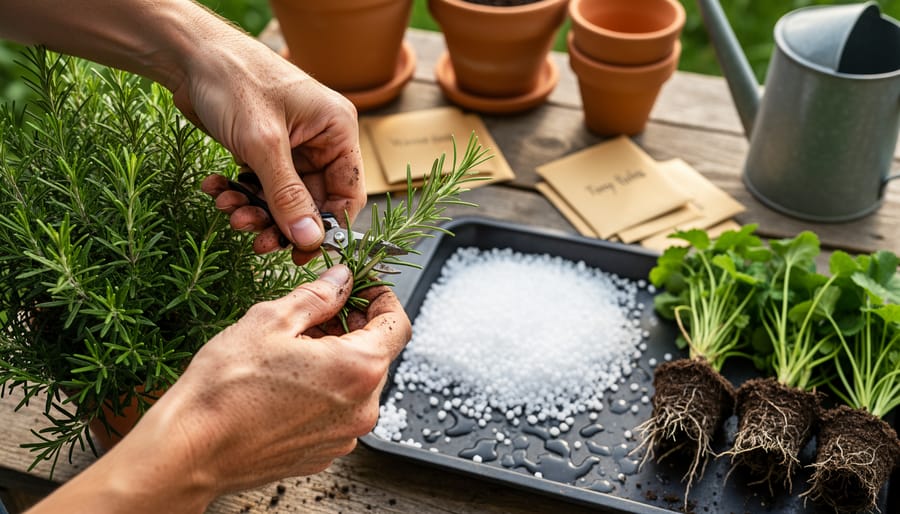
Practice strategic pruning by removing only damaged or diseased plant material. This minimal intervention approach not only saves time and resources but also creates a more authentic representation of how these plants grow in their natural habitat. Remember to collect and save seeds from your native plants to share with other gardeners and ensure the continuation of local species.
Creating Educational Signage
Educational signage transforms your native plant demonstration garden into an engaging outdoor classroom. Start by creating durable plant labels that include both common and scientific names, along with basic growing requirements. Consider using weather-resistant materials like aluminum or UV-protected plastic, and mount them at easily readable heights.
Beyond basic identification, develop interpretive signs that tell the story of your garden. Include information about each plant’s role in the local ecosystem, traditional uses by indigenous peoples, and its value to wildlife. Group related plants together with themed signs explaining concepts like pollinator relationships or drought tolerance.
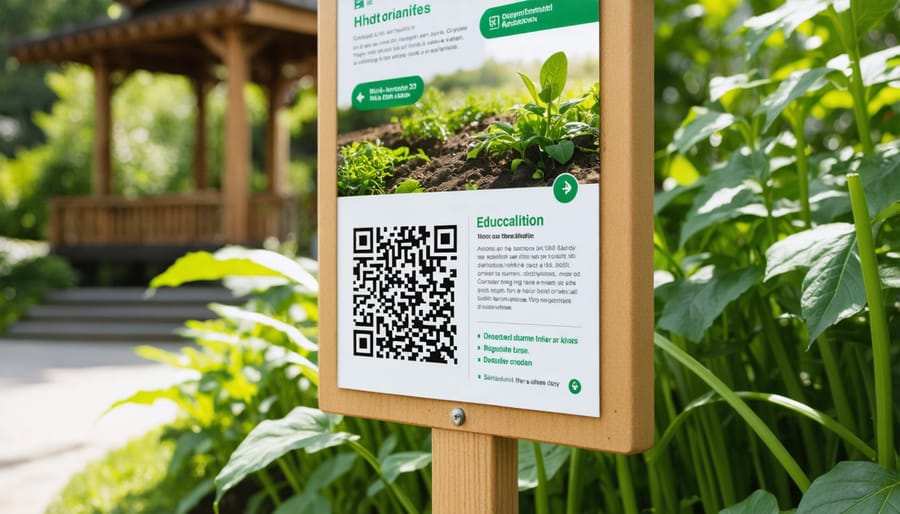
Create a self-guided tour path with numbered stations corresponding to a printed or downloadable guide. This allows visitors to explore at their own pace while learning about native plant communities, sustainable gardening practices, and local ecology. Consider including QR codes on signs that link to more detailed information, seasonal photos, or video content.
Don’t forget to incorporate interactive elements. Install small explanation boards with “Did You Know?” facts or “Spot These Features” challenges that encourage visitors to observe plants more closely. For younger visitors, consider adding nature-based scavenger hunts or simple activities that connect them with the garden’s educational themes.
Remember to regularly update your signage to reflect seasonal changes and new information. Well-designed educational materials make your garden not just beautiful, but also an invaluable resource for community learning.
Visitor Engagement
Transform your native plant demonstration garden into an engaging outdoor classroom with thoughtful interactive elements. Start by creating clear, weatherproof plant identification markers that include both common and scientific names, along with interesting facts about each species. Consider adding QR codes to these markers, linking visitors to detailed information about the plant’s traditional uses, wildlife benefits, and growing tips.
Install comfortable seating areas throughout the garden where visitors can pause, observe, and reflect. Strategically place these rest spots near particularly interesting plant combinations or wildlife-attracting features. Create themed walking paths with descriptive guides that tell a story about your local ecosystem, seasonal changes, or plant adaptations.
Incorporate hands-on elements like sensory stations where visitors can touch different leaf textures, smell aromatic plants, or observe pollinators at work. Set up a weather station or phenology tracking board where visitors can record their observations of plant growth, flowering times, and wildlife activity.
Host regular guided tours and workshops to bring your garden to life. Consider creating take-home activity sheets for children and self-guided tour brochures for adults. Install a visitor log or comment board to encourage feedback and create a sense of community among garden visitors.
Remember to make your garden accessible to all by including wide, stable pathways and placing interpretive materials at appropriate heights for both standing adults and wheelchair users. These engaging elements will help visitors connect with native plants and understand their importance in local ecosystems.
As we’ve explored throughout this article, native plant demonstration gardens offer a beautiful way to showcase local flora while creating a sustainable and educational space for your community. By incorporating the principles we’ve discussed – from careful plant selection to thoughtful design and proper maintenance – you can create a living classroom that celebrates your region’s natural heritage.
Starting your own demonstration garden doesn’t have to be overwhelming. Begin with a small area and gradually expand as you gain confidence. Remember that every native garden, no matter its size, plays a vital role in supporting local wildlife and preserving biodiversity. Your garden can serve as an inspiration for neighbors and visitors, showing them the beauty and practicality of native landscaping.
Consider partnering with local gardening groups or nature centers to share resources and knowledge. Document your garden’s progress through photos and notes – this information will be invaluable for both your learning and for educating others. Don’t be afraid to experiment and adapt your garden based on what works best in your specific location.
The rewards of creating a native plant demonstration garden extend far beyond beautiful blooms. You’ll be contributing to local ecosystem health, creating valuable habitat for pollinators, and helping others understand the importance of native plants in our landscapes. Take that first step today – your future demonstration garden awaits!