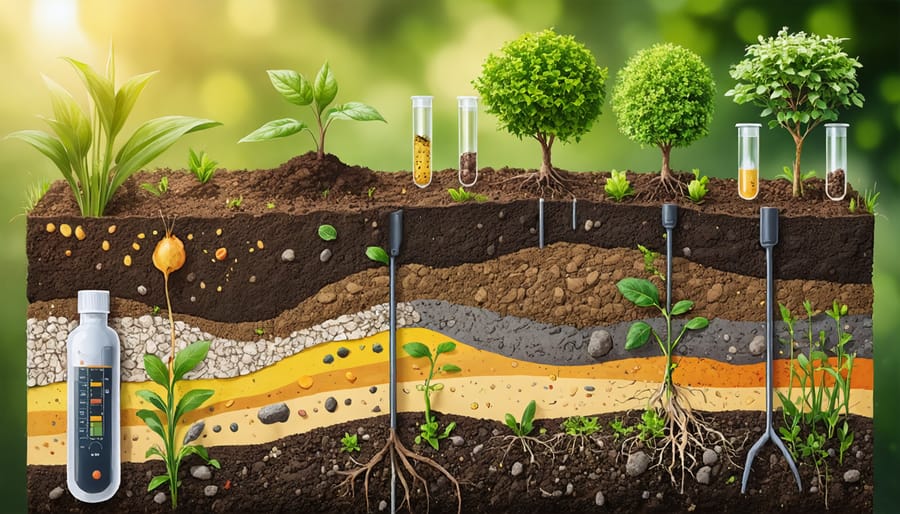
Unlock your garden’s full potential by mastering the essential soil health tests that reveal your land’s hidden strengths and weaknesses. Testing soil goes far beyond basic pH readings – it’s your gateway to understanding nutrient levels, organic matter content, and microbial activity that form the foundation of healthy soil organics. Whether you’re a curious beginner or a seasoned gardener, these tests serve as your diagnostic tools, helping you make informed decisions about amendments, crop selection, and cultivation practices. From simple DIY jar tests that reveal soil structure to professional laboratory analysis that provides detailed nutrient profiles, understanding your soil’s health is the first step toward creating a thriving, sustainable garden ecosystem. Let’s explore the most valuable soil tests and learn how to interpret their results to transform your growing space.
Essential Soil Tests Every Gardener Should Know

pH Testing: The Foundation of Soil Health
Think of pH testing as taking your soil’s temperature – it’s a fundamental health check that every gardener should know about. This simple test measures how acidic or alkaline your soil is on a scale of 0 to 14, with 7 being neutral. Most plants thrive in soil with a pH between 6.0 and 7.0, though some prefer more acidic or alkaline conditions.
Testing your soil’s pH is surprisingly easy. You can use an inexpensive pH meter, test strips, or a home testing kit from your local garden center. For the most accurate results, collect soil samples from different areas of your garden, about 6 inches deep, and mix them together.
Interpreting your results is straightforward: if your pH is below 6.0, your soil is acidic, and you might need to add lime to raise it. If it’s above 7.0, it’s alkaline, and you may want to add sulfur to lower it. Remember that different plants have different preferences – blueberries love acidic soil around 4.5-5.5, while lavender thrives in slightly alkaline conditions.
The real value of pH testing comes from regular monitoring – test annually to track changes and adjust your soil amendments accordingly.
Nutrient Level Analysis
Testing for essential nutrients is like taking your soil’s vital signs. The primary nutrients – Nitrogen (N), Phosphorus (P), and Potassium (K) – form the backbone of plant nutrition and are crucial for healthy growth. A comprehensive nutrient analysis will measure these along with important micronutrients like calcium, magnesium, and zinc.
Home testing kits can give you a basic idea of NPK levels, but for the most accurate results, consider sending samples to a professional soil testing laboratory. They’ll provide detailed reports showing exact nutrient concentrations and help you understand whether your levels are low, adequate, or excessive.
Once you have your results, you can follow nutrient application guidelines to adjust your soil’s fertility. Remember that different plants have varying nutrient needs – what’s perfect for tomatoes might not work for lettuce.
Regular nutrient testing, ideally every 2-3 years, helps you track changes over time and maintain optimal growing conditions. It’s also a great way to avoid over-fertilizing, which can harm both your plants and the environment. Keep a record of your test results to spot trends and make informed decisions about soil amendments.
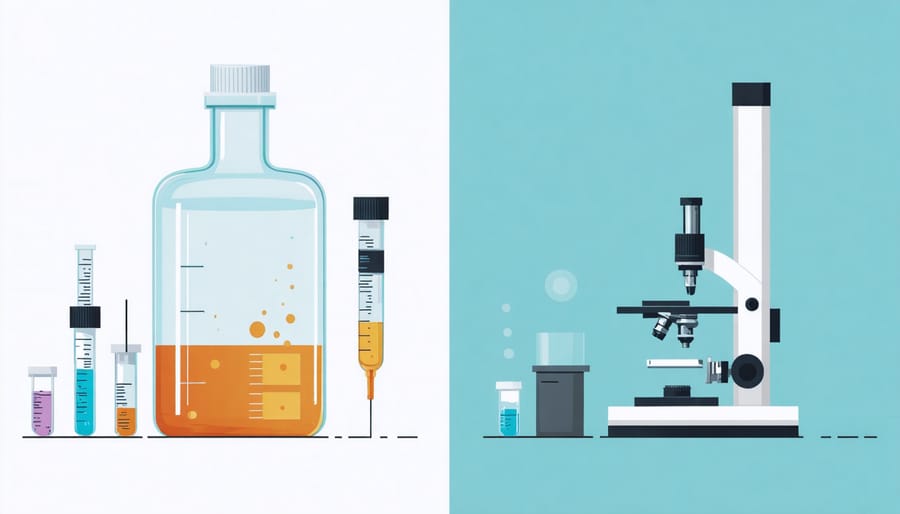
DIY vs. Professional Soil Testing
Home Testing Kit Options
For gardeners who prefer a hands-on approach, several reliable home testing options can help you understand your soil’s health. Basic pH test kits are widely available and use color-changing strips to indicate soil acidity levels. While not as precise as laboratory tests, these kits provide useful preliminary insights into your soil’s condition.
Nutrient testing kits are another popular option, typically testing for essential elements like nitrogen, phosphorus, and potassium (N-P-K). These usually come with color charts and testing solutions, making them relatively straightforward to use. For best results, collect soil samples from multiple areas of your garden and mix them thoroughly before testing.
DIY soil texture tests can be performed using the jar method: fill a clear jar with soil and water, shake well, and observe how particles settle over 24 hours. Sand settles first, followed by silt, then clay, giving you a visual representation of your soil composition.
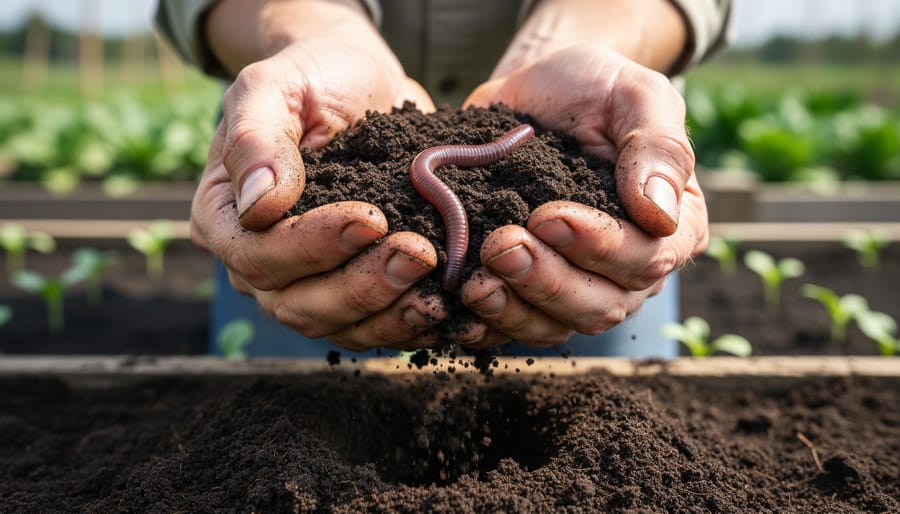
Simple observation tests can also reveal valuable information. The earthworm count test involves digging a 1-foot cube of soil and counting the earthworms – finding 5-10 worms indicates healthy soil. The infiltration test, where you time how quickly water drains through soil, helps assess drainage quality.
While home testing kits may not match laboratory precision, they’re excellent tools for regular monitoring and can alert you to significant changes in your soil’s health. For critical growing decisions, consider supplementing home tests with professional laboratory analysis every few years.
When to Choose Professional Testing
While DIY soil tests are useful for regular monitoring, there are several situations where professional laboratory testing becomes essential. If you’re starting a new garden, experiencing persistent plant health issues, or planning to grow sensitive crops, investing in a professional soil analysis can provide invaluable insights.
Professional testing is particularly important when you’re dealing with potential soil contamination, especially in urban areas or properties with industrial history. These labs can detect harmful substances like heavy metals or chemical residues that home tests can’t identify.
You should also consider professional testing if you’re planning to grow food crops commercially or want to maximize your garden’s productivity. The detailed analysis will provide precise nutrient levels, pH measurements, and specific recommendations for amendments tailored to your soil’s needs.
Another crucial time for professional testing is when you notice recurring plant diseases or unexplained growth problems. Professional labs can identify subtle nutrient imbalances or soil-borne pathogens that might be affecting your plants.
For properties in new housing developments or recently landscaped areas, professional testing helps establish a baseline for soil health. This information becomes invaluable for long-term garden planning and soil improvement strategies.
Remember, while professional testing might seem expensive initially, it can save money in the long run by preventing costly mistakes in soil amendment and plant selection.
Understanding Your Test Results
Reading Lab Reports
When your soil test results arrive from the laboratory, they might look a bit like a foreign language at first glance. Don’t worry – we’ll help you decode these important numbers and charts into practical gardening wisdom.
Start by looking at the pH level, which is typically prominently displayed. A neutral pH is 7.0, with numbers below being acidic and above being alkaline. Most plants thrive in soil with pH between 6.0 and 7.0, though some prefer more extreme conditions.
Next, focus on the three primary nutrients: Nitrogen (N), Phosphorus (P), and Potassium (K). These are usually shown in parts per million (ppm) or pounds per acre. Your report will often include a rating system – “low,” “moderate,” or “high” – making it easier to understand where your soil stands.
Pay attention to organic matter content, typically shown as a percentage. Most healthy soils contain 3-5% organic matter, though this can vary by region. Your report might also include secondary nutrients like calcium, magnesium, and sulfur, as well as micronutrients such as zinc and iron.
Many lab reports include specific recommendations for improvement. These suggestions are invaluable, as they’re tailored to your soil’s unique needs and often include precise amendment quantities.
Don’t be afraid to contact the testing laboratory if you have questions – they’re usually happy to help explain their results. Some labs even offer consultation services to walk you through the findings and create an action plan for your garden’s specific needs.
Remember that soil test results are like a snapshot in time – they show your soil’s current condition and provide a roadmap for improvement.
Common Problems and Solutions
Soil testing often reveals common challenges that many gardeners face, but don’t worry – there’s always a solution! Here are the most frequent issues and how to address them:
Acidic soil (low pH) is one of the most common problems. If your test shows pH below 6.0, add limestone gradually over several months. For alkaline soil (pH above 7.5), incorporate sulfur or organic matter like pine needles to slowly lower the pH.
Poor nutrient levels can be frustrating, but they’re fixable. Low nitrogen shows up as yellowing leaves – fix this with composted manure or blood meal. For phosphorus deficiency, which causes purple-tinged leaves and poor flowering, bone meal works wonders. Potassium-deficient soil leads to weak plants and can be amended with wood ash or organic fertilizers.
Compacted soil is another frequent issue that soil tests might reveal through poor drainage readings. Breaking up the soil with a garden fork and adding organic matter helps tremendously. If you’re dealing with severely compacted soil, consider switching to raised bed gardening for better control over soil conditions.
High salt content, indicated by poor conductivity readings, can be resolved by improving drainage and leaching the soil with clean water. For clay-heavy soil showing poor structure, add compost and organic matter regularly to improve texture over time.
Remember, soil improvement is a journey, not a race. Regular testing and gradual amendments will lead to healthier soil and more productive gardens. Make notes of your improvements to track progress and adjust your approach as needed.
Taking Action: Next Steps After Testing
Natural Amendment Options
Once you’ve identified areas for improvement in your soil, there are numerous natural amendments you can use to enhance its health. Compost is your best friend here – it’s nature’s perfect soil conditioner, improving both structure and nutrient content. Kitchen scraps, yard waste, and fallen leaves can be transformed into black gold for your garden through no-dig gardening methods.
For acidic soil correction, crushed eggshells or agricultural lime work wonders, while sulfur or pine needles can help lower pH in alkaline soils. If your soil lacks organic matter, consider adding well-rotted manure, which provides both nutrients and improved structure. Wood ash from untreated wood can supply potassium and help neutralize acidic soils.
Cover crops like clover or buckwheat are excellent for adding nitrogen and organic matter while preventing erosion. For clay soils, incorporate aged sawdust or leaf mold to improve drainage. Sandy soils benefit from coconut coir or aged compost to enhance water retention.
Remember to add amendments gradually and retest your soil after a few months to monitor improvements. This patient, natural approach helps build lasting soil health while supporting beneficial soil organisms.
Creating a Soil Improvement Plan
Creating a soil improvement plan is like designing a personalized wellness program for your garden. Start by organizing your test results and prioritizing the most critical issues first. For example, if your pH levels are severely off, this should be addressed before tackling minor nutrient deficiencies.
Next, establish a timeline for improvements, breaking down your action items into short-term and long-term goals. Short-term solutions might include adding specific amendments like lime for acidic soil or incorporating organic matter for better structure. Long-term strategies often focus on sustainable practices such as crop rotation, cover cropping, and regular composting.
Document your current soil conditions with photos and detailed notes, which will help you track progress over time. Create a seasonal calendar that outlines when to apply amendments, test soil again, and implement different management practices.
Remember that soil improvement is an ongoing process. Set realistic expectations and plan for regular monitoring every 6-12 months. Consider factors like your local climate, available resources, and gardening goals when developing your strategy. Keep a log of all amendments added and their effects, which will help you fine-tune your approach over time.
For best results, break down your plan into manageable steps and celebrate small improvements along the way.
Regular soil testing is your garden’s secret weapon for success. By understanding your soil’s composition, pH levels, and nutrient content, you can make informed decisions about amendments and fertilizers that will help your plants thrive. Whether you choose simple DIY tests or professional lab analysis, the key is to test regularly and keep records of your results. Remember, healthy soil leads to healthy plants, and taking the time to test your soil is an investment in your garden’s future. Don’t wait for problems to appear – start your soil testing journey today and watch your garden flourish with properly balanced, nutrient-rich soil. Your plants will thank you with abundant growth and bountiful harvests, making all your gardening efforts more rewarding than ever.