Transform ordinary outdoor portraits into striking works of art by mastering natural light. Position subjects during golden hour—one hour after sunrise or before sunset—when warm, directional light creates stunning dimensional effects. Select uncluttered backgrounds with depth, placing subjects at least 10 feet from busy foliage to achieve that coveted background blur. Understanding these garden photography basics helps create the perfect foundation for memorable portraits.
Control harsh midday shadows by finding open shade beneath trees or using a translucent diffuser to soften direct sunlight. Watch how light falls across your subject’s face, adjusting their position until catch lights appear in their eyes and skin tones look natural and flattering. Consider the season’s unique characteristics—spring blossoms, summer greenery, or autumn colors—to create environmental portraits that tell a compelling story through both subject and setting.
Best Times for Garden Portrait Sessions
The Golden Hour Advantage
The secret to capturing stunning garden portraits lies in mastering natural light photography, particularly during the magical “golden hours” of the day. These precious moments occur during the first hour after sunrise and the last hour before sunset, when the sun’s gentle rays cast a warm, ethereal glow across your garden.
During these times, the low angle of the sun creates soft, flattering light that minimizes harsh shadows on your subject’s face. The golden light adds a romantic warmth to skin tones and makes colors appear richer and more vibrant. Position your subject facing the sun at a slight angle to catch that beautiful warm glow, or experiment with backlighting for dreamy, rim-lit effects that make your portraits truly special.
Early morning sessions offer the added benefit of dewdrops on flowers and foliage, creating sparkles of light in your background. Evening shoots often feature longer shadows and more saturated colors as your garden prepares for sunset. Remember to arrive at least 15 minutes before your chosen golden hour to set up your equipment and make the most of this fleeting, beautiful light.

Working with Overcast Days
Many photographers consider overcast days a gift for outdoor portraits, as clouds act like a giant softbox, creating beautifully diffused light that flatters your subject. Without harsh shadows to contend with, you can focus more on composition and connecting with your subject in the garden setting.
Take advantage of the even lighting by positioning your subject facing any direction – you’re not restricted by the sun’s position. This flexibility allows you to incorporate more of your garden’s beautiful features into your shots. The soft light also brings out the rich colors of flowers and foliage, creating a perfect backdrop for portraits.
While shooting in overcast conditions, remember to slightly increase your ISO or use a wider aperture to compensate for the reduced light. Keep your white balance settings in mind too – cloudy days can add a blue cast to your images, so warming up your white balance slightly can help maintain natural skin tones.
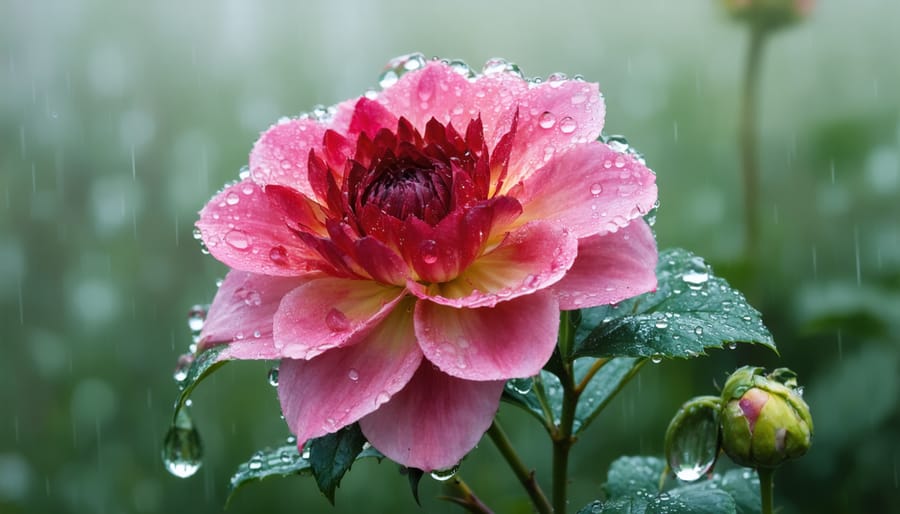
Don’t let a light drizzle discourage you – these conditions can add a magical quality to your portraits, especially when capturing dewdrops on plants or creating a dreamy atmosphere in your garden shots.
Choosing the Perfect Garden Location
Natural Framing Elements
Nature provides some of the most stunning framing elements for outdoor portraits, and your garden can be a treasure trove of photographic opportunities. When exploring garden features for photography, look for natural elements that can create a sense of depth and draw attention to your subject.
Mature trees offer excellent framing possibilities, especially those with low-hanging branches that create natural archways. Position your subject beneath these branches, allowing the foliage to form a gentle ceiling that draws the eye downward. Flowering arbors and pergolas add romantic elements to your portraits while providing structured frames that complement both formal and casual shots.
Consider using climbing plants and vines to add texture and interest to your frames. Wisteria, clematis, and climbing roses can create beautiful seasonal frames that add color and depth to your images. For more intimate portraits, try positioning your subject among tall ornamental grasses or between flowering shrubs, creating a soft, natural frame that adds warmth and dimension.
Remember to experiment with different angles and distances. Sometimes, stepping back and using larger garden elements like hedgerows or tree lines can create dramatic wide-angle frames, while getting closer to flowering plants can produce dreamy, bokeh-rich portraits with natural framing elements in the foreground.

Background Considerations
When selecting a background for your outdoor portraits, the garden offers endless creative possibilities. Look for clean, uncluttered areas that won’t compete with your subject for attention. Flowering bushes, leafy walls, and ornamental grasses can create beautiful, soft backgrounds when photographed with a wide aperture to achieve that coveted bokeh effect.
Consider the color harmony between your subject’s clothing and the garden elements. Deep greens complement most skin tones, while colorful blooms can add vibrant pops of interest without overwhelming the composition. Position your subject at least 6-8 feet from the background to create depth and that professional-looking separation.
Time of day plays a crucial role in background selection. Early morning or late afternoon light filtering through foliage creates magical, dappled effects, while overcast days provide soft, even lighting that’s perfect for portraits. Watch out for patchy shadows that can create distracting patterns on faces.
Pay attention to seasonal changes in your garden backdrop. Spring blossoms, summer greenery, autumn colors, and even winter’s bare branches each offer unique opportunities for striking portraits. Remember to scan the background for unwanted elements like garden tools, hoses, or dead plants that might detract from your final image.
For the best results, visit your garden location at different times to observe how light interacts with various background elements throughout the day. This preparation will help you choose the perfect spot and timing for your portrait session.
Camera Settings for Garden Portraits
Aperture and Depth of Field
When photographing portraits in your garden, mastering aperture settings is key to creating stunning garden compositions with beautifully blurred backgrounds. For that dreamy, professional look where your subject stands out against a soft, creamy background, try using a wide aperture (small f-number) like f/1.8 to f/2.8. This creates that lovely bokeh effect where your garden flowers and foliage melt into a gentle, colorful backdrop.
Remember to keep your subject’s eyes in sharp focus – they’re the windows to the soul, after all! Position yourself at an appropriate distance and carefully focus on the eyes. When shooting at wide apertures, even slight movements can throw off your focus, so take a few extra shots to ensure you’ve got the perfect one.
If you’re photographing multiple people, you might want to adjust to a slightly narrower aperture (around f/4 to f/5.6) to ensure everyone’s faces remain crisp and clear. The garden background will still have that lovely soft quality, just not quite as dramatically blurred. This balance helps maintain the natural beauty of your garden setting while keeping the attention firmly on your subjects.

Managing Natural Light
Natural light can make or break your garden portraits, but with the right techniques, you can harness its beauty in any condition. During the golden hour – that magical time just after sunrise or before sunset – the warm, soft light creates a dreamy atmosphere perfect for portraits. Position your subject so the light falls gently across their face, creating subtle shadows that add depth and dimension.
On bright, sunny days, seek out open shade beneath trees or alongside garden structures. This diffused light minimizes harsh shadows and prevents squinting. If you must shoot in direct sunlight, use a reflector or a white sheet to bounce light back onto your subject’s face, softening shadows under the eyes and chin.
For overcast days, don’t despair! Cloud cover acts like a giant softbox, creating even, flattering light. Take advantage of these conditions for close-up portraits that showcase both your subject and the surrounding garden details. Remember to adjust your camera’s white balance to compensate for the cooler light.
To maintain proper exposure, start with these settings: aperture around f/4 for a pleasantly blurred background, ISO 400 or lower to minimize noise, and adjust your shutter speed accordingly. Keep checking your histogram to ensure you’re not losing detail in highlights or shadows.
Posing in the Garden Environment
Interactive Poses
Transform your garden portraits by incorporating natural elements into your poses. Instead of stiff, formal positions, encourage your subject to interact with the garden environment. Have them gently touch flowering branches, lean against a weathered garden gate, or sit casually on garden steps surrounded by potted plants.
Create dynamic shots by asking your subject to perform garden activities. Capture them arranging flowers, pruning roses, or tending to plants. These candid moments often result in more authentic expressions and natural body positions. For children’s portraits, incorporate playful elements like watering flowers or collecting fallen leaves.
Use garden structures creatively. A rustic arbor can frame your subject beautifully, while a garden bench provides a natural sitting spot surrounded by blooming flowers. Trailing vines and climbing roses make excellent natural frames – have your subject stand slightly behind them for depth and interest.
Don’t forget ground-level opportunities. Capture subjects kneeling among wildflowers or sitting cross-legged in a grassy area. These low angles can create intimate portraits that showcase both the person and the garden’s beauty. For standing poses, suggest gentle movements like walking along a garden path or turning to smell a flower.
Remember to keep poses relaxed and natural. If a pose feels uncomfortable, it will look uncomfortable in photos. Encourage your subject to move slowly and naturally, allowing you to capture those perfect moments when they’re truly at ease in the garden setting.
Group Photo Arrangements
Arranging group photos in a garden setting requires careful consideration of both composition and comfort. Start by choosing a spot with even lighting and an attractive backdrop of flowering plants or architectural elements. For larger groups, consider creating multiple rows with taller individuals positioned at the back and shorter ones in front. A slight arc formation often works better than straight lines, creating depth and allowing everyone to be clearly visible.
When working with families, encourage natural interaction by asking them to huddle close together. Small children can sit on parents’ laps or stand on garden benches to vary heights naturally. For extended families, try arranging people in smaller family units within the larger group – this creates visual interest and helps maintain order during the shoot.
Use garden features creatively – stone walls make excellent natural risers, while stepped terraces can create interesting multi-level compositions. Position groups away from direct sunlight to avoid squinting and harsh shadows. Early morning or late afternoon light works best, casting a warm, flattering glow across faces.
Remember to keep sessions brief, especially with children, and maintain a cheerful atmosphere. Take multiple shots quickly, as someone is bound to blink. For the best results, position yourself slightly above eye level – this might mean standing on a sturdy stepladder or higher ground, ensuring everyone’s face is captured at a flattering angle.
Your garden can become a magical portrait studio with the right techniques and a bit of practice. We’ve explored how natural light, garden backgrounds, and careful composition can transform ordinary portraits into extraordinary memories. Remember that the best times for outdoor portraits are during the golden hours – early morning or late afternoon – when the sunlight is soft and warm. Don’t be afraid to experiment with different angles and perspectives, letting your garden’s natural beauty enhance your subjects.
The key to successful garden portraits lies in preparation and patience. Take time to scout your garden for the best locations, considering both the seasonal changes and the daily light patterns. Keep your camera settings simple at first, focusing on mastering the basics of exposure and composition before diving into more advanced techniques.
Most importantly, have fun with the process! Every garden offers unique opportunities for creative photography, whether it’s using flowering branches as natural frames, incorporating garden features as props, or playing with depth of field using foliage. Start practicing these techniques in your own garden, and don’t get discouraged if your first attempts aren’t perfect. With time and practice, you’ll develop your own style and creative vision.
Remember that the best portraits capture genuine moments and emotions. Let your subjects interact naturally with the garden environment, and be ready to capture those spontaneous smiles and authentic expressions that make portraits truly special.


