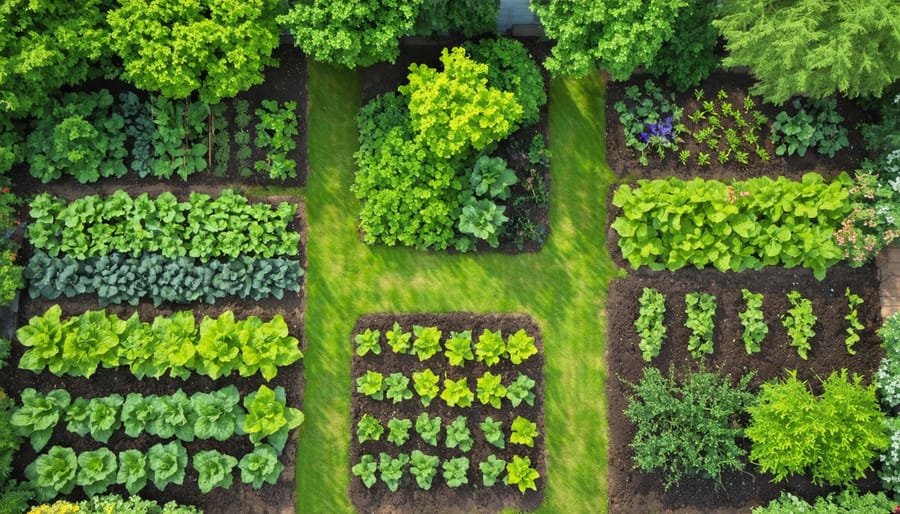
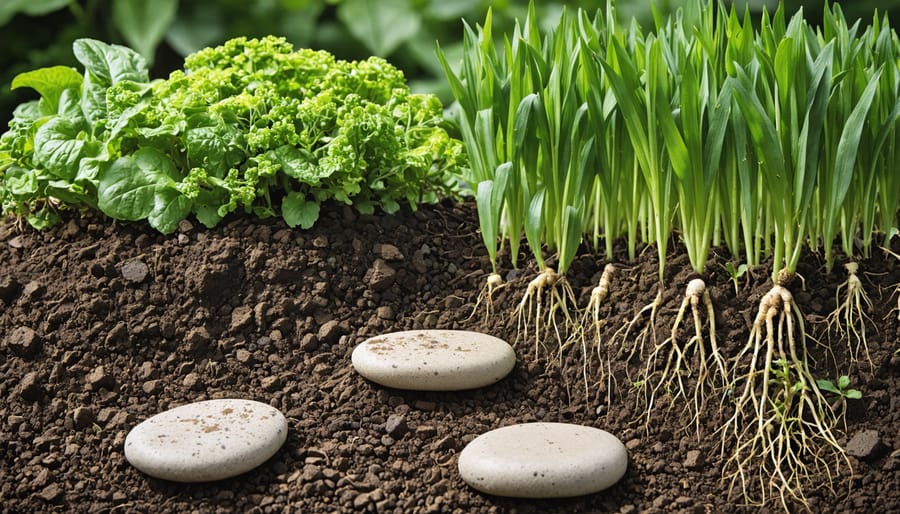
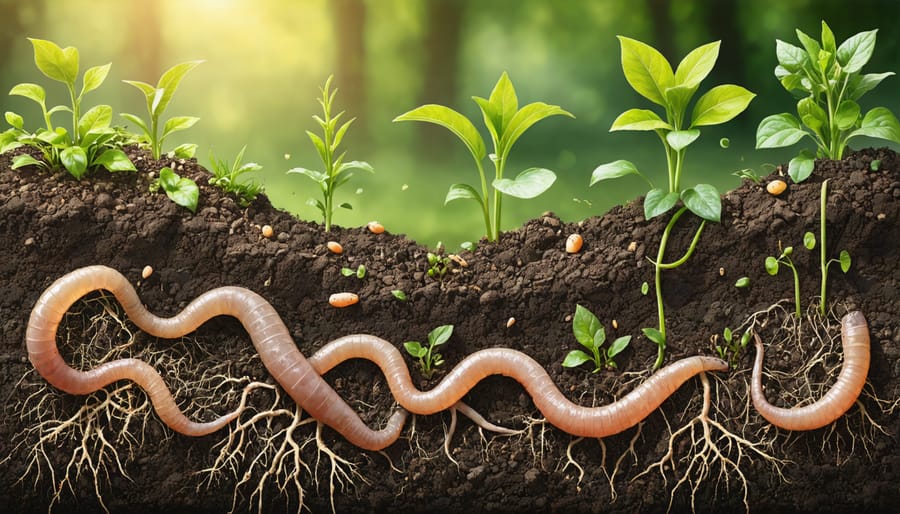
Transform your garden’s potential by mastering the foundation of successful growing: proper soil preparation. Test soil pH and nutrient levels in early spring, allowing time to adjust imbalances before planting season. Double-dig beds to 24 inches deep, incorporating organic matter in layers to create a living, breathing ecosystem that supports robust root development. Mix in well-aged compost at a 30:70 ratio with native soil, ensuring optimal moisture retention and microbial activity. Add targeted amendments based on your soil test results – whether it’s calcium for clay soils, sulfur for alkaline conditions, or specific trace minerals for nutrient-dense vegetables.
This strategic approach to soil preparation doesn’t just feed your plants; it creates a sustainable, self-improving garden ecosystem that gets better with each passing season. By investing time in proper soil preparation now, you’ll reduce future maintenance needs, minimize pest and disease issues, and dramatically increase your garden’s productivity. Whether you’re growing heirloom tomatoes or establishing a new perennial border, your success begins with these foundational soil management practices.
Understanding Your Soil’s Current State
Professional Soil Testing
Professional soil testing is your garden’s secret weapon for achieving optimal growing conditions. While DIY testing kits can give you basic insights, a comprehensive laboratory soil test provides detailed information about your soil’s composition, pH levels, and nutrient content. To get started, collect several soil samples from different areas of your garden, about 6-8 inches deep, and mix them together in a clean container.
Most agricultural extension offices and professional testing facilities provide soil testing services at reasonable prices. When submitting your sample, you’ll typically receive results within 1-2 weeks that include detailed analysis of major nutrients (nitrogen, phosphorus, and potassium), secondary nutrients (calcium, magnesium, and sulfur), and micronutrients. The report will also indicate your soil’s pH level and organic matter content.
Understanding your test results might seem daunting at first, but don’t worry! The report usually comes with specific recommendations for amendments based on your findings. For example, if your pH is too acidic (below 6.0), the report might suggest adding limestone. If you’re low in nitrogen, you might need to incorporate more composted manure or blood meal.
Remember to keep your soil test results for future reference and consider retesting every 2-3 years. This helps you track improvements and adjust your soil management strategy accordingly. Many experienced gardeners maintain a soil testing schedule as part of their regular garden maintenance routine.

DIY Soil Assessment Techniques
Understanding your soil’s composition doesn’t always require expensive lab tests. With these simple DIY soil testing methods, you can gain valuable insights right in your backyard.
Start with the jar test: Fill a clear glass jar one-third full with soil, add water until it’s nearly full, and shake vigorously. Let it settle for 24 hours. The layers that form will show you the proportions of sand (bottom), silt (middle), and clay (top).
To check soil drainage, dig a hole about 12 inches deep and fill it with water. Let it drain completely, then fill it again and time how long it takes to empty. Ideal drainage should take 2-3 hours. If water drains too quickly or too slowly, you’ll know adjustments are needed.
Test soil texture by forming a handful of slightly damp soil into a ball. If it holds shape but crumbles easily when poked, you’ve got lovely loam. If it’s sticky and won’t break apart, there’s high clay content. Too sandy soil won’t form a ball at all.
For a pH snapshot, mix soil with vinegar – fizzing indicates alkaline soil. No reaction? Try baking soda with fresh soil – bubbles suggest acidic soil. While not as precise as laboratory testing, these methods provide helpful insights for planning your garden’s soil improvements.
Advanced Soil Amendment Strategies
Organic Matter Integration
Enriching your garden soil with organic matter is like giving your plants a five-star buffet of nutrients. The key is to incorporate a diverse mix of materials throughout the growing season. Start with well-aged compost, which serves as the foundation of healthy soil. Whether store-bought or homemade, spread a 2-3 inch layer and work it into the top 6-8 inches of soil.
Leaf mold, created from decomposed autumn leaves, adds valuable fungi and helps retain moisture. Consider implementing a biochar soil amendment strategy, which not only improves soil structure but also creates a permanent home for beneficial microorganisms.
Green manures, like cover crops of clover or buckwheat, can be turned into the soil before they set seed. This practice is excellent for building carbon-rich soil while preventing erosion during off-seasons.
Coffee grounds, grass clippings, and vegetable scraps from your kitchen can be worked into the soil throughout the growing season. Layer these materials with brown matter like straw or dried leaves to maintain a healthy carbon-to-nitrogen ratio.
For heavy clay soils, add coarse materials like pine bark or wood chips, which create air pockets and improve drainage. In sandy soils, focus on moisture-retaining materials like coconut coir or well-rotted manure. Remember to incorporate organic matter gradually – adding too much at once can overwhelm the soil ecosystem and potentially harm plant roots.

Mineral Balancing
Getting your soil’s mineral balance right is like creating the perfect recipe for your plants to thrive. Start by getting a comprehensive soil test from your local extension office or a reputable soil testing lab. This will reveal exactly what minerals your soil has and what it needs.
Most garden soils benefit from the “big three” minerals: nitrogen, phosphorus, and potassium. But don’t overlook the importance of secondary minerals like calcium, magnesium, and sulfur. These play crucial roles in plant health and fruit development.
To adjust mineral levels naturally, consider adding:
– Rock phosphate for phosphorus
– Greensand for potassium
– Dolomite lime for calcium and magnesium
– Gypsum for calcium and sulfur
– Epsom salt for magnesium
Remember to add minerals gradually rather than all at once. This prevents shock to your soil’s ecosystem and allows beneficial microorganisms to adjust. Apply amendments in early spring or fall when soil is most active.
Track your results by keeping a garden journal and noting plant health changes. Some signs of good mineral balance include strong stems, vibrant leaves, and abundant blooms. If you notice yellowing leaves or stunted growth, it might indicate specific mineral deficiencies that need addressing.
Be patient with this process – achieving perfect mineral balance takes time, but the results are worth the effort.
Biological Enhancement
The secret to a thriving garden often lies beneath the surface, where millions of microscopic helpers work tirelessly to support your plants. Adding beneficial soil microorganisms and mycorrhizal fungi to your garden soil can create a vibrant underground ecosystem that naturally enhances plant growth and health.
To introduce these helpful organisms, start by incorporating high-quality compost, which serves as both a home and food source for beneficial microbes. You can also purchase specialized microbial inoculants from garden centers, which contain concentrated beneficial bacteria and fungi. When applying these products, gently work them into the top few inches of soil, preferably during cooler parts of the day to protect the delicate organisms.
Mycorrhizal fungi are particularly fascinating – they form symbiotic relationships with plant roots, essentially extending the root system and helping plants access nutrients and water more efficiently. When planting new specimens, sprinkle mycorrhizal powder directly onto the root ball to encourage this beneficial partnership from the start.
To maintain a healthy microbiome in your soil, avoid using chemical pesticides and synthetic fertilizers, which can harm these beneficial organisms. Instead, feed your soil regularly with organic matter like leaf mold, well-rotted manure, and plant-based composts. Keep the soil consistently moist but not waterlogged, as these microscopic helpers need moisture to thrive.
Remember, building a robust biological community in your soil takes time, but the rewards are worth the patience – stronger plants, better nutrient uptake, and increased resistance to disease and stress.
Soil Structure Optimization
Deep Soil Preparation
Getting your soil right from deep down is like building a strong foundation for your house. Proper deep soil preparation can transform your garden’s productivity and help your plants develop robust root systems that reach far into the ground.
Start by assessing your soil’s current condition. When the soil is neither too wet nor too dry, dig a test hole about 2 feet deep. Notice any layers of compaction or changes in soil texture. These observations will guide your preparation strategy.
Double digging is a traditional but effective method for breaking up compacted soil. Begin by removing the top 12 inches of soil from your first trench and set it aside. Then, use a garden fork to loosen the next 12 inches below. Move to the adjacent strip, placing its top layer into your first trench after loosening the subsoil. Continue this pattern across your garden bed.
For larger areas or severely compacted soil, consider using a broadfork. This tool allows you to break up deep soil without disturbing its natural layers. Standing on the crossbar, push the tines deep into the soil, then pull back on the handles to create air spaces and channels for roots.
Adding organic matter during deep soil preparation is crucial. Layer compost, aged manure, or leaf mold into the trenches as you work. These materials will gradually decompose, improving soil structure at depth and encouraging beneficial soil life.
If you’re dealing with heavy clay subsoil, incorporate some coarse sand or fine gravel during the deep preparation process. This helps create better drainage pathways and prevents water from pooling at lower levels.
Remember to work systematically and take breaks – deep soil preparation is physically demanding work. The effort you put in now will reward you with years of improved growing conditions and healthier plants.
Layering Techniques
Proper soil layering is like creating a gourmet meal for your plants – each layer serves a specific purpose and contributes to the overall health of your garden. Start with your existing soil as the foundation, then build up in strategic layers to create the perfect growing environment.
Begin by laying down a 2-inch layer of organic matter like composted leaves or aged manure. This bottom layer helps with drainage and slowly releases nutrients as it decomposes. Next, add a 4-inch layer of your native soil mixed with quality topsoil. This creates a transition zone that helps roots establish themselves more easily.
For the middle layer, combine equal parts composted material and garden soil, adding in some well-rotted manure if available. This nutrient-rich zone, about 6 inches deep, is where most of your plants’ roots will thrive. The top layer should be 2-3 inches of finished compost mixed with a small amount of soil, creating an ideal seedbed that retains moisture while allowing proper aeration.
Consider adding specific layers for special purposes. For instance, a thin layer of sand between your bottom and middle layers can improve drainage in clay-heavy soils. If you’re growing acid-loving plants, you might include a layer containing pine needles or coffee grounds.
Remember to let your layered bed settle for a few days before planting, watering it lightly to help the layers mesh together naturally. This waiting period also allows beneficial microorganisms to begin their important work of breaking down organic matter and creating nutrient pathways.
Many experienced gardeners recommend creating these layers in fall, allowing them to naturally integrate over winter. This process, often called “lasagna gardening,” results in incredibly rich, fertile soil by spring planting time. The decomposition process generates heat, which can help extend your growing season by warming the soil from below.


Seasonal Maintenance Strategies
Pre-Season Preparation
As winter fades and spring approaches, it’s time to give your garden soil the attention it deserves. Start by performing a thorough soil test to understand its current composition and pH levels. This valuable information will guide your integrated nutrient management strategy for the upcoming growing season.
Clear your garden of debris, fallen leaves, and any remaining plant material from the previous season. This prevents pest problems and diseases from carrying over to your new plantings. Using a garden fork or broad spade, turn the soil to a depth of 12-15 inches, breaking up any compacted areas to improve drainage and aeration.
Now’s the perfect time to incorporate organic matter into your soil. Add a 2-3 inch layer of well-rotted compost, aged manure, or leaf mold, working it thoroughly into the top layer. This enriches your soil with essential nutrients and improves its structure, creating an ideal environment for beneficial microorganisms.
If your soil test indicated any deficiencies, address them by adding appropriate amendments. For clay-heavy soil, consider mixing in some sand and organic matter to improve drainage. For sandy soil, focus on adding more organic material to increase water retention.
Allow the amended soil to rest for about two weeks before planting. This gives beneficial microorganisms time to multiply and begin breaking down the organic matter, ensuring your garden has the strong foundation it needs for a successful growing season.
Post-Season Recovery
After your garden has given its best throughout the growing season, it’s time to show your soil some love. Think of post-season recovery as a spa treatment for your garden bed – it’s all about rejuvenation and preparation for the next growing cycle.
Start by removing all plant debris, including dead plants, fallen fruits, and weeds. This prevents disease carryover and discourages overwintering pests. However, don’t discard everything – healthy plant material can be composted to create nutrient-rich additions for next season.
Cover cropping is a fantastic way to restore soil health. Plant “green manure” crops like clover, rye, or vetch in fall. These plants protect your soil from erosion, add organic matter, and improve soil structure. When spring arrives, simply turn them into the soil about three weeks before planting.
Test your soil pH and nutrient levels after harvest. This helps you understand what amendments your soil needs during its recovery period. Add organic matter like well-rotted manure, leaf mold, or finished compost to replenish nutrients and improve soil structure.
Consider adding a layer of mulch to protect your recovering soil through winter. This could be straw, leaves, or wood chips. The mulch will slowly break down, adding more organic matter while protecting beneficial soil organisms.
Remember, healthy soil is a living ecosystem that needs time to recover and rebuild between growing seasons. These recovery practices ensure your garden will be ready for another productive year.
Preparing your garden soil is truly the foundation of a thriving and abundant garden. By following these essential steps – testing your soil, adding organic matter, maintaining proper pH levels, and ensuring good drainage – you’re setting yourself up for gardening success. Remember that soil preparation isn’t a one-time task but rather an ongoing journey of improvement and care.
Take time to observe how your soil responds to different amendments and techniques. Every garden is unique, and what works in one space might need adjustment in another. Don’t be afraid to experiment and learn from both successes and challenges along the way.
Start with small changes if you’re feeling overwhelmed. Even simple additions like compost or mulch can make a significant difference in your soil’s health. As you become more comfortable with these basics, you can explore more advanced techniques and amendments.
Your efforts in soil preparation will reward you many times over with healthier plants, better yields, and fewer garden problems. So roll up your sleeves, grab your tools, and give your soil the attention it deserves. Your garden will thank you with abundant growth and vibrant blooms throughout the growing season.


