Locate your official USDA Plant Hardiness Zone by entering your zip code at the USDA’s online database, which divides North America into 13 zones based on average annual minimum winter temperatures. This number tells you which perennials and shrubs can survive winter in your area, but here’s what most gardeners don’t realize: that zone number is just your starting point, not your complete growing picture.
Walk your property with a notepad and map the microclimates that exist within your garden, because a south-facing brick wall might create a zone warmer than your official designation, while a low-lying frost pocket could be a full zone colder. These variations explain why your neighbor’s roses thrive while yours struggle, even though you’re on the same street.
Check both your last spring frost date and first fall frost date for your zone, as these boundaries define your growing season length and determine when to start seeds indoors or transplant seedlings outside. A Zone 5 gardener in Colorado experiences different precipitation and humidity than a Zone 5 gardener in Massachusetts, making local climate patterns equally important as temperature alone.
Observe how established plants perform in your immediate neighborhood before investing in expensive specimens, since real-world results from nearby gardens reveal more than any map. That thriving fig tree three houses down proves your microclimate can support plants technically rated for warmer zones, giving you permission to experiment beyond the guidelines.
What Vegetation Zone Maps Actually Tell You (And What They Don’t)
The USDA Hardiness Zone System Explained
The USDA Hardiness Zone System is your gardening GPS, helping you navigate which plants will thrive in your area. It’s beautifully simple: the zones are determined by the average annual minimum winter temperature in a region. The United States is divided into 13 main zones, each representing a 10-degree Fahrenheit difference in the coldest temperatures your garden might experience.
Think of it this way: if you’re in Zone 5, your winters typically drop to between -20°F and -10°F, while Zone 8 gardeners enjoy milder lows of 10°F to 20°F. This temperature difference dramatically affects what survives winter in your garden. A lemon tree might flourish in Zone 9, but it won’t make it through a Zone 5 winter outdoors.
Understanding your zone helps you choose plants rated to survive your coldest days and helps with planting timing for your zone. It’s the foundation of successful gardening, though as we’ll explore, there’s more to the story than just your zone number.
Other Zone Systems You Should Know About
While the USDA Hardiness Zone map gets most of the attention, it’s not the only player in the game. Let me introduce you to a few other systems that might just transform how you garden.
The AHS Heat Zone Map is like the USDA map’s counterpart, measuring how many days per year your area experiences temperatures above 86°F. This is incredibly useful if you live in warmer climates where heat stress matters more than cold hardiness. I’ve found this especially helpful when choosing tomato varieties that won’t drop their blossoms during those scorching summer weeks.
For those of you on the West Coast, the Sunset Climate Zone system is a game-changer. Instead of just looking at minimum temperatures, it considers rainfall patterns, humidity, wind, and coastal influences. With 45 zones instead of 11, it gives you a much more nuanced picture of your growing conditions. It’s particularly valuable in California where microclimates can shift dramatically within just a few miles.
European gardeners typically use the USDA system these days, though some older resources reference local classifications. If you’re reading European gardening books or ordering seeds from overseas companies, you’ll want to familiarize yourself with how their zones translate to yours.
The beauty of understanding multiple zone systems is that each one adds another layer of insight into your garden’s unique personality. Think of them as different lenses that help you see the complete picture.
Microclimates: The Secret Zones Within Your Zone
Common Microclimate Situations Every Gardener Encounters
Let me share some microclimate situations you’ve probably noticed in your own garden, even if you didn’t realize they had a name! These everyday conditions can shift your growing zone by one or even two zones in small pockets of your yard.
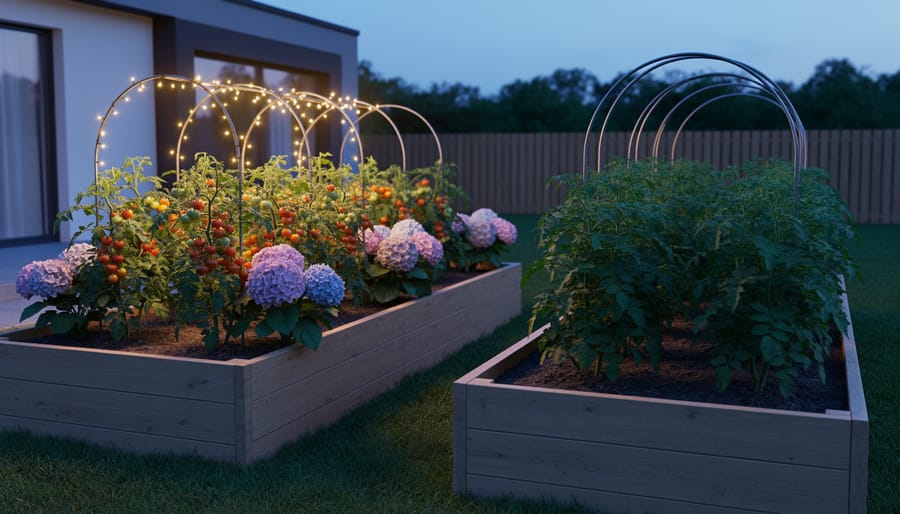
That sunny south-facing wall next to your house? It’s creating a naturally warmer microclimate. The wall absorbs heat during the day and radiates it back at night, often keeping that strip of soil 5-10 degrees warmer than the rest of your garden. I’ve seen gardeners successfully grow citrus trees against these walls in zones where they technically shouldn’t survive.
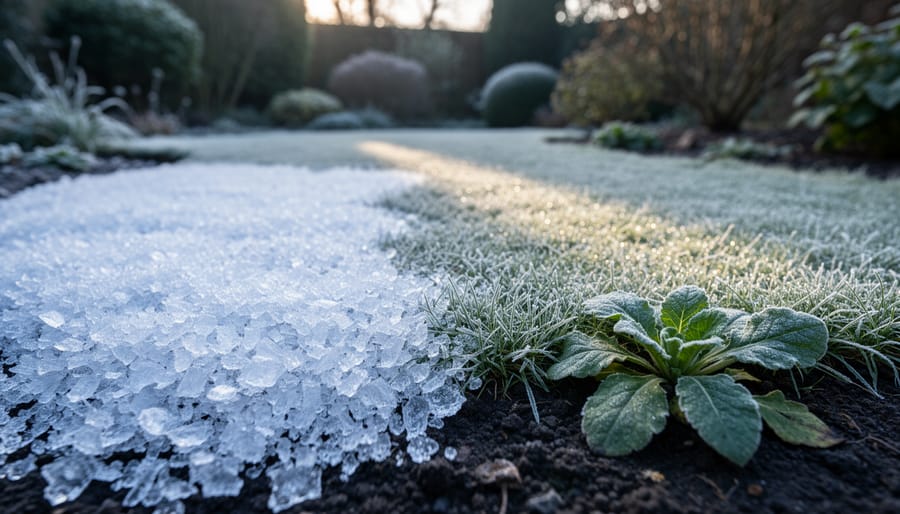
Now walk down to the lowest spot in your yard, especially if it’s surrounded by slopes. This is what we call a frost pocket, where cold air settles like water pooling in a basin. These areas can experience frost two weeks earlier in fall and two weeks later in spring compared to higher ground just twenty feet away. If you’ve ever wondered why that one low corner always seems to struggle, this is likely why.
Urban and suburban gardeners experience something called the heat island effect. All that concrete, asphalt, and brick absorbs and holds heat, creating microclimates that can be a full zone warmer than rural areas nearby. Your city garden might thrive with plants rated for one zone warmer than your official designation.
Don’t forget those sheltered corners protected from prevailing winds. A strategically placed fence or hedge can create a cozy spot where tender plants flourish, shielded from drying winds and sudden temperature drops. These protected areas often feel completely different from exposed parts of your garden just steps away.
How Microclimates Can Shift Your Effective Zone
Here’s something that might surprise you: your garden isn’t just one zone. Even if the official vegetation zone map says you’re in Zone 6, your yard likely contains pockets that behave like Zone 5 or Zone 7. These are microclimates, and understanding them can completely transform your gardening success.
Think about it this way. That sunny spot against your south-facing brick wall? It absorbs heat all day and radiates it at night, potentially creating a Zone 7 environment where you could grow plants typically considered too tender for your area. Meanwhile, that low-lying corner where cold air settles might function as Zone 5, making spring-blooming bulbs vulnerable to late frosts.
I learned this firsthand when a friend’s Zone 6 garden successfully grew camellias against her house while her exposed front beds struggled with supposedly hardier plants. The wall created a warmer microclimate that made all the difference.
Other microclimate factors include wind exposure, proximity to water features, shade from structures or trees, and even pavement that reflects heat. Once you start observing these variations in your own space, you’ll make smarter plant choices and understand why certain areas consistently outperform or underperform others.
Mapping Your Own Garden’s Microclimates
What to Observe Throughout the Seasons
Creating your own microclimate map starts with becoming a careful observer of your garden throughout the year. Think of it as getting to know a new friend—the more time you spend together, the more you understand their unique personality!
Start by tracking your frost dates each spring and fall. Note where frost appears first and where it lingers longest. I keep a simple journal with dates and photos, which has been invaluable over the years.
Watch how snow melts across your property. The areas that clear first are typically warmer microclimates, while lingering snow indicates cooler spots perfect for plants that prefer extended dormancy.
Pay attention to drainage patterns after rain or snowmelt. Notice where puddles form and how long they persist. These wet spots need moisture-loving plants, while quick-draining areas suit Mediterranean herbs and drought-tolerant perennials.
Observe wind patterns during different seasons. Are certain areas consistently sheltered while others face harsh gusts? Wind-protected spots often support more tender plants than your zone rating suggests.
Track sun exposure changes as seasons shift. That sunny summer bed might be shaded in spring by deciduous trees, affecting what you can grow successfully.
Finally, consider placing inexpensive outdoor thermometers in various garden areas. Temperature variations of even five degrees matter significantly for plant success and pest timing patterns. These observations transform you from a zone-follower into a true garden expert who understands their unique growing environment.
Simple Tools for Tracking Your Microclimates
You don’t need fancy equipment to start understanding your garden’s microclimates. A few simple, affordable tools will help you gather valuable information about what’s really happening in different corners of your yard.
Start with a min-max thermometer, which records the highest and lowest temperatures between readings. Place one in various locations throughout your garden for a week at a time. You’ll be amazed at the temperature differences you discover! I remember being shocked when my supposedly “zone 6” garden showed a cozy zone 7 pocket near my south-facing brick wall.
A basic soil moisture meter is another game-changer, especially for beginners. These inexpensive probes help you understand which areas dry out quickly and which stay damp. No more guessing whether that shady corner can support moisture-loving plants.
Don’t underestimate the power of a good garden journal. Record frost dates, first and last blooms, and which plants thrive where. Over time, these observations create an invaluable reference guide tailored specifically to your property.
Smartphone weather apps have become surprisingly sophisticated, with some offering hyperlocal forecasts and frost alerts. Many let you set up notifications for specific temperature ranges, perfect for protecting tender plants.
For placement, position thermometers at plant height rather than eye level, and keep them out of direct sun for accurate readings. Check your tools weekly and note patterns. Within a season or two, you’ll have a detailed understanding of your garden’s unique personality that no standard map could ever provide.
Creating Your Personal Microclimate Map
Ready to map your own backyard microclimates? Good news: you don’t need fancy tools or artistic skills! Start by taking a simple photograph of your property from different angles, or sketch a rough outline on paper. It can be as basic as a rectangle with circles for trees. Walk around your yard at different times of day, noting where shade falls, which spots seem warmer or cooler, and where puddles linger after rain. Mark these observations directly on your photo or sketch using colored markers or even sticky notes. Experienced gardener Maria Lopez shared with me that her first microclimate map was drawn on the back of an envelope, and it completely transformed her gardening success. The key is capturing what makes your space unique: that sunny south-facing wall, the boggy corner by the downspout, or the frost pocket at the bottom of your slope. Your simple map becomes an invaluable reference guide for choosing the right plants for each spot.
Smart Tactics for Working With Your Microclimates
Placing Plants in Their Ideal Spots
Once you’ve mapped out your garden’s microclimates, it’s time for the fun part: matching your plants to their perfect homes! Think of it as a matchmaking service for your garden, where everyone gets to live their best life.
Let’s start with heat-loving plants like tomatoes, peppers, and eggplants. These sun worshippers absolutely thrive in those warm south-facing spots against walls or fences where heat radiates and lingers. I learned this the hard way when my first pepper plants languished in partial shade, barely producing a handful of fruits. The next year, I tucked them against my garage’s south wall, and they exploded with abundance!
For cold-hardy champions like kale, Brussels sprouts, and pansies, those cooler north-facing areas or spots that get afternoon shade work beautifully. They’ll actually appreciate protection from intense afternoon sun, especially in warmer zones.
Then we have the plants needing special protection. Delicate herbs like basil or tender perennials can benefit from those sheltered microclimates near patios or under tree canopies. Master gardener Linda Chen, whom I interviewed last spring, shared that she treats her fig tree like royalty, positioning it where a fence blocks harsh winter winds while catching morning sun.
Consider wind patterns too. A windbreak hedge can expand your planting possibilities dramatically, creating calmer zones where more delicate plants flourish. Your vegetation zone tells you what might survive, but your microclimates reveal where plants will truly prosper.

Creating New Microclimates on Purpose
Once you understand your garden’s existing microclimates, here’s the exciting part: you can actually create new ones to expand what you can grow! Think of yourself as a landscape architect working with nature’s building blocks.
Let’s start with windbreaks, which are probably the most powerful tool in your microclimate toolkit. A simple hedge, fence, or row of shrubs on your property’s windward side can raise temperatures by several degrees and reduce moisture loss. I’ve seen gardeners successfully grow heat-loving tomatoes in cooler zones just by positioning them behind a solid barrier. The key is making your windbreak permeable enough to slow wind rather than creating turbulent gusts on the other side.
Thermal mass is another game-changer. Rocks, stone walls, and water features absorb heat during the day and release it slowly at night, moderating temperature swings. Try placing large stones around tender plants or positioning containers near a brick wall. One gardener I interviewed actually extended her growing season by three weeks using strategically placed boulders near her vegetable beds.
Creating shade is equally valuable, especially in hot climates. A simple shade cloth, pergola, or even well-placed tall plants can protect cool-season crops during summer. I’ve found that lettuce grown in dappled shade stays sweet and productive much longer than in full sun.
Don’t overlook drainage improvements either. Raised beds, French drains, or simply mounding soil can transform a soggy spot into prime growing space. Finally, mulch works wonders for moisture retention and temperature regulation. A thick layer of organic mulch can keep roots cooler in summer and warmer in winter, effectively shifting your microclimate by a half-zone or more.
Pushing Your Zone Boundaries Safely
Ready to push your gardening boundaries? With careful observation, you can successfully grow plants rated one zone warmer than your official designation. The secret lies in identifying and leveraging microclimates around your property. South-facing walls that radiate heat, sheltered courtyards protected from harsh winds, or spots near large bodies of water can create pockets several degrees warmer than surrounding areas.
Start small with one or two experimental plants rather than redesigning your entire garden. Choose vigorous, established specimens instead of young seedlings, as mature plants handle stress better. Understanding perfect planting timing becomes even more crucial when zone-pushing, giving borderline plants maximum establishment time before winter.
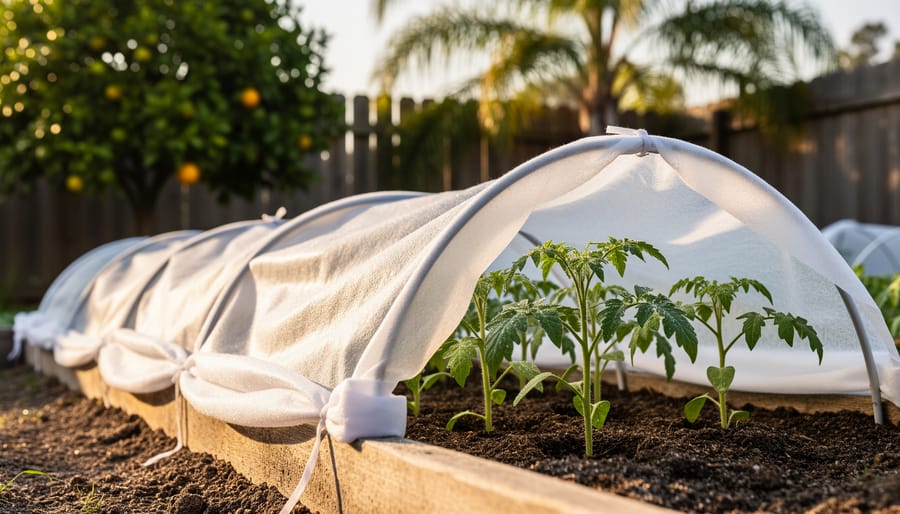
Apply extra winter protection through mulching, burlap wraps, or temporary cold frames. Remember, you’re taking calculated risks, so don’t invest heavily in expensive specimens until you’ve tested similar plants successfully. Most importantly, embrace failures as learning opportunities. Even experienced gardeners lose zone-pushing experiments occasionally, but the successes make it worthwhile.
Common Microclimate Mistakes (And How to Avoid Them)
We’ve all been there – excitedly planting based on our zone map only to wonder why things aren’t thriving as expected. Let me share some common microclimate misunderstandings I’ve encountered over the years, and trust me, I’ve made most of these mistakes myself!
The biggest oversight? Treating your entire yard as one uniform zone. Many gardeners check their hardiness zone and assume every corner of their property shares the same conditions. In reality, the sunny south-facing wall of your house might be a full zone warmer than the shaded north side just twenty feet away. Take time to walk your property at different times of day and notice where sun lingers, where frost settles first, and where wind hits hardest.
Another frequent misstep is ignoring elevation changes, even subtle ones. I’ve interviewed experienced gardeners who learned this lesson the hard way – cold air flows downhill like water, creating frost pockets in low-lying areas while higher ground stays several degrees warmer. That gentle slope you barely notice could mean the difference between success and failure for borderline-hardy plants.
Many gardeners also underestimate urban heat islands. If you live in a city or suburban area, all that concrete and asphalt absorbs and radiates heat, potentially pushing your effective growing zone up by one or even two zones. This works beautifully for heat-loving plants but can stress cool-season crops.
Finally, don’t make permanent planting decisions based on one season’s observations. Microclimates can shift slightly year to year, and understanding these patterns takes time. Keep simple notes about what works where, and you’ll develop an intuitive feel for your garden’s unique personality.
When to Trust the Zone Map and When to Trust Your Gut
Vegetation zone maps are incredibly useful starting points, but they’re not gospel truth for your specific patch of earth. Think of them as helpful guidelines rather than absolute rules. The map tells you what typically survives in your general area, but your garden might have its own personality.
Start by respecting the zone map. If you’re in Zone 5, planting tropical hibiscus expecting winter survival is setting yourself up for disappointment. However, once you understand your baseline zone, pay close attention to what’s actually happening in your yard. Does that sheltered south-facing wall stay warmer? Is there a frost pocket where cold air settles? These details matter enormously.
Master gardener Elena Rodriguez from Ontario shares this wisdom: “I always tell new gardeners to spend a full year observing before making major decisions. Notice where snow melts first, where puddles linger, and which spots get hammered by wind. Your garden will teach you more than any map can.”
Keep a simple garden journal noting what thrives and what struggles. You might discover you can push your zone a bit in certain spots, or that some areas act colder than expected. Understanding these local growing conditions comes from patient observation.
The sweet spot? Use the zone map as your foundation, then layer on the knowledge you gain from watching your specific garden’s rhythm through the seasons. That combination creates gardening success.
Vegetation zone maps are wonderful tools that give you a solid foundation for understanding what might thrive in your area, but they’re really just the beginning of your gardening journey. Think of them as helpful signposts rather than strict rules. The real magic happens when you start paying attention to the unique personality of your own garden space.
I encourage you to step outside and become a detective in your own backyard. Notice where the morning sun lingers, where puddles form after rain, and which spots stay surprisingly warm even on chilly evenings. This kind of observation might feel a bit unfamiliar at first, but it becomes second nature surprisingly quickly.
Remember, developing a deep understanding of your garden’s microclimates isn’t something that happens overnight. Each season brings new lessons, and even experienced gardeners are constantly learning. Some of my best gardening insights have come from happy accidents or those moments when a plant surprised me by thriving where I least expected it.
Start small, stay curious, and give yourself permission to experiment. Your vegetation zone is your baseline, but your careful observations and growing experience will help you push boundaries and create a garden that truly flourishes in ways a map alone could never predict.