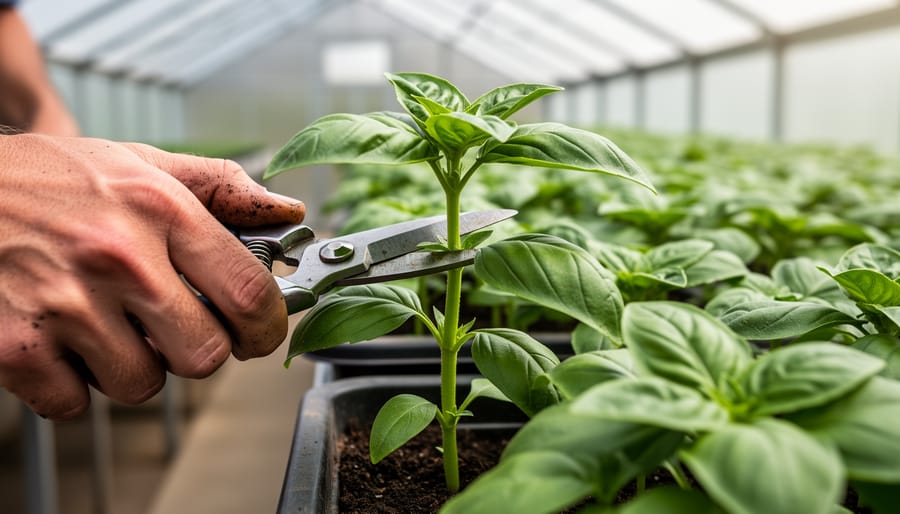
Deadheading your favorite zinnias only to watch precious seeds scatter across the garden path—it’s a scene most of us know too well. You’ve nurtured those blooms from spring through summer, and now you’re ready to collect seeds for next year’s garden, but the tedious hand-picking leaves your fingers cramped and half the seeds lost to the wind or soil.
A flower seed harvester changes this frustrating process entirely. These clever tools, ranging from simple handheld devices to more sophisticated mechanical harvesters, let you efficiently collect seeds from multiple flower heads in minutes rather than hours. Whether you’re saving seeds from a small cottage garden or managing larger flower beds, the right harvester matches your scale and saves both time and those valuable seeds you’ve worked so hard to grow.
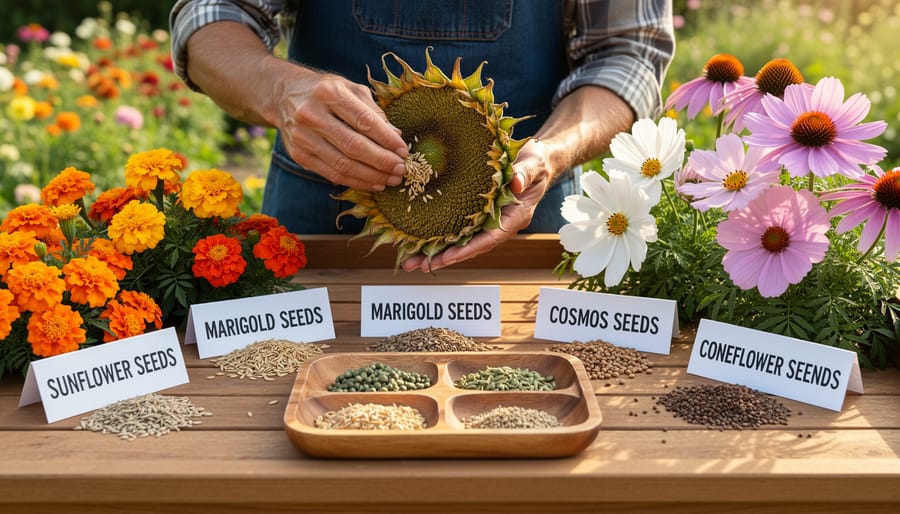
The beauty of seed harvesting tools lies in their simplicity. Most work by gently combing or stripping seeds from dried flower heads directly into a collection container, keeping seeds intact and reducing waste. You’ll find options starting with basic hand-held strippers perfect for beginners, up to rolling harvesters that process entire rows of flowers as you walk.
Understanding which harvester suits your garden size, flower varieties, and budget makes the difference between seed saving becoming a beloved autumn ritual or another garden chore. The investment pays dividends when you’re planting those saved seeds next spring, knowing exactly where they came from and that you’ve preserved your favorite varieties for seasons to come.
What Is a Flower Seed Harvester and Why Should You Care?
If you’ve ever spent a sunny afternoon hunched over your flower beds, carefully plucking tiny seeds one by one, you already know there has to be a better way. That’s where flower seed harvesters come in, and trust me, once you discover them, you’ll wonder how you ever managed without one.
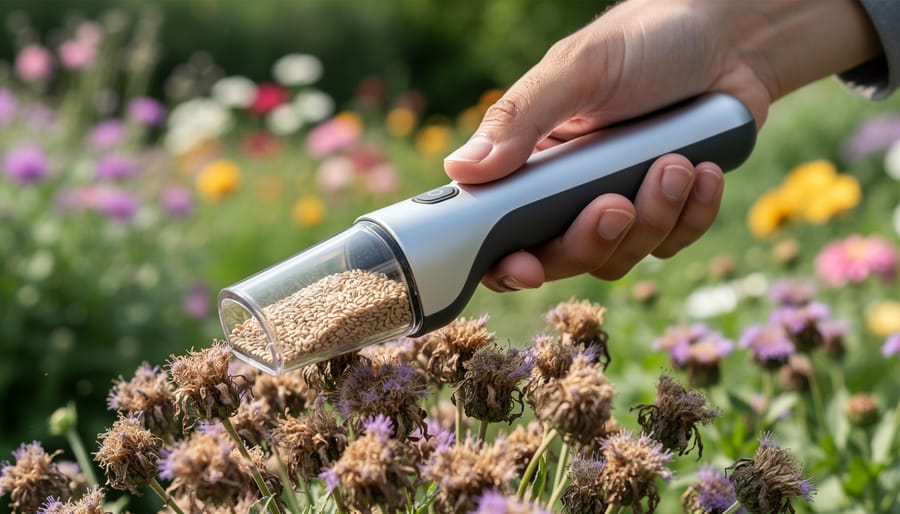
At its simplest, a flower seed harvester is any tool designed to collect seeds more efficiently than your fingers alone. These clever devices range from basic handheld tools that look like small combs or scoops, to ingenious battery-operated gadgets that do the work while you guide them along your seed heads. Some harvesters resemble miniature dustpans with fine mesh screens, perfect for catching seeds as you gently shake flower stalks. Others feature rotating brushes or vibrating mechanisms that coax seeds free without damaging the plants.
The beauty of these tools lies in their versatility. Beginners might start with a simple seed catcher made from fabric and wire, costing just a few dollars. More experienced gardeners often graduate to specialized harvesters designed for specific flower types, whether you’re working with delicate cosmos, sturdy zinnias, or finicky poppies.
But here’s why you should really care about these tools: they’re game-changers for anyone interested in seed stewardship and sustainable gardening. When collecting seeds becomes easier and less time-consuming, you’re more likely to actually do it. That means preserving your favorite varieties year after year, reducing your reliance on purchased seeds, and maintaining genetic diversity in your garden. You’ll save money, develop a deeper connection with your plants, and contribute to preserving heirloom varieties that might otherwise disappear.
Plus, there’s something deeply satisfying about harvesting seeds efficiently. Instead of spending hours on a tedious task, you can collect what you need in minutes and get back to enjoying your garden.
The Real Cost of Hand-Harvesting Your Flower Seeds
If you’ve ever spent a warm afternoon hunched over your zinnias or cosmos, carefully pinching off seed heads one by one, you know the reality: hand-harvesting seeds is more demanding than it first appears. What starts as a peaceful garden task can quickly become a test of patience and endurance.
Let’s talk time first. Collecting seeds from just a small flower bed might take you an hour or more, depending on the variety. Those tiny seeds hidden in dried flower heads don’t make it easy. And if you’re growing multiple types of flowers across a larger garden? You could be looking at several sessions spread over weeks, trying to catch each variety at just the right moment of ripeness.
Then there’s the physical toll. Your back starts aching from bending over plants. Your fingers get sore from the repetitive pinching and pulling. If you have arthritis or limited mobility, the discomfort can make seed saving feel like an impossible chore rather than the rewarding experience it should be.
Perhaps most frustrating is the seed loss. Despite your best efforts, those precious seeds scatter in the breeze, fall to the ground as you work, or get lost in the grass. You watch helplessly as a gust of wind carries away dozens of potential flowers for next season. It’s disheartening, especially when you’ve invested months nurturing those plants to maturity.
Many gardeners tell me they simply give up on seed saving because the manual process feels overwhelming. If this sounds familiar, you’re not alone, and there’s absolutely no reason to feel discouraged. The good news? There are better ways to harvest your hard-earned seeds.
How Flower Seed Harvesters Work (Without Getting Too Technical)
Handheld Harvesters for Small-Scale Gardens
For home gardeners with smaller plots, handheld seed harvesters offer an affordable entry point into easier seed collection. These simple tools typically range from $15 to $40 and work beautifully for modest flower beds.
The most popular handheld option resembles a dustpan with a comb attachment. You simply hold the collection pan beneath your seed heads and gently rake the comb through the dried flowers. The seeds fall into the pan while stems and leaves stay behind. I’ve used mine for years on my zinnias and cosmos, and it cuts my harvesting time in half compared to picking by hand.
Another clever design features a bag attached to a wire scoop. You brush it over plants, and seeds drop into the bag through the wire mesh. It’s particularly handy for flowers like bachelor’s buttons that tend to scatter seeds everywhere.
Master gardener Rita Chen, who tends a cottage garden in Vermont, swears by her handheld harvester: “It’s transformed seed saving from a chore into something I actually look forward to. The investment paid for itself the first season when I collected enough seeds to fill my entire cutting garden the following year.”
These tools work best on dry seed heads and require minimal storage space, making them ideal starter equipment.
DIY Harvesting Solutions You Can Make This Weekend
You don’t need fancy equipment to start harvesting your flower seeds effectively. With a little creativity and some items you probably already have around the house, you can create simple but functional harvesting tools this weekend.
For a basic seed catcher, grab an old pillowcase or mesh laundry bag. Simply slip it over a spent flower head, tie it loosely at the base, and give it a gentle shake. The seeds will collect in the bottom while still attached to the plant, protecting them from wind and critters until you’re ready to process them. This works wonderfully for tall flowers like sunflowers and coneflowers.
Another clever solution involves repurposing a handheld kitchen strainer or colander. Hold it beneath flower heads as you gently rub or tap them, catching seeds as they fall. The built-in holes let chaff and debris pass through while retaining larger seeds.
For tiny seeds, try the paper bag method. Cut small openings in a paper lunch bag, slip it over the seed head, and secure it with a twist tie. As seeds ripen and drop, they’ll collect safely inside. I’ve used this technique successfully with my cosmos and zinnias for years.
The beauty of these DIY approaches is they cost next to nothing and can be customized for different flower types. Plus, there’s something satisfying about being resourceful with what you already own while building your gardening skills.
Choosing the Right Harvester for Your Flower Garden
Choosing the right flower seed harvester starts with taking an honest look at your garden’s size and your physical needs. If you’re working with a small backyard plot of zinnias and cosmos, a simple handheld harvester or even a specialized comb-style tool will serve you beautifully without breaking the bank. These compact options typically cost between $15 and $40, slip easily into a garden tote, and work wonderfully for gardens under 500 square feet.
For medium-sized gardens or those with varied flower types, consider a tabletop harvester with interchangeable screens. I spoke with Margaret Chen, a master gardener from Oregon, who swears by her adjustable model for handling everything from delicate poppy seeds to chunky marigold seeds. “The versatility means I’m not fumbling with multiple tools mid-harvest,” she explained. These units range from $50 to $150 and require modest storage space, about the size of a breadbox.
Larger cutting gardens or those growing flowers commercially benefit from wheeled or motorized harvesters. While these represent a bigger investment, starting around $200, they significantly reduce physical strain and harvest time. If bending or repetitive hand motions challenge you, this investment in your comfort pays dividends season after season.
Budget-conscious gardeners should remember that harvester quality matters more than complexity. A well-made handheld tool will outlast three cheap versions. Consider what flowers dominate your garden too. Sunflowers and coneflowers have larger seeds that work with basic stripping tools, while tiny petunia or lobelia seeds demand finer collection methods.
Storage space deserves thought as well. Measure your garden shed or garage before purchasing. Many gardeners regret buying equipment that spends seasons collecting dust because it doesn’t fit their space comfortably.
Start simple, observe what works, and upgrade as your seed-saving passion grows. Your perfect harvester should make seed collection feel like joy, not another chore on your gardening list.
Getting the Most Seeds From Your Harvest
Knowing When Your Seeds Are Ready
Timing is everything when it comes to seed harvesting! The good news is that nature gives us plenty of clues when seeds are ready to collect.
For most flowers, look for seedheads that have turned brown and dry. The petals will have fallen away, and the seed pods or capsules should feel papery to the touch. When you gently shake the seedhead, you’ll often hear seeds rattling inside—that’s your green light!
Different flowers have their own telltale signs. Sunflower heads droop downward and the back of the flower turns yellow-brown when ready. Marigold seeds are dark and needle-shaped, appearing as the flower dries completely. For cosmos and zinnias, watch for the center to dry out and the seeds to darken from green to brown or black.
Here’s a simple readiness test I learned from a master gardener: gently rub the seedhead between your fingers. If seeds release easily, you’re good to go. If they’re still firmly attached or feel soft, give them another week.
Remember, it’s better to harvest slightly late than too early. Seeds need to fully mature on the plant to ensure the best germination rates next spring. Check your plants every few days once you notice them starting to fade—patience pays off beautifully!
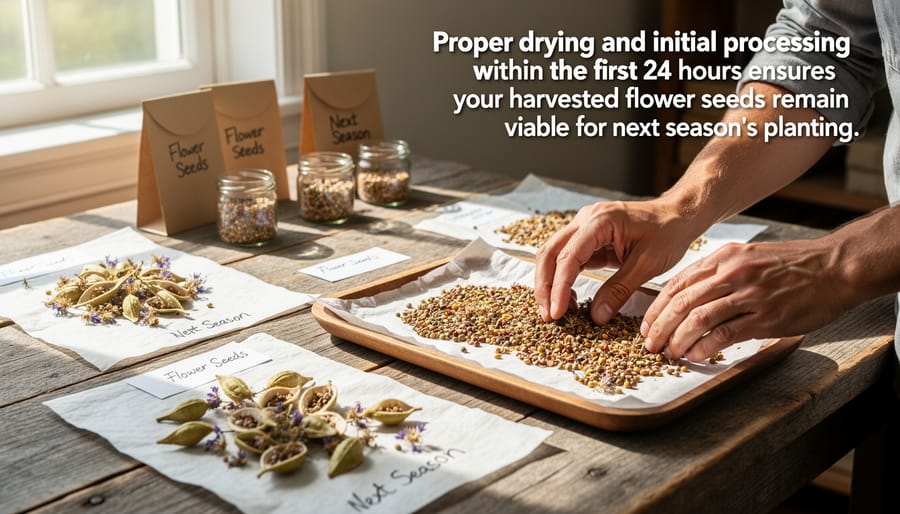
The First 24 Hours After Harvesting
The hours immediately following your harvest are crucial for preserving seed quality and ensuring future germination success. Think of it like picking fresh berries—time is of the essence!
Start by spreading your freshly harvested seeds on clean, dry surfaces like newspaper, paper plates, or shallow trays. Label each batch immediately with the flower variety and harvest date. Trust me, even the most organized gardener can forget which pile is which after a few hours! Keep your seeds in a warm, well-ventilated area away from direct sunlight. A spare room with good airflow works perfectly.
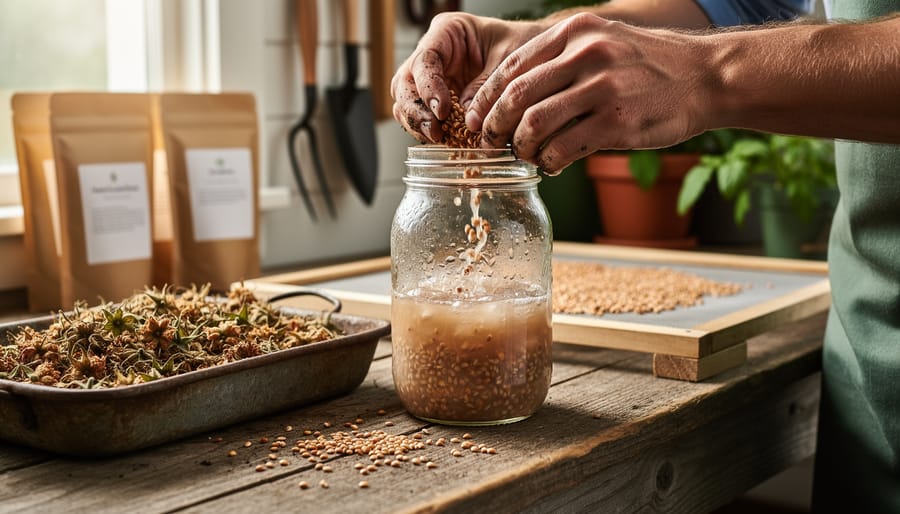
Within the first 24 hours, begin the initial cleaning process. Gently remove any obvious plant debris, chaff, or dried petals by hand. For smaller seeds, you can use a fine-mesh strainer and lightly blow away the lighter material while keeping the heavier seeds in place. Some gardeners like to do this step outdoors on a calm day to avoid making a mess indoors.
Check your seeds regularly during this period, stirring them occasionally to promote even air circulation. This prevents moisture pockets that could lead to mold. Proper drying in these critical first hours directly impacts how long seeds remain viable in storage. Most flower seeds need several days to a week of additional drying, but establishing good habits from the start sets you up for success.
From Harvest to Storage: The Complete Seed Stewardship Process
Harvesting your flower seeds is just the beginning of an exciting journey that connects you to next season’s blooms. Once you’ve collected those precious seeds using your harvester, a few simple steps will ensure they remain healthy and ready to grow when the time comes.
Start by spreading your freshly harvested seeds on a clean, dry surface like a paper towel or newspaper. Give them a good look-over and pick out any plant debris, chaff, or damaged seeds. This initial cleaning doesn’t need to be perfect, but removing the obvious bits helps prevent mold during storage. I like to do this outdoors on a breezy day, letting nature help blow away the lighter debris while the heavier seeds stay put.
Next comes the drying phase, which is absolutely essential. Even if your seeds feel dry to the touch, they likely contain moisture that could spell disaster in storage. Spread them in a single layer in a warm, well-ventilated spot away from direct sunlight. A spare bedroom or covered porch works beautifully. Most seeds need about one to two weeks of drying time. You’ll know they’re ready when they snap rather than bend.
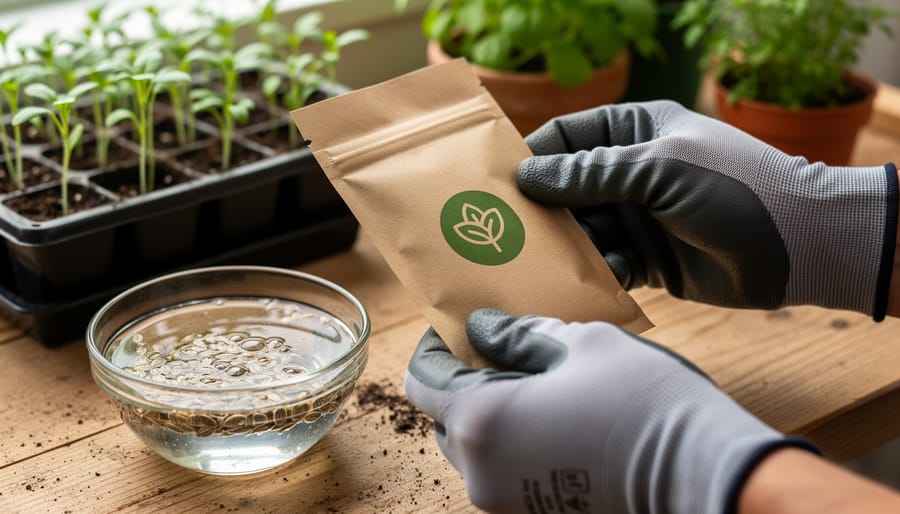
Once thoroughly dry, it’s time to think about storage. Paper envelopes or small glass jars work wonderfully for keeping seeds safe. Label everything clearly with the flower name and harvest date. Trust me, you’ll think you’ll remember which seeds are which, but you won’t. Store your labeled seeds in a cool, dark place where temperatures stay consistent. A drawer or closet shelf away from heating vents is ideal.
Before planting time rolls around, you can test seed viability to see how well they’ve stored. This simple check saves disappointment later.
For those interested in preserving special varieties, heirloom seed saving takes these basic principles even further, helping you maintain treasured flowers for generations to come.
Whether you choose a simple handheld harvester or invest in a more specialized tool, the journey to saving your own flower seeds is one of the most rewarding practices you can adopt in your garden. You’re not just collecting seeds—you’re becoming part of a beautiful tradition that connects generations of gardeners, preserves plant varieties that might otherwise disappear, and reduces your dependence on purchasing new seeds each season.
The best part? You don’t need to harvest seeds from your entire garden right away. Start with just one or two of your favorite flowers this season. Maybe it’s those gorgeous zinnias that brought you so much joy, or the cosmos that the butterflies loved. As you gain confidence with the process, you’ll naturally expand your seed-saving efforts.
Remember, every gardener who successfully saves seeds today was once a beginner wondering if they could really do it. With the right harvester suited to your needs and a little patience, you’ll soon discover that seed harvesting isn’t just practical—it’s genuinely enjoyable. You’re taking control of your garden’s future while creating something sustainable and deeply satisfying. So grab your harvester, head out to those spent blooms, and start your seed-saving adventure today.