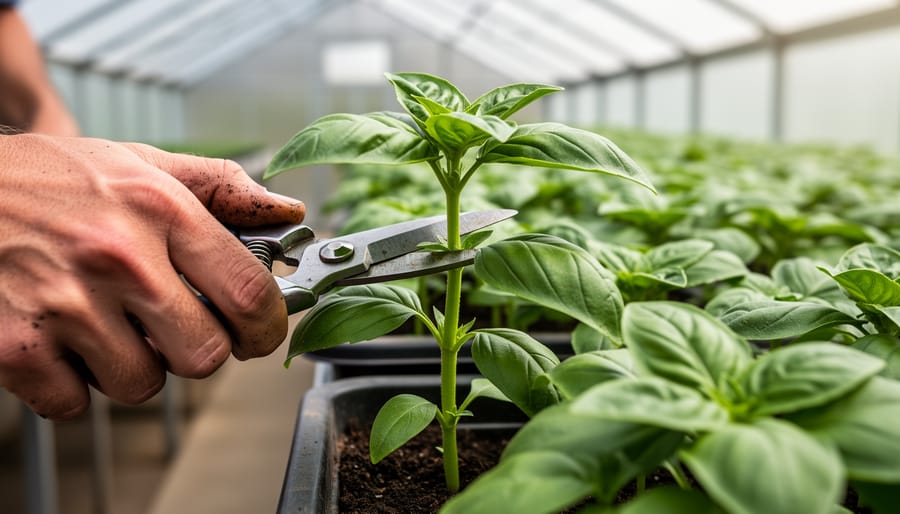
Nothing feels quite as disappointing as planting rows of seeds, waiting patiently, and watching nothing sprout. That packet of tomato seeds from two years ago or those leftover beans from last season might look perfectly fine, but appearances mean nothing when it comes to germination power. Testing seed viability before you plant saves you weeks of wondering, wasted garden space, and the frustration of starting over mid-season.
The good news? You don’t need fancy equipment or scientific training to check if your seeds are still good. A simple paper towel test takes just days to reveal which seeds deserve a spot in your garden and which belong in the compost pile. This method works for nearly every seed type, costs virtually nothing, and gives you reliable results that help you make confident planting decisions. Whether you’re dealing with purchased packets past their date or seeds you’ve saved yourself, knowing how to test viability puts you in control of your garden’s success from the very start.
Why Your Seeds Might Already Be Dead
You know that packet of tomato seeds from three years ago? Or those zucchini seeds your neighbor gave you last season? They might look perfectly fine sitting in your drawer, but here’s the reality: seeds don’t last forever, and some might already have lost their ability to sprout.
Seed viability simply means whether a seed can still germinate and grow into a healthy plant. Think of it as the seed’s life force. When seeds are viable, they have everything they need inside to start a new plant. When they’re not, you’re essentially planting duds.
Several factors determine how long seeds stay viable. Age is the obvious one—most vegetable seeds remain viable for one to five years, though some last much longer. Storage conditions matter enormously too. Seeds kept in hot, humid environments deteriorate much faster than those stored in cool, dry places. A seed packet left in your garden shed through summer heat waves has likely suffered damage you can’t see.
Different seed types also have vastly different lifespans. Onion seeds typically lose viability after just one year, while tomato seeds can stay good for four to six years when properly stored. Heirloom seed quality depends on these same factors, making proper storage essential for preserving varieties.
Testing before planting saves you from disappointment and wasted garden space. Instead of waiting weeks to realize nothing’s coming up, you’ll know exactly what to expect.
The Simple Water Float Test (And Why It’s Not Enough)
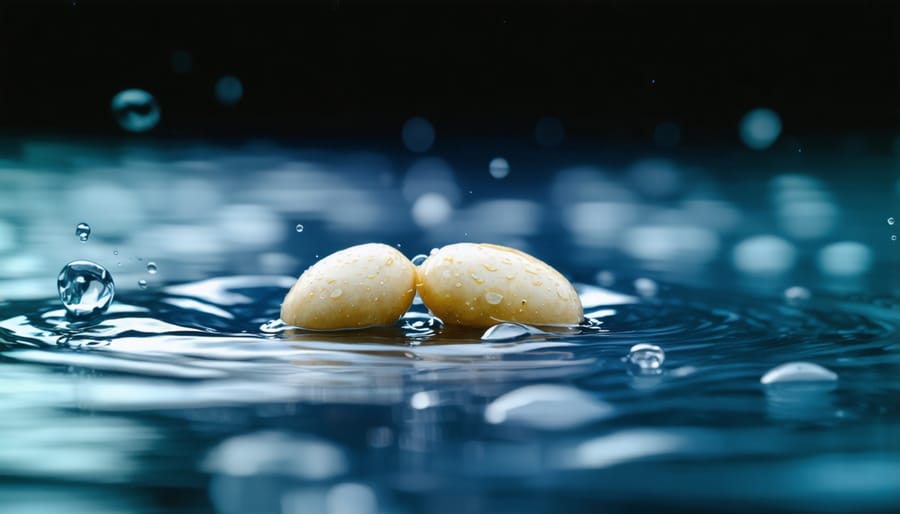
You’ve probably heard about the water float test—it’s been passed down through generations of gardeners, and for good reason. It’s quick, costs nothing, and couldn’t be simpler. Just drop your seeds in a glass of water and wait about 15 minutes. Seeds that sink are supposedly good, while floaters are duds.
Here’s the thing: while this test can give you a rough idea, it’s measuring density and water absorption, not actual viability. Some perfectly healthy seeds naturally float because they contain air pockets or have lighter seed coats. Meanwhile, some heavy but dead seeds will sink right to the bottom, fooling you into thinking they’re worth planting.
I learned this the hard way when I tossed out floating tomato seeds that would have germinated beautifully. The float test works best as a quick preliminary check—it can help you eliminate obviously damaged or hollow seeds—but it shouldn’t be your only method. Think of it as a first glance, not a diagnosis. To really know if your seeds will sprout and give you thriving plants, you’ll need a more reliable approach.
The Paper Towel Method: Your Most Reliable Home Test
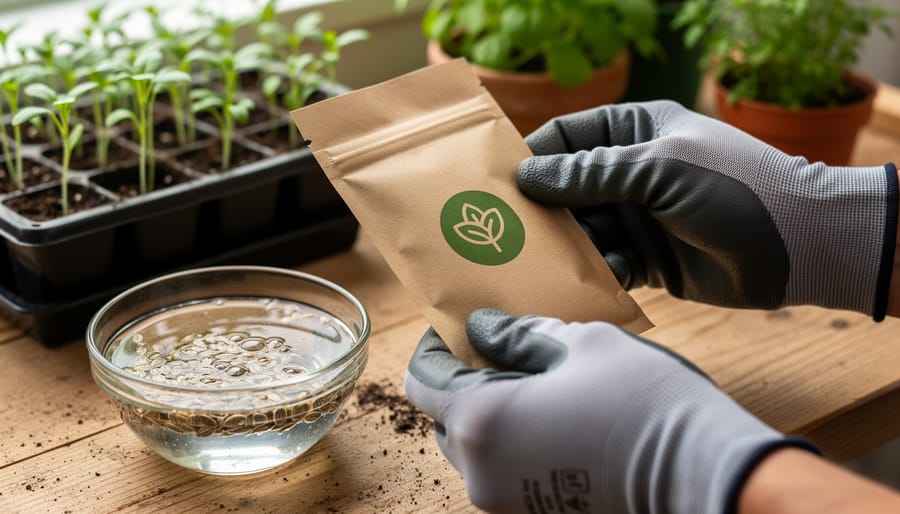
What You’ll Need
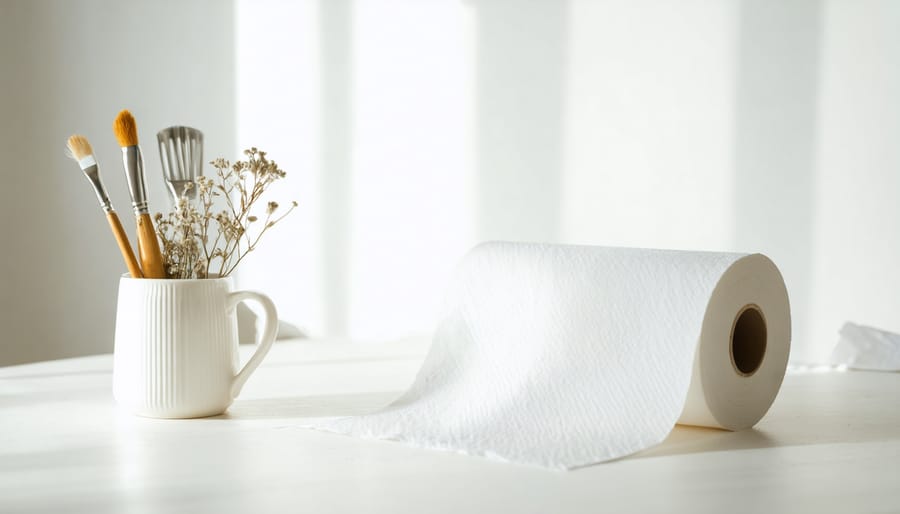
Good news—you probably have everything you need already sitting in your kitchen! To test your seed viability, gather up some paper towels (the plain white kind works best), a resealable plastic bag or shallow container with a lid, clean water, and of course, the seeds you want to test. That’s it! No fancy equipment or special purchases required. I love that this simple test uses everyday household items, making it accessible whether you’re testing a few leftover tomato seeds or an entire collection you’ve been storing. Just make sure your paper towels are damp but not dripping wet, and you’ll be ready to start discovering which seeds are still viable and eager to grow.
Step-by-Step Testing Process
Ready to find out if those seeds are still good? Let’s walk through this together. The paper towel method is wonderfully simple, and I’ve used it countless times with excellent results.
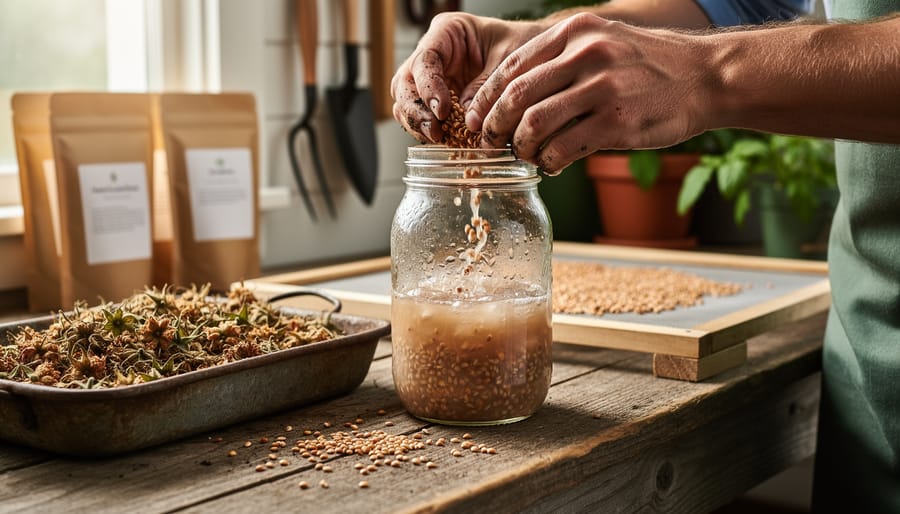
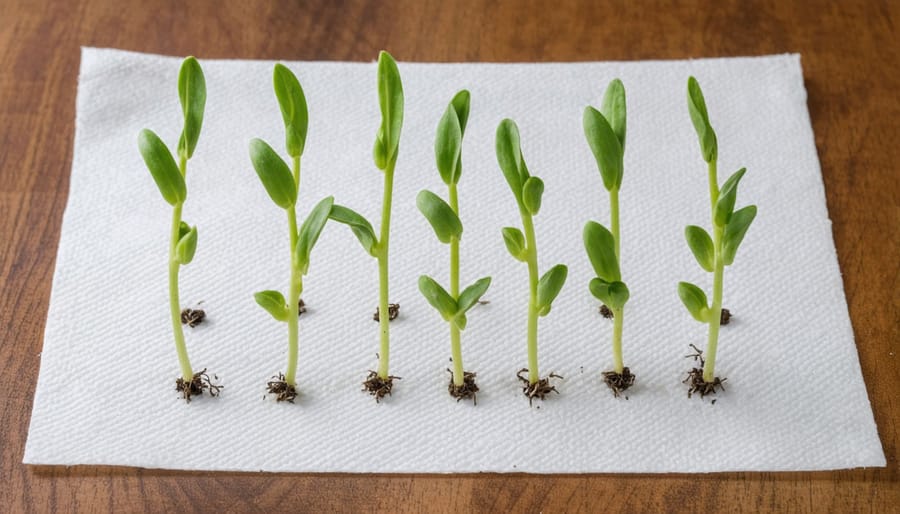
Start by gathering 10 seeds of the same variety. Why 10? It gives you a nice percentage that’s easy to calculate. If you only have a few seeds left, test at least 5, though your results will be less precise. Dampen two paper towels with room-temperature water and wring them out so they’re moist but not dripping. Think of it like a wrung-out sponge.
Place one damp paper towel on a plate or inside a plastic container, then arrange your seeds on top with some space between them. Cover with the second damp paper towel, then seal the setup in a plastic bag or covered container to maintain moisture. Label it with the seed type and date because trust me, you’ll forget otherwise!
Now for the important part: temperature matters. Most seeds germinate best between 65-75°F, which is typical room temperature. I usually tuck mine on top of the refrigerator where it’s slightly warmer, or you can use a seed heating mat if you have one. Keep the towels consistently moist by checking daily and misting with water if they’re drying out.
Check your seeds every day starting around day three. You’re looking for those exciting little sprouts poking through. Most vegetable seeds will show signs within 5-10 days, though some slower types like peppers might take up to 14 days. Count how many germinate, divide by the total tested, and multiply by 100 for your percentage. Seven out of 10 sprouted? That’s 70 percent viability, which is pretty respectable!
Reading Your Results
Calculating your germination rate is simple math that makes a real difference in your garden planning! Count how many seeds sprouted, divide by the total number you tested, then multiply by 100. So if 7 out of 10 seeds germinated, that’s 70 percent viability.
Here’s how to use those numbers: Seeds with 80 percent or higher germination are excellent—plant them at normal spacing with confidence. Between 50 and 80 percent? Your seeds are still usable, but I’d recommend planting them more densely than usual. Sow two or three seeds per spot instead of one, then thin out the extras once they sprout. This way, you’re not left with disappointing gaps in your rows.
Below 50 percent gets trickier. You can still use these seeds if you’re willing to oversow significantly, though buying fresh seeds might actually save you time and frustration. I’ve learned this lesson the hard way with three-year-old lettuce seeds that left my bed looking patchy!
For seeds showing zero germination, it’s time to let go. Toss them in the compost and start fresh. Remember, this isn’t failure—you’ve just saved yourself weeks of waiting for seeds that were never going to sprout anyway!
Alternative Testing Methods Worth Trying
While the paper towel method is wonderfully reliable, you might want to explore a couple of alternative approaches that work beautifully in different situations.
The direct soil test is perhaps the most straightforward method—simply plant a small batch of seeds directly into containers or a designated test area of your garden bed. Use the same soil you’ll be planting in and follow normal planting depth guidelines. This method gives you the most realistic results since seeds experience actual growing conditions. The downside? It takes longer to see results, usually one to three weeks depending on the seed type, and you’ll need more space. However, if your test seeds sprout successfully, you’ve already got seedlings ready to transplant or thin.
Seedling trays offer a nice middle ground between the paper towel and direct soil methods. Fill individual cells with seed-starting mix, plant one or two seeds per cell, and water gently. This approach lets you test multiple seed varieties simultaneously while keeping everything organized and labeled. The clear advantage here is that you’re testing under near-identical conditions to your actual seed starting, plus any successful sprouts are already in containers and ready to grow. The trade-off is that you’ll need trays, potting mix, and a bit more setup time than the simple paper towel method.
Choose whichever method fits your timeline, available materials, and gardening style. All three approaches will give you the confidence to plant successfully.
Which Seeds to Test (And Which Ones to Skip)
Not all seeds deserve equal testing time! Let me help you decide which ones are worth checking before you plant.
Start with your expensive seeds—those specialty tomatoes or quality heirloom varieties you invested in. Testing a few seeds now beats buying replacements mid-season when you discover nothing sprouted.
Old seed packets definitely need testing. If you’re like me, you’ve got envelopes from three years ago tucked in a drawer somewhere. Seeds older than two years should always get the germination test before you count on them.
Short-lived varieties are testing priorities. Onions, parsnips, and parsley typically lose viability quickly—often within just one or two years. Carrots and leeks also fall into this category. These are prime candidates for your paper towel test.
Some seeds, though, are gardening workhorses that stay viable for years. Tomatoes, cucumbers, and squash can last five years or more with proper storage. Brassicas like broccoli and cabbage typically remain good for three to four years. If these are relatively fresh and have been stored in cool, dry conditions, you might skip testing them.
Limited quantity seeds also warrant testing. When you only have a dozen precious seeds from a friend’s garden, knowing the germination rate helps you plan exactly how many to sow. This beats the disappointment of planting them all and getting minimal results.
What to Do With Your Test Results
Now that you’ve completed your germination test, it’s time to put those results to work! Your viability percentage tells you exactly how to adjust your planting approach this season.
If your seeds showed 80% or higher germination, congratulations! These seeds are still in excellent condition. You can plant them as you normally would, following the spacing recommendations on the packet. Just remember to label the packet with the test date and percentage so you’ll know their status for next season.
Seeds with 50-80% viability are still usable, but you’ll want to plant more densely to compensate. A good rule of thumb is to increase your seeding rate proportionally. For example, if you got 60% germination, plant about twice as many seeds as usual. This ensures you’ll still get a good stand of plants. These seeds work wonderfully for succession planting or areas where you can thin seedlings later.
Below 50% viability means it’s probably time to purchase fresh seeds, especially for crops where you need reliable germination like expensive hybrid varieties or plants with long growing seasons. However, don’t toss those low-viability seeds just yet! They can still work for experimental plantings or microgreens where you’re planting thickly anyway.
Always write your test results directly on the seed packet with the date. This information becomes invaluable for maintaining seed genetics over time and helps you track which storage methods work best for different varieties. Creating a simple garden journal with this data will make you a smarter seed saver year after year.
Keeping Seeds Viable Longer: Prevention Tips
Testing your seeds is just one piece of the puzzle—proper storage is where the magic really happens! Think of viability testing as your check-in system for a larger seed stewardship practice.
The golden rule for seed storage? Cool, dry, and dark. Store your seeds in a consistent environment between 32-41°F with humidity below 40%. I keep mine in airtight glass jars with silica gel packets tucked inside an old refrigerator in my basement. Some gardeners swear by their freezer, which works beautifully for long-term storage.
Light is the enemy here—it degrades seed quality faster than you might think. That’s why those charming glass jars on sunny windowsills, while pretty, are actually sabotaging your seeds.
Here’s how testing fits in: mark your storage containers with the year you acquired the seeds, then test samples every year or two. This tells you when germination rates are dropping, so you can prioritize planting those varieties or seek fresh stock. It’s preventive gardening at its finest—no more surprise disappointments when spring planting arrives!
Why not grab those dusty seed packets from last season this week and give them a quick viability test? It takes just minutes to set up, and you’ll know within days whether those seeds deserve space in your garden. This simple practice saves money, prevents disappointment, and helps you plan your planting with real confidence. Plus, you might be amazed by how long some seeds remain viable when stored properly. We’d love to hear about your results! Did your three-year-old tomato seeds surprise you, or did you discover it’s finally time to refresh your collection? Share your experiences in the comments below—your insights might help fellow gardeners make smarter seed decisions.