If your garden soil looks crusty white, feels hard as concrete, or refuses to grow healthy plants, you’re probably dealing with salt buildup—not a bacterial problem that needs disinfecting. Here’s the truth many frustrated gardeners discover: saline soil doesn’t need sterilization; it needs rehabilitation.
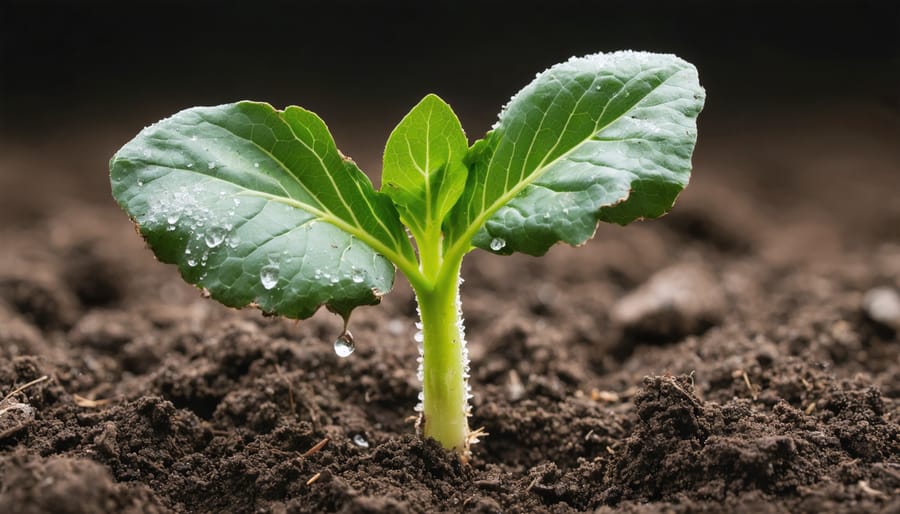
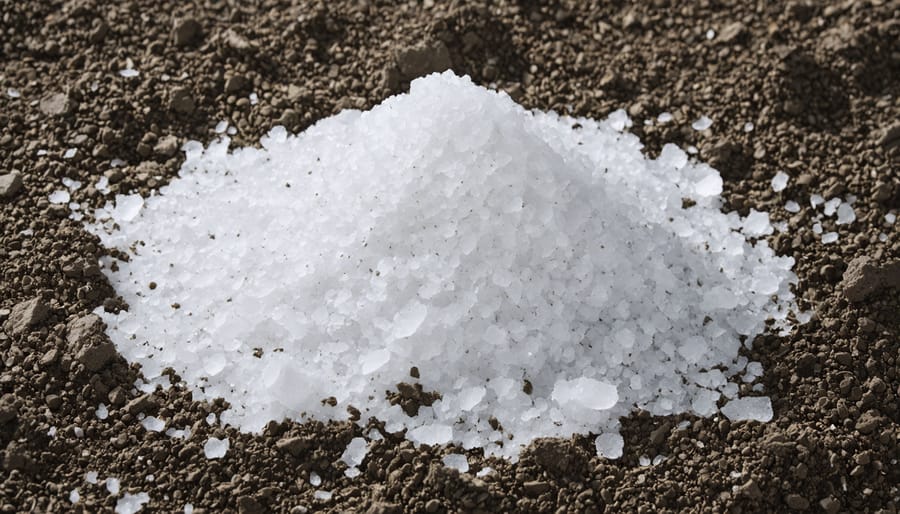
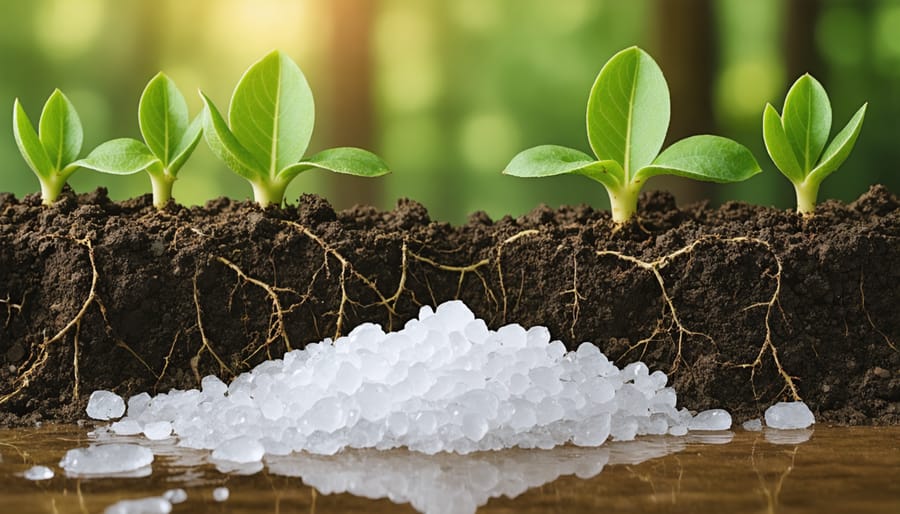
Salt-damaged soil occurs when soluble salts accumulate faster than they can drain away. This happens through over-fertilizing, poor drainage, irrigation with hard water, or natural mineral deposits rising to the surface. The telltale white crust you might see is actually salt crystals, and they’re preventing your plants from absorbing water and nutrients—essentially causing them to die of thirst in wet soil.
The good news? You can absolutely restore saline soil to productive health without harsh chemicals or expensive treatments. The process focuses on physically removing excess salts through strategic watering, improving drainage so salts can escape, and rebuilding soil structure with organic matter. Unlike true soil disinfection (which kills beneficial microorganisms), salt remediation actually encourages the living ecosystem your plants depend on.
This comprehensive guide will walk you through identifying salt problems, implementing proven rehabilitation techniques, and maintaining healthy soil long-term. Whether you’re rescuing a vegetable bed or reviving a flower garden, these accessible strategies will help you transform stubborn, crusty ground into thriving, productive soil. Let’s get your garden growing again.
What’s Really Happening in Your Saline Soil
Why Traditional Disinfecting Won’t Help
When you discover your soil isn’t growing plants well, it’s natural to think it needs disinfecting—maybe heating it in the oven, treating it with bleach, or using commercial sterilizers. Here’s the thing: if salt buildup is your problem, these traditional methods won’t help one bit.
Sterilization kills bacteria, fungi, and pathogens, but salt is a mineral compound that stays put no matter what temperature or chemical treatment you use. You could bake your soil at 180°F for hours, and those salt crystals would remain completely unaffected, laughing at your efforts!
Even more concerning, sterilizing saline soil can actually worsen your situation. These harsh treatments eliminate beneficial microorganisms that help plants cope with challenging conditions. You’re essentially creating a biological desert on top of a chemical one. I learned this the hard way years ago when I tried steam-sterilizing some crusty garden soil—the plants grew even worse afterward because I’d killed off all the helpful life that remained.
The real solution isn’t about killing anything; it’s about washing away and managing those accumulated salts.
Testing Your Soil Before You Start
Before you start any soil treatment, it’s worth taking a moment to confirm what you’re actually dealing with. I learned this lesson the hard way when I spent an entire weekend “fixing” soil that turned out to be perfectly fine—the problem was simply poor drainage!
**Signs You Might Have Saline Soil**
Start with a visual inspection. Walk your garden and look for tell-tale white, crusty deposits on the soil surface—that’s salt accumulation. You might also notice plants growing poorly in patches, with leaves that look scorched around the edges or stunted growth even with adequate watering. If your soil stays wet for long periods or water puddles on the surface, that’s another red flag.
Here’s a simple home test: Mix a tablespoon of your soil with two tablespoons of white vinegar. If it fizzes vigorously, you likely have alkaline soil, which often accompanies salinity issues.
**Professional Testing Options**
For a definitive answer, invest in a soil test. Your local agricultural extension office typically offers affordable testing (usually $10-30), or you can purchase a home EC meter for around $20-50. EC stands for electrical conductivity—basically, it measures how much salt is dissolved in your soil water.
Here’s what those numbers mean in plain English: An EC reading below 2 millimhos per centimeter (mmhos/cm) is generally safe for most plants. Between 2-4 means you’ll have trouble with sensitive plants. Above 4, and you’ve got a serious salinity problem that needs addressing. Think of it like measuring the “saltiness” of your soil—the higher the number, the saltier it is, and the unhappier your plants will be.
The Real Way to ‘Disinfect’ Saline Soil: Leaching and Drainage
How to Leach Your Soil Properly
Leaching sounds complicated, but think of it as giving your soil a really thorough rinse to wash away those troublesome salts. Here’s how to do it effectively without wasting precious water.
**The Basic Process**
Start by watering your soil deeply and slowly. The goal is to apply enough water to push salts below the root zone—typically 18-24 inches deep. As a general rule, you’ll need about 6 inches of water to flush salts from the top 12 inches of soil. That’s roughly 4 gallons per square foot, though sandy soils need less and clay soils may need more.
Apply water gradually over several hours or even a full day. Quick flooding just runs off the surface without penetrating deeply. I like to set up a sprinkler on low for several hours, take a break, then repeat. This gives water time to soak in rather than puddle.
**What to Watch For**
You’ll know leaching is working when you see water draining freely from the soil surface. If water pools or runs off, slow down your application rate. Check soil moisture at different depths with a probe or by digging—you want consistent dampness throughout.
**The Water Conservation Paradox**
Yes, using lots of water in dry climates feels counterintuitive! Here’s the reality: investing water now to restore your soil means healthier plants that actually use water efficiently later. Consider timing leaching with winter rains if possible, or collect and reuse greywater. Some gardeners leach in sections rather than all at once, spreading the water investment over time. Think of it as a one-time investment for long-term soil health.
Improving Drainage First
Before you can successfully leach salt from your soil, you need to make sure excess water has somewhere to go. Think of it this way: if water can’t drain through your soil, those dissolved salts won’t be going anywhere either—they’ll just sit there, continuing to harm your plants.
Poor drainage creates a frustrating cycle. When water pools on the surface or moves too slowly through compacted soil, salts remain concentrated in the root zone. Even worse, in poorly drained areas, salts can actually rise back up through the soil as water evaporates, undoing all your hard work.
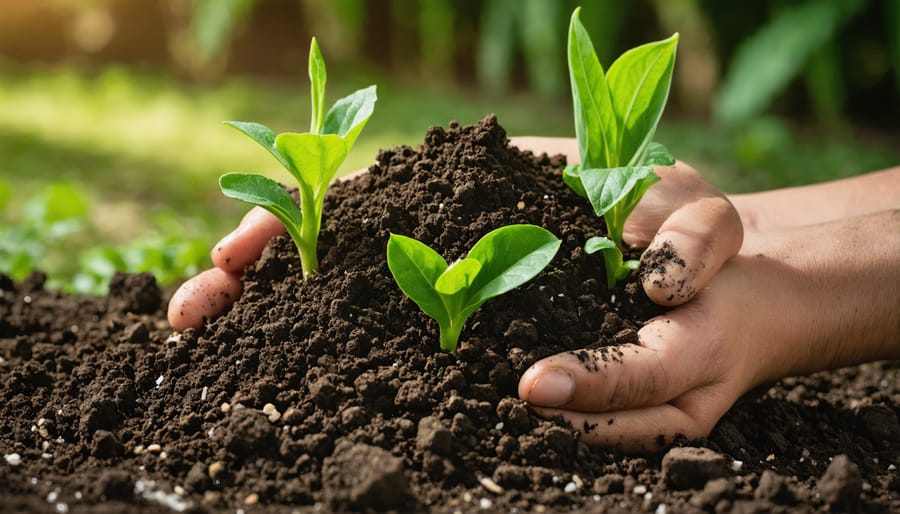
So how do you improve drainage? Start by working organic matter into your soil—compost, aged manure, or leaf mold all help create spaces for water to move through. I’ve seen gardens transform after just one season of incorporating a few inches of compost.
For seriously compacted or clay-heavy soil, consider creating raised beds. They’re a game-changer! You’ll have complete control over your soil composition, and water naturally drains better in raised structures. Build them 8-12 inches high, and fill them with a mixture of topsoil, compost, and coarse sand.
In extreme cases where water persistently pools, installing drainage tiles or perforated pipes beneath your garden bed can redirect excess water away from plant roots. While this requires more effort upfront, it’s often the permanent solution that struggling gardens need.
Amending Your Way to Better Soil
Organic Matter: Your Secret Weapon
Here’s your secret weapon for transforming salty, tired soil: organic matter! Think of it as a healing balm that works wonders in multiple ways at once.
When you add compost, aged manure, or leaf mold to your soil, you’re doing much more than just feeding your plants. Organic matter acts like tiny sponges throughout your soil, improving soil structure while helping dilute those problematic salts. It also boosts beneficial microbes that help plants tolerate stress—nature’s own support system!
**Practical Application Rates:**
For moderately affected soil, spread 2-3 inches of compost across your garden beds and work it into the top 6-8 inches. If you’re dealing with severe salt buildup, don’t be shy—go for 4-6 inches. I learned this the hard way in my first garden, where I skimped on compost and wondered why nothing thrived!
**Best Organic Materials:**
– **Compost:** The gold standard—apply in spring or fall
– **Aged manure:** Chicken or cow (never fresh!), mixed at a 1:1 ratio with soil
– **Leaf mold:** Excellent for moisture retention
– **Wood chips:** Great as mulch (3-4 inches deep) to reduce evaporation
Remember, organic matter breaks down over time, so plan to replenish annually. Think of it as a yearly vitamin boost for your garden!
When to Use Gypsum (and When Not To)
You’ve probably heard that gypsum is a miracle cure for problem soil, but here’s the truth: it only works in specific situations. Understanding when gypsum helps—and when it doesn’t—can save you time, money, and frustration.
Gypsum is incredibly effective for sodic soil, where excess sodium causes clay particles to stick together like glue, creating that rock-hard, impenetrable surface that gardeners dread. When you add gypsum (calcium sulfate) to sodic soil, the calcium replaces the sodium, allowing water to move through and clay particles to separate. It’s like magic watching compacted soil transform into workable garden beds!
However—and this is crucial—gypsum does almost nothing for saline soil. If your problem is simply too much salt (not specifically sodium), gypsum won’t help because your soil structure is likely already fine. The key differences between sodic soil versus saline soil lie in what’s causing the problem and how the soil behaves physically.
Think of it this way: if water drains through your soil reasonably well but plants still struggle, you probably have saline soil that needs leaching, not gypsum. If your soil forms impenetrable crusts and water pools on the surface, you might have sodic soil where gypsum could be your best friend.
Testing your soil’s sodium levels and drainage characteristics before buying bags of gypsum ensures you’re addressing the actual problem, not just throwing amendments at symptoms.
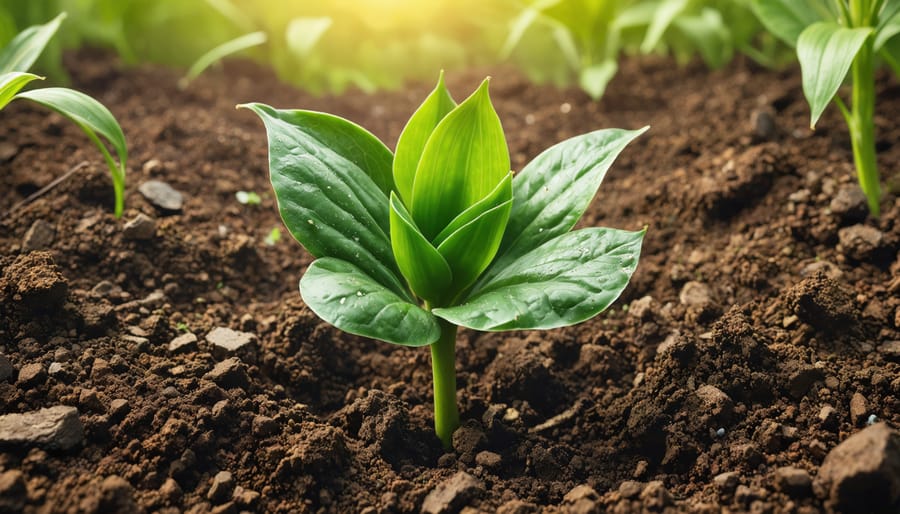
Plant Selection: Work With What You’ve Got
While your soil is recovering, you don’t have to wait on the sidelines! The good news is that some plants actually handle salty conditions surprisingly well. Think of it as working *with* your garden rather than against it during this transition period.
I learned this lesson the hard way after over-applying fertilizer one spring. While I flushed the soil and worked on rehabilitation, I discovered that certain plants actually thrived. It was like they were showing off while their neighbors sulked!
Start by selecting salt-tolerant plants that can handle mildly saline conditions. This strategy gives you a productive garden while the soil gradually improves through leaching and amendments.
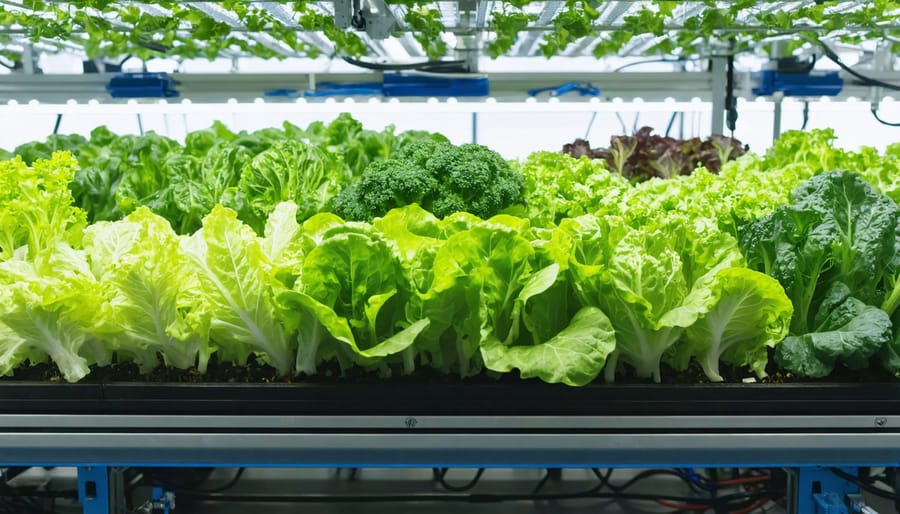
**Vegetables That Handle Salt**
Asparagus is your champion here—it’s remarkably salt-tolerant and a long-term investment in your garden. Beets, Swiss chard, and kale also perform well in less-than-ideal conditions. Many gardeners are pleasantly surprised that tomatoes can tolerate moderate salinity, especially determinate varieties.
**Herb Heroes**
Rosemary absolutely loves it—in fact, Mediterranean herbs generally handle salt like champs since they evolved in coastal conditions. Thyme, oregano, and sage are equally tough. These herbs often develop even more concentrated flavors when slightly stressed, so you’re getting bonus taste!
**Ornamental Options**
For adding beauty while you wait, consider yarrow, Russian sage, sea thrift (aptly named!), and blanket flower. Ornamental grasses like switchgrass and blue fescue also shrug off salt levels that would discourage other plants.
**The Strategy**
Plant these tougher varieties in your most affected areas while reserving your best-rehabilitated spots for sensitive crops. As your soil continues improving through leaching and organic matter additions, you’ll gradually expand your planting options. This patient approach lets you enjoy gardening success now while building toward a fully restored garden later.
Preventing Salt Buildup in the Future
Once you’ve brought your soil back to life, you’ll want to keep it that way! The good news is that preventing salt buildup is much easier than fixing it, and with a few simple habits, you can keep your garden thriving for years to come.
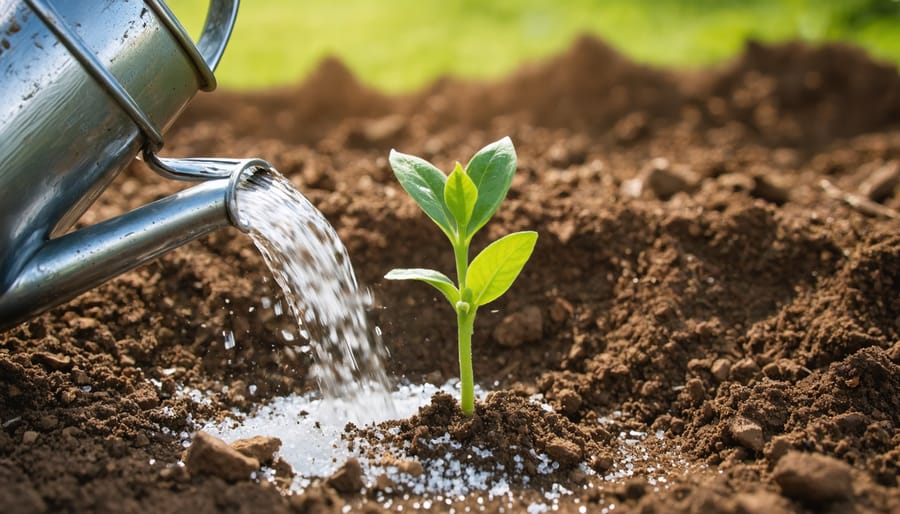
Your watering routine is your first line of defense. Deep, infrequent watering works wonders—it encourages roots to grow deeper while flushing salts downward, away from the root zone. Shallow, frequent watering does the opposite, drawing salts upward as water evaporates. Adopting smart irrigation practices makes all the difference here. I learned this lesson when my tomatoes struggled year after year until I switched to weekly deep watering instead of daily spritzes.
Pay attention to your water source, too. If you’re using tap water in areas with hard water, those minerals accumulate over time. Rainwater collection is a gardener’s best friend—it’s naturally low in salts and free! When that’s not possible, occasionally leaching your soil with extra water helps prevent buildup.
Watch for early warning signs that salt might be creeping back. White crusty deposits on the soil surface are the most obvious red flag. Plants showing brown leaf tips, stunted growth, or wilting despite adequate moisture also deserve investigation. Catching these signs early means a simple leaching session can solve the problem before it escalates.
Adding compost annually improves soil structure and helps your garden handle salt stress better. Think of it as building your soil’s resilience—healthy soil with good drainage naturally manages salts more effectively. A little prevention goes a long way toward keeping your garden flourishing season after season!
Bringing saline soil back to life is less about “disinfecting” and more about patience, persistence, and giving your garden the time it needs to heal. If you’ve discovered salt-damaged soil, take heart—this is absolutely a fixable problem. Unlike contaminated soil that might need complete replacement, saline soil responds beautifully to the rehabilitation techniques we’ve discussed: improving drainage, leaching salts, adding organic matter, and choosing the right plants.
Think of it as a partnership with nature rather than a quick fix. Yes, it might take a season or two to see dramatic improvements, but each small step you take—whether it’s mixing in compost, planting a salt-tolerant cover crop, or simply ensuring proper water flow—moves you closer to thriving, productive soil.
The journey from lifeless, crusty earth to rich, plant-friendly garden beds is genuinely rewarding. You’re not just fixing a problem; you’re learning to read your soil, understand your garden’s unique needs, and becoming a more skilled gardener in the process. Your patience will pay off with healthier plants, better harvests, and the deep satisfaction of knowing you’ve restored life to damaged ground.