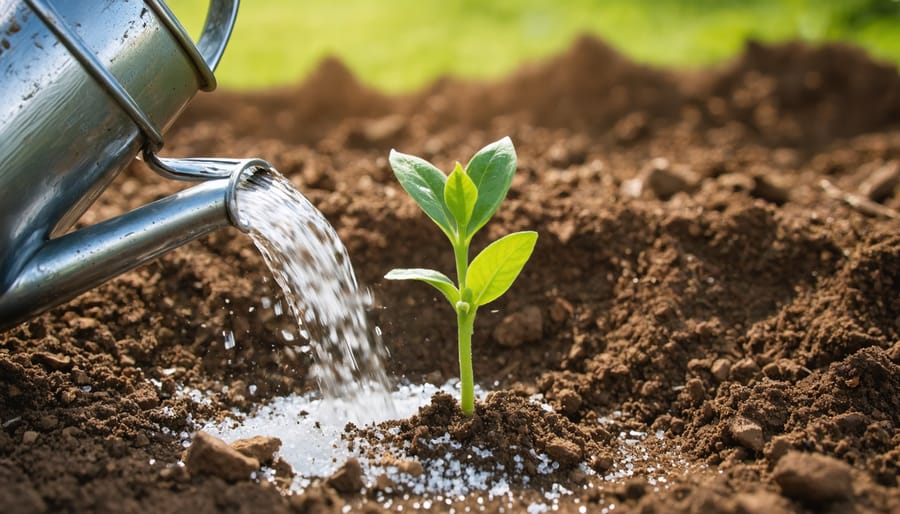
Press your thumb into your garden soil and watch what happens. If water pools on the surface after watering or your plants show yellowing leaves and stunted growth, you’re likely dealing with poor drainage—a problem that becomes even more critical in salt-affected gardens where water can’t flush away harmful salts.
Dig a hole 12 inches deep, fill it with water, and time how long it takes to drain completely. Well-draining soil should empty within 4-6 hours. Anything longer signals compaction or high clay content that traps both water and salts at root level, creating a toxic environment for most plants.
Check your soil’s texture by squeezing a handful. Sandy, well-draining soil will crumble apart easily, while clay-heavy soil forms a tight ball. In saline conditions, poor drainage compounds the challenge because salts accumulate rather than leaching away, making transforming saline soil dependent on improving water movement first.
The connection between drainage and salinity creates a vicious cycle. Salt-laden water moves slowly through dense soil, depositing minerals that further compact the structure. This reduced pore space means less oxygen for roots and more opportunity for salt buildup. Understanding whether your garden soil drains well isn’t just about preventing soggy roots—it’s the foundation for managing soil salinity and creating conditions where plants can actually thrive. The good news? Once you identify the problem, proven solutions can restore both drainage and soil health.
The Science Behind Saline Soil and Drainage Problems

How Salt Changes Your Soil’s Structure
Here’s something many gardeners don’t realize: salt doesn’t just harm plants directly—it actually changes the physical structure of your soil in surprising ways. When sodium accumulates in garden soil, it acts like a tiny wrecking ball at the microscopic level, breaking apart the natural soil structure that allows water to flow through.
Think of healthy soil like a sponge, with spaces between particles that let water and air move freely. Clay particles naturally clump together to form these beneficial spaces. But when sodium enters the picture, it disrupts this arrangement. Sodium ions attach themselves to clay particles and push them apart. This process, called dispersion, causes those once-clumped particles to separate and spread out in the soil water.
Here’s where things get really problematic. When the soil dries, those dispersed particles settle into an incredibly tight formation—almost like cement. The tiny pore spaces that once allowed water to drain simply disappear. Instead of draining through your soil, water now pools on the surface or runs off completely. You might notice a hard crust forming on top of your soil after watering, or puddles that sit for hours.
I’ve seen gardens where the soil becomes so compacted from sodium that you can barely push a shovel through it. Understanding these saline-sodic soil problems is the first step toward restoring proper drainage and bringing your garden back to life.
Testing Your Soil’s Drainage and Salinity
Let’s test your soil’s drainage and salinity with two straightforward methods you can do right in your garden.
For the percolation test, dig a hole about 12 inches deep and 12 inches wide. Fill it with water and let it drain completely. Once empty, fill it again and measure how much the water level drops over the next hour. Well-draining soil should drain at a rate of 1-2 inches per hour. If it drains faster than 3 inches per hour, your soil might be too sandy and won’t hold moisture well. Slower than half an inch per hour? You’ve got drainage issues that need addressing.
Now, here’s something interesting I learned from veteran gardener Maria Santos: salinity affects drainage more than most people realize. High salt levels cause soil particles to clump together differently, creating a crusty surface that repels water. To check your soil’s salinity, you’ll need an EC (electrical conductivity) meter, available at most garden centers for around twenty dollars. Simply insert the probe into moist soil. Readings below 2 dS/m are generally safe for most plants, while anything above 4 dS/m indicates problematic salt levels that will impact both drainage and plant health.
What Makes Garden Soil ‘Well Draining’ in Saline Conditions
The Critical Role of Drainage in Salt Management
Think of drainage as your garden’s natural flushing system, especially when it comes to managing salts. Here’s what happens: when water moves through well-draining soil, it carries dissolved salts downward and away from your plant roots. This process, called leaching, is absolutely essential for keeping your garden healthy.
Without adequate drainage, you’re essentially trapping salts in the root zone. Irrigation water, fertilizers, and even rainwater all contain some dissolved salts. In poorly draining soil, water sits around the roots, evaporates, and leaves those salts behind. Over time, they accumulate to toxic levels that can burn roots, stunt growth, and eventually kill your plants.
I learned this the hard way in my first vegetable garden. My tomatoes were wilting despite regular watering, and the soil had developed a crusty white layer on top. Master gardener Sarah Chen explained to me that my clay-heavy soil wasn’t draining properly, creating a salt buildup nightmare.
The good news? When your soil drains well, you can actually flush away excess salts by applying extra water that percolates through the root zone. This is why sandy or loamy soils naturally resist salt problems better than heavy clay. Proper drainage isn’t just about preventing waterlogged roots; it’s your first line of defense against salt accumulation.
Soil Texture vs. Soil Structure in Saline Gardens
Here’s a secret many gardeners discover the hard way: when salt is in the picture, soil structure trumps texture every time. You might have naturally sandy soil that should drain beautifully, but if salt has destroyed the structure—that three-dimensional arrangement of soil particles—you’ll still face drainage nightmares.
Think of texture as what you’re born with (sand, silt, or clay particles), while structure is what you build. In saline gardens, salt acts like a wrecking ball, dispersing clay particles and collapsing those vital air pockets where water moves through. Even sandy saline conditions can develop crusting problems when salts cement particles together.
The good news? Structure can be rebuilt! Adding organic matter, gypsum, and encouraging earthworm activity helps restore those pathways that let water drain properly. Master gardener Susan Martinez told me she transformed her compacted saline plot by focusing entirely on structure improvement rather than worrying about her clay-heavy texture.
Proven Methods to Improve Drainage in Saline Soil
Adding Gypsum: Your First Line of Defense
Gypsum is your secret weapon against sodium-clogged soil! When I first learned about this simple amendment, I was amazed at how effectively it tackles drainage problems in saline gardens.
Here’s the magic: gypsum (calcium sulfate) works by releasing calcium ions that literally bump sodium off soil particles. The sodium then dissolves and washes away through improved drainage, while the calcium helps restore your soil’s structure. It’s like giving your clay particles permission to loosen up and breathe again.
For application rates, a general guideline is 20-40 pounds of gypsum per 1,000 square feet for moderately affected soils. Here’s a quick calculation: measure your garden area (length × width), divide by 1,000, then multiply by 30 pounds for a middle-ground approach. For example, a 20×25 foot bed (500 square feet) would need about 15 pounds of gypsum.
I spoke with master gardener Maria Chen, who emphasized starting conservatively: “Apply half the recommended amount first, then reassess after three months. You can always add more, but you can’t take it back.”
Spread gypsum evenly across the soil surface and water thoroughly. Expect gradual improvement over 3-6 months as sodium leaches away. During this period, you’ll notice water penetrating more easily and soil becoming less sticky when wet. The best part? Gypsum won’t alter your soil’s pH, making it safe for most plants.

Organic Matter That Works in Salty Conditions
When dealing with salty soil, choosing the right organic amendments makes all the difference in improving drainage while reviving saline soil. Not all organic matter performs equally in these challenging conditions, so let’s focus on what actually works.
Compost stands as your most reliable ally. Well-aged compost doesn’t just improve soil structure—it helps bind sodium particles and gradually flushes them deeper into the soil profile. Apply a 2-3 inch layer annually, working it into the top 6 inches of soil. Look for compost that’s fully decomposed and crumbly; fresh compost can actually worsen drainage temporarily.
Aged manure offers similar benefits, but timing matters. Let it cure for at least six months before application to avoid burning plants already stressed by salt. Chicken manure, though potent, works particularly well once properly aged.
Here’s where it gets exciting: biochar is gaining recognition as a game-changer for saline soils. This charcoal-based amendment improves drainage, increases water retention where you need it, and helps reduce salt concentration. Mix it at a rate of 5-10 percent by volume into your planting beds.
The incorporation technique is simple: spread your chosen amendment evenly, then use a garden fork to work it in thoroughly, breaking up compacted layers as you go.
Creating Drainage Pathways and Raised Beds
When improving drainage in challenging conditions, sometimes the best solution is working with what you have by changing the landscape itself. Let me walk you through some practical approaches that have helped countless gardeners transform waterlogged areas into thriving growing spaces.
Raised beds are your best friend when dealing with poorly draining soil. By building upward, you’re essentially creating a fresh start with better-draining soil above the problem area. Start by outlining your bed area (4 feet wide is ideal for easy reach). Use untreated lumber, stone, or composite materials to create walls 12 to 18 inches high. Layer cardboard at the bottom to suppress weeds, then fill with a mixture of quality topsoil, compost, and coarse materials like perlite or coarse sand. This elevation allows excess water and salts to drain away from plant roots naturally.
For areas where water collects persistently, French drains work wonders. Dig a trench about 18 inches deep, sloping away from your garden at a 1-inch drop per 8 feet of length. Line it with landscape fabric, add 3 inches of gravel, place perforated drainage pipe, cover with more gravel, and top with soil. This underground highway channels water away effectively.
Mounding techniques offer a simpler alternative. Create gentle hills 6 to 12 inches high and plant on top. This gives roots breathing room while allowing water to flow to the lower spaces between mounds. I’ve seen gardeners rescue struggling vegetable patches using this method in just one season.

The Leaching Schedule That Actually Works
Here’s the good news: leaching doesn’t require guesswork! For established garden beds, plan a deep watering session every 4-6 weeks during the growing season. You’ll want to apply about twice the water you’d normally use for irrigation, which translates to roughly 2-3 inches of water over a few hours. Think of it like this: you’re creating a gentle river flowing through your soil, carrying those accumulated salts downward and away from your plant roots.
Master gardener Elena Rodriguez, whom I interviewed at her thriving coastal garden, shared her simple approach: “I water slowly with a soaker hose for 3-4 hours, letting gravity do the work.” The key is patience – rapid watering just runs off the surface without penetrating deeply. For container gardens, water until you see a steady stream flowing from drainage holes, then water again after 30 minutes. Always leach during cooler morning hours to minimize evaporation and maximize effectiveness.
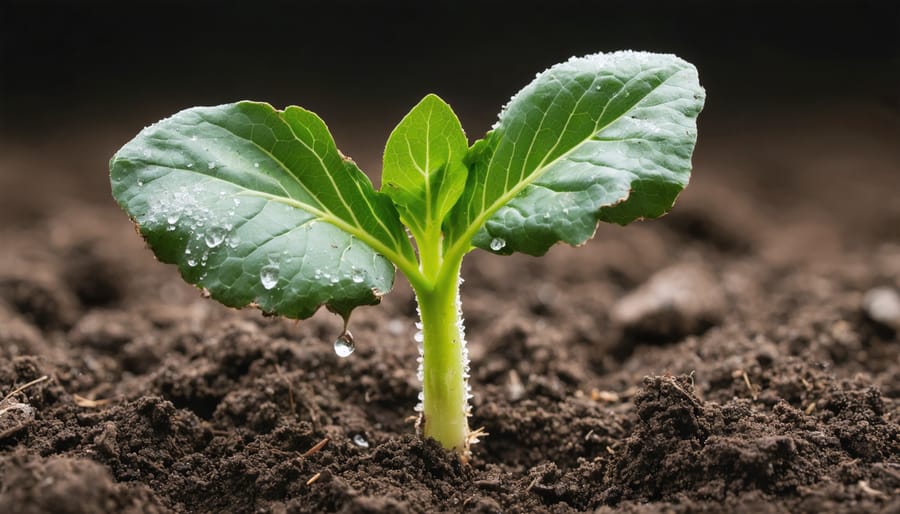
Choosing Plants That Thrive in Well-Drained Saline Soil
When you’re working with saline soil that drains well, you’ve already won half the battle! The key now is selecting plants that can handle both conditions. Let me share some wonderful options I’ve seen flourish in these challenging gardens.
For your vegetable patch, consider asparagus as your star performer. This perennial vegetable absolutely loves well-drained soil and tolerates salt better than most crops. Beets, Swiss chard, and kale are also remarkably resilient choices. I remember chatting with master gardener Elena Rodriguez last spring, who told me her coastal vegetable garden thrived once she switched to these varieties. Spinach and garden peas can handle moderate salinity too, especially when you’ve improved drainage.
In the ornamental department, you have gorgeous options that’ll make your garden shine. Russian sage, with its silvery foliage and purple blooms, practically dances in well-drained saline conditions. Lavender is another superstar, bringing fragrance and beauty while shrugging off salt. Sea thrift, yarrow, and blanket flower create stunning displays, and their drought tolerance means they appreciate that quick-draining soil. For structure, try ornamental grasses like blue fescue or fountain grass.
Herb gardens absolutely excel in these conditions! Rosemary, thyme, and oregano are Mediterranean natives that evolved in coastal, well-drained environments. They’ll reward you with robust flavors and healthy growth. Sage is another excellent choice that actually prefers drier feet.
The beauty of salt-tolerant plants is that many naturally prefer good drainage, making them perfect partners for your soil type. Start with a few varieties, observe how they respond, and gradually expand your palette. You’ll soon discover that working with your soil’s characteristics, rather than against them, creates a more sustainable and successful garden.
Common Mistakes That Make Drainage Worse
Even with the best intentions, some well-meaning fixes can actually worsen drainage problems, especially in saline soils. Let’s talk about the most common pitfalls so you can avoid them.
The biggest mistake I see gardeners make is adding sand to clay soil. It sounds logical, right? Clay is heavy, sand is light, so mixing them should help. Unfortunately, this often creates something closer to concrete. Unless you’re adding massive quantities (we’re talking 50% or more by volume), you’ll end up with a compacted mess that drains even worse than before. In saline conditions, this becomes doubly problematic because salts have nowhere to go.
Another counterproductive practice is overwatering to “flush out” salts without first improving drainage. When water can’t escape, you’re just creating a salty puddle that suffocates roots and attracts more problems. Think of it like trying to drain a bathtub with the plug still in.
Using the wrong amendments is also surprisingly common. Not all organic matter is created equal. Fresh wood chips or sawdust can temporarily tie up nitrogen as they decompose, while some composts may actually add unwanted salts if they weren’t properly aged.
Instead, focus on structural improvements first. Break up compacted layers, incorporate well-aged compost gradually, and consider gypsum for clay-based saline soils. Patience and proper technique beat quick fixes every time, and your garden will reward you with healthier growth.
Improving drainage in saline soil isn’t something that happens overnight, and that’s perfectly okay! Think of it as a gardening journey rather than a quick fix. Your soil has likely developed these conditions over time, so giving it the patience and attention it needs to recover is part of becoming a better, more observant gardener.
Remember, the three most important steps you can take right now are: first, test your soil to understand exactly what you’re working with; second, incorporate organic matter regularly to improve structure; and third, ensure proper grading and irrigation practices to prevent water from pooling. These fundamentals will set you on the right path, even if progress feels slow at first.
I’d love to hear about your experiences with drainage challenges! Have you tried any of these techniques? What’s worked well in your garden, and what surprised you along the way? Sharing our stories helps everyone learn and grow as gardeners. Drop a comment below or connect with fellow gardening enthusiasts in your community. Remember, every experienced gardener once stood exactly where you are now, wondering how to fix their problematic soil. You’ve got this, and your plants will thank you for the effort you’re putting in today!