
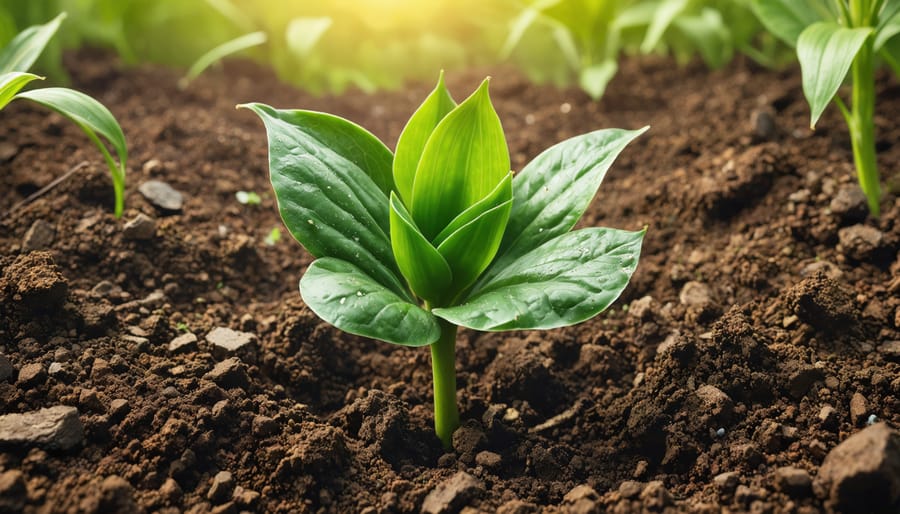
Transform your garden’s challenging soil into a nutrient-rich growing environment by testing pH levels, adding organic matter, and implementing proper drainage solutions. Mix in well-rotted compost, aged manure, or leaf mold to naturally improve poor soil conditions and boost beneficial microorganism activity. Layer organic mulch 2-3 inches deep around plants to retain moisture, regulate soil temperature, and gradually enrich the soil structure as it decomposes. Break up compacted soil with deep-rooted cover crops like alfalfa or clover, which naturally aerate the ground while adding valuable nitrogen. This living soil approach creates a self-sustaining ecosystem that continuously enriches your garden’s growing medium, making it easier to maintain healthy plants year after year.
Understanding Your Saline Soil
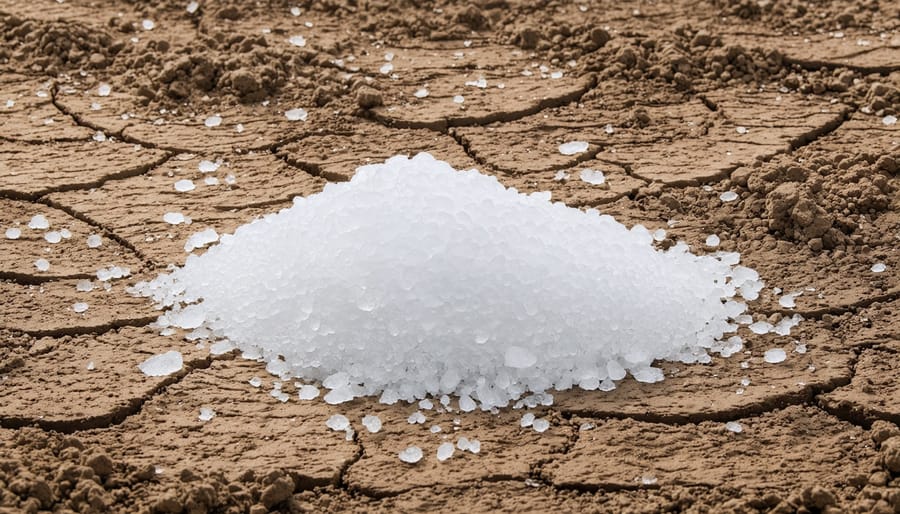
Signs of Salt-Affected Soil
Spotting salt-affected soil early can save you months of frustration in your garden. One of the most obvious signs is a white, crusty layer on the soil surface, which looks a bit like frost or a fine powder. You might also notice that your soil forms a hard, crusty surface that’s difficult to break apart, even when moist.
Watch your plants closely, as they’ll often give you the first hints of salt problems. Leaves may turn yellow or brown at the edges, and plants might look stunted or wilted even when properly watered. Seeds may have trouble germinating, and young plants might die suddenly. In severe cases, you might see that plants in certain areas of your garden consistently fail to thrive.
The soil itself might feel slick or greasy when wet, and water may pool on the surface rather than being absorbed. If you notice these signs, especially in coastal areas or regions with hard water, it’s worth testing your soil’s salt levels. The good news is that with proper conditioning techniques, you can improve salt-affected soil and create a healthier environment for your plants.
Testing Your Soil’s Salinity
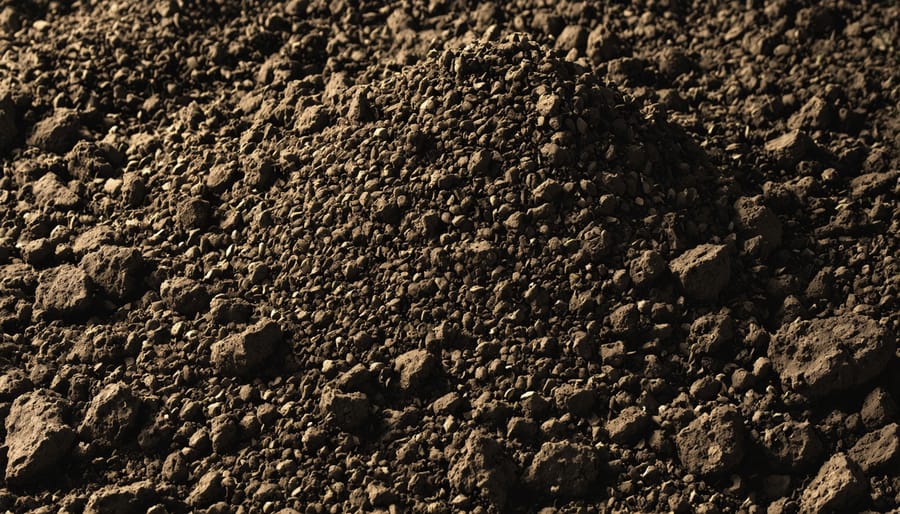
Testing your soil’s salinity doesn’t have to be complicated, and there are several reliable methods you can use at home. The simplest way is the ribbon test: take a handful of moist soil and try to form it into a ribbon between your thumb and forefinger. If it’s difficult to form a ribbon and the soil feels gritty, you likely have low salinity. If it forms easily and feels slick, you might have higher salt content.
For more accurate results, you can purchase an inexpensive soil electrical conductivity meter from your local garden center. These handheld devices measure the soil’s ability to conduct electricity, which increases with salt content. Simply insert the probes into moist soil and take your reading.
If you’re looking for professional-grade accuracy, consider sending a soil sample to your local extension office or agricultural testing laboratory. They’ll provide detailed analysis of your soil’s salt content along with recommendations for improvement. Most labs charge a modest fee, but the comprehensive results are worth the investment, especially if you’re planning a large garden or dealing with persistent soil issues.
Remember to test multiple areas of your garden, as salt content can vary significantly across your property.
Core Soil Conditioning Techniques
Leaching: Washing Away the Salt
Leaching is a straightforward but effective method to remove excess salt from your garden soil. Think of it as giving your soil a thorough shower to wash away harmful salt buildup. The process involves flooding the affected area with clean, salt-free water, which dissolves the salts and carries them deeper into the soil, beyond the root zone.
To leach your soil effectively, start by creating small berms or barriers around the affected area to contain the water. Next, flood the area with about 6 inches of water and let it slowly penetrate the soil. This initial flooding helps dissolve the salt. Once the water has drained completely, repeat the process at least two more times.
The best time for leaching is during the dry season when evaporation rates are lower, preventing salts from being drawn back up to the surface. Make sure your soil has good drainage before starting – if water pools for more than 24 hours, you’ll need to improve drainage first.
For container gardens, the process is simpler. Place your pots in a location where water can drain freely, then thoroughly water them until you see clear water running from the drainage holes. Wait a few hours and repeat the process twice more.
Remember to test your soil’s salt levels before and after leaching to track your progress. While leaching is effective, it’s also important to prevent future salt buildup through proper watering and fertilizing practices.
Adding Organic Matter
Adding organic matter is one of the most effective ways to improve saline soil conditions and restore essential soil nutrients. Compost is your best friend here – it works wonders in breaking down salt concentrations while improving soil structure. Kitchen scraps, yard waste, and fallen leaves make excellent compost materials that help create a thriving environment for beneficial microorganisms.
Aged manure is another fantastic organic amendment, but be sure it’s well-composted to avoid burning your plants. Horse, cow, or chicken manure adds valuable nutrients while helping to flush excess salts from the soil. Green manures or cover crops, such as clover or alfalfa, can be grown and turned into the soil, offering natural salt-fighting properties while improving soil texture.
Wood chips and straw mulch are excellent additions that slowly decompose, gradually releasing nutrients and improving soil structure. They also help retain moisture, which is crucial for diluting salt concentrations. For quicker results, consider incorporating peat moss, though use it sparingly as it’s not the most sustainable option.
Remember to add organic matter regularly, ideally every growing season. This consistent practice not only helps combat salinity but also creates a rich, living soil that your plants will love. Start with a generous 2-3 inch layer of organic material and work it into the top 6-8 inches of soil for best results.
Gypsum and Other Mineral Amendments
Gypsum, also known as calcium sulfate, is a gardener’s secret weapon for improving challenging soils. This naturally occurring mineral works wonders in breaking up compacted clay and reducing sodium levels that can harm plant growth. Unlike lime, gypsum won’t affect your soil’s pH, making it a safe choice for most gardens.
To use gypsum, simply spread it over your soil at a rate of about 40 pounds per 1,000 square feet. The mineral gradually works its way into the soil, where it helps separate tightly bound clay particles and creates better drainage channels. This improved structure allows roots to grow more freely and helps water penetrate more deeply.
Other beneficial mineral amendments include greensand, which slowly releases potassium and trace minerals, and rock phosphate, which provides long-lasting phosphorus. These natural options are particularly valuable for organic gardeners looking to build soil health sustainably.
For gardens with high sodium levels, gypsum is especially effective. The calcium in gypsum replaces sodium in the soil, allowing the harmful salt to be washed away through proper drainage. You’ll often see improvement within a few months, though it may take a season or two for the full benefits to show.
Remember to water thoroughly after applying any mineral amendments, as this helps them integrate into the soil more effectively. Regular soil tests can help you monitor improvements and determine if additional applications are needed.
Ongoing Maintenance Strategies
Irrigation Best Practices
Proper irrigation practices are crucial for preventing salt buildup in your garden soil, and implementing effective irrigation strategies can make all the difference. The key is to water deeply but less frequently, which helps flush excess salts below the root zone while promoting healthier root growth.
A good rule of thumb is to water until you see about 20% of the water draining from the bottom of your garden bed or container. This extra water, known as the leaching fraction, carries dissolved salts away from the root zone. For most gardens, this means watering until the soil is thoroughly moist to a depth of 6-8 inches.
Timing is everything when it comes to irrigation. Water early in the morning to minimize evaporation and give plants plenty of time to dry before evening. This practice not only conserves water but also helps prevent salt concentration from building up as water evaporates.
Consider installing a drip irrigation system or using soaker hoses to deliver water directly to the soil surface. This method reduces water loss through evaporation and helps maintain consistent soil moisture levels. Remember to adjust your watering schedule seasonally and during periods of rainfall.
Monitor your soil moisture regularly using the simple finger test – stick your finger about 2 inches into the soil. If it feels dry at that depth, it’s time to water. This hands-on approach helps you develop an intuitive understanding of your garden’s water needs while preventing over-irrigation, which can worsen salt problems.
Seasonal Soil Care
Maintaining salt-affected soil requires consistent attention throughout the year, but don’t worry – we’ve broken it down into a simple seasonal schedule that makes it manageable and effective.
In spring, start by testing your soil’s salt levels as the ground thaws. This is the perfect time to add organic matter like compost and well-rotted manure, which help displace salt ions and improve soil structure. Apply gypsum if your test results indicate high sodium levels, and work it into the top 6 inches of soil before spring planting.
Summer maintenance focuses on proper watering techniques. Deep, thorough irrigation helps flush accumulated salts below the root zone. Water early in the morning to minimize evaporation, and maintain a thick layer of organic mulch to protect the soil and reduce salt concentration at the surface.
Fall is your primary soil conditioning season. Add generous amounts of organic amendments and work them into the soil while it’s still workable. This is also an excellent time to plant cover crops like clover or rye, which help prevent salt accumulation during winter months.
Winter isn’t entirely hands-off – continue monitoring drainage patterns when possible. Use this time to plan next year’s amendment strategy and source materials. If you live in an area that uses road salt, create barriers to prevent salt-laden runoff from entering your garden beds.
Remember to adjust this schedule based on your local climate and specific soil conditions. Consistent care throughout the year will lead to healthier, more productive soil over time.
Plant Selection for Saline Soils
When dealing with saline soil conditions, selecting the right plants can make all the difference in creating a thriving garden. Many plants that are naturally adapted to coastal areas or arid regions make excellent choices, as they’ve developed mechanisms to cope with higher salt levels.
Halophytes, or salt-tolerant plants, are your best friends when gardening in saline conditions. These resilient plants include beautiful options like Sea Lavender (Limonium), which produces lovely purple blooms, and the sturdy Rugosa Rose, known for its fragrant flowers and colorful rose hips. Many of these plants are also drought-tolerant plants, making them doubly valuable in challenging conditions.
Consider incorporating ornamental grasses like Blue Lyme Grass or Beach Grass, which naturally grow in coastal areas and can handle significant salt exposure. For vegetable gardens, focus on plants from the Brassica family, such as cabbage, broccoli, and kale, which show good tolerance to saline conditions.
Herbs like rosemary, sage, and thyme not only handle salt well but also provide wonderful flavors for your kitchen. These Mediterranean natives are accustomed to coastal conditions and sandy soils, making them perfect choices for saline gardens.
When planning your garden, arrange plants according to their salt tolerance levels. Place the most tolerant species in areas where salt concentration is highest, typically at lower elevations or where water tends to pool. Group plants with similar salt tolerance together to make maintenance easier and ensure consistent growth patterns.
Remember to monitor your plants’ performance during their first growing season. Some may show signs of stress initially but will adapt over time as they establish their root systems. Starting with younger plants can also be advantageous, as they often adapt more readily to challenging soil conditions than mature specimens.

Transforming your garden soil into a thriving foundation for plant growth is an ongoing journey that rewards dedication and patience. As we’ve explored throughout this guide, conditioning your garden soil involves understanding its current state, implementing the right improvements, and maintaining healthy soil practices over time.
Remember that every garden is unique, and you may need to adjust these techniques to suit your specific situation. Whether you’re dealing with clay soil that needs loosening, sandy soil that requires better water retention, or soil that’s lacking in essential nutrients, there’s always a solution within reach.
Start small by testing your soil and implementing one or two conditioning methods at a time. This approach allows you to observe the changes and adjust your strategy as needed. Adding organic matter, such as compost and well-rotted manure, remains one of the most effective ways to improve any soil type, while cover crops and mulching help maintain those improvements over time.
Don’t be discouraged if you don’t see immediate results – soil conditioning is a gradual process that builds upon itself season after season. With consistent effort and the right approach, you’ll create a garden environment where plants thrive and soil health continues to improve naturally.
Take that first step today, whether it’s starting a compost pile or conducting a soil test. Your future garden will thank you with abundant growth and healthy, vibrant plants.

