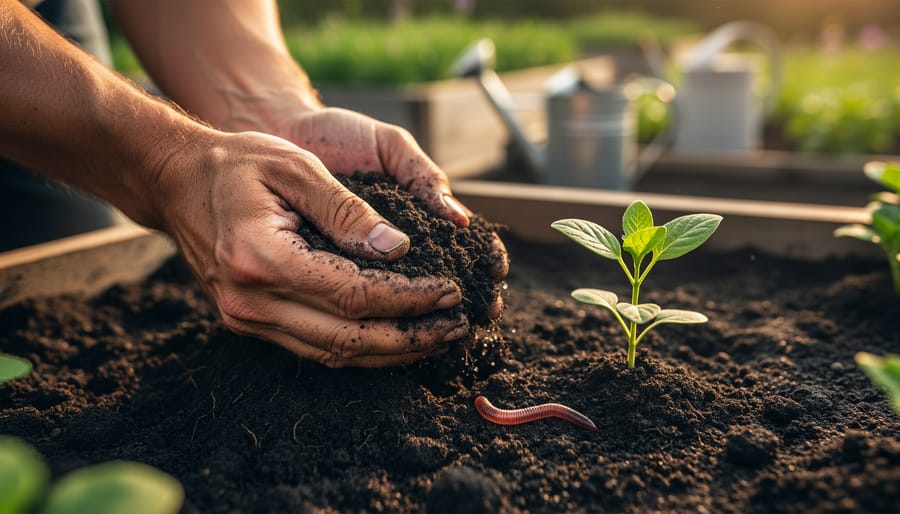
Protect your garden’s future by mastering three powerful soil conservation methods that work with nature, not against it. Start with no-till gardening – simply leave soil undisturbed between plantings to preserve vital structure and beneficial soil microbes. Layer your garden beds with organic mulch to lock in moisture, prevent erosion, and naturally suppress weeds. Finally, plant cover crops like clover or rye during off-seasons to build soil health from the ground up. These time-tested techniques don’t just conserve soil – they create thriving, resilient gardens that produce abundant harvests while requiring less work and fewer resources. Whether you’re tending a small vegetable patch or managing a sprawling garden, these methods work together to build healthier soil year after year, transforming your garden into a self-sustaining ecosystem that grows stronger with each season.

No-Till Gardening: Preserving Soil Structure
Getting Started with No-Till
Transitioning to no-till gardening doesn’t have to be complicated. Start by leaving your existing plant debris and roots in place after harvest, cutting stems at soil level instead of pulling them up. This gentle approach preserves soil structure while building carbon-rich soil naturally.
For new planting areas, simply push aside surface debris and create small holes or furrows for your seeds or transplants. A layer of compost on top provides nutrients without disrupting soil layers. Remember, patience is key – it may take 2-3 seasons to see dramatic improvements in soil structure.
Common challenges like weeds can be managed by maintaining a 2-3 inch layer of organic mulch. Using cardboard or newspaper as an initial weed barrier helps during the transition period. Water deeply but less frequently to encourage deep root growth.
Start small by converting one bed at a time, allowing you to compare results and adjust your techniques. Many gardeners find that after the initial adjustment period, no-till gardens require less maintenance while producing healthier plants.
Tools and Techniques
To practice no-till gardening effectively, you’ll need a few essential tools and techniques in your gardening arsenal. A broadfork is your primary tool, allowing you to loosen soil without turning it over. This long-handled tool with deep tines aerates the soil while maintaining its natural structure. For smaller areas, a garden fork works well too.
Sheet mulching requires cardboard or newspaper as your base layer, along with organic materials like straw, leaves, or grass clippings for the top layers. Keep a pair of good pruning shears handy to cut materials to size and manage your cover crops.
When it comes to techniques, start by marking your garden beds and laying down your mulch materials in layers. Use a rake to spread materials evenly, and a watering can or hose to moisten each layer as you build. A soil thermometer helps monitor conditions beneath the mulch, while a wheelbarrow makes transporting materials much easier.
Remember to maintain paths between beds for easy access without compacting your growing areas. A few five-gallon buckets are invaluable for collecting weeds and storing tools while you work.
Mulching: Nature’s Protective Blanket

Choosing the Right Mulch
Selecting the right mulch for your garden can make a significant difference in how well you maintain optimal soil moisture and protect your soil. Organic mulches, like straw and leaf litter, break down over time to enrich your soil with nutrients and organic matter. They’re perfect for vegetable gardens and annual beds, where the soil benefits from regular organic matter additions.
Wood chips and bark mulch are excellent choices for perennial beds and around trees. They decompose slowly, providing long-lasting protection while gradually improving soil structure. For those looking to suppress weeds effectively, newspaper or cardboard topped with organic mulch creates an excellent barrier while eventually breaking down into the soil.
Living mulches, such as creeping thyme or clover, offer unique benefits by protecting the soil while adding visual interest to your garden. They also support beneficial insects and help prevent erosion. Whatever type you choose, apply mulch in a 2-3 inch layer, keeping it slightly away from plant stems to prevent rot.
Cover Cropping: Living Soil Protection

Best Cover Crops for Home Gardens
Cover crops are nature’s way of protecting and enriching your garden soil during off-seasons. For fall and winter protection, consider planting cereal rye, which establishes quickly and provides excellent soil coverage. Winter wheat is another hardy option that thrives in cooler temperatures and helps prevent soil erosion.
During spring and summer, buckwheat is a fantastic choice, especially if you have a short window between plantings. It grows rapidly, suppresses weeds, and attracts beneficial pollinators. Clover varieties, particularly crimson clover, work well in any season and add valuable nitrogen to your soil.
For best results, plant your cover crops about 4 weeks before the first frost in fall, or as soon as you’ve harvested your summer crops. In spring, sow them 2-3 weeks before your last frost date. Remember to cut down or incorporate these plants into the soil before they go to seed, typically about 2-3 weeks before you plan to plant your next crop.
Choose a mix of cover crops when possible – combining grasses with legumes provides multiple benefits, from soil structure improvement to nutrient enhancement. Start small with one bed to learn what works best in your garden.
By implementing these three soil conservation methods – no-till gardening, mulching, and cover cropping – you’re not just protecting your soil; you’re investing in the future of your garden. Each technique works in harmony with nature to build healthier, more resilient soil that will reward you with better harvests and fewer maintenance headaches. Remember, you don’t need to implement all methods at once. Start with the one that feels most manageable for your garden, perhaps mulching, and gradually incorporate the others as you become more comfortable. Your soil is a living ecosystem, and every small step you take to protect it makes a difference. Why not begin your soil conservation journey today? Your garden – and our planet – will thank you for it.